Learning how to make t shirt mockup in Photoshop to create a shirt mock-up can give designers an advantage, whether they’re entering a shirt design contest or promoting printed shirts for sale.
Shirt mockups can improve designs and give customers a clearer idea of what the final product will look like.

Table of Contents
A Quick Guide on How to Make T Shirt Mockup in Photoshop
The quick guide on how to make t shirt mockups in Photoshop in a few steps.
- Import a graphic or use the one provided.
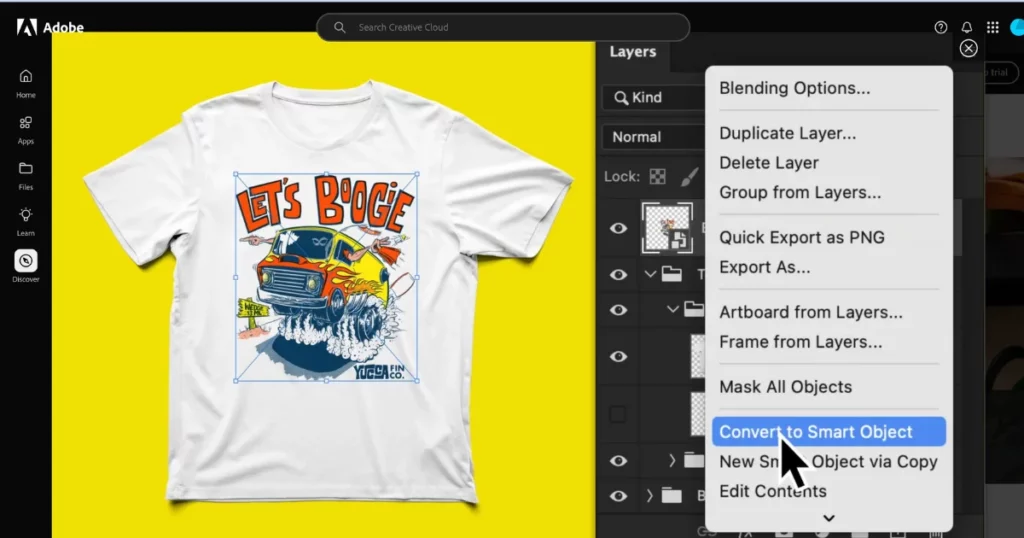
- Right-click the graphic layer, and select “Convert to Smart Object” to prepare for warping.
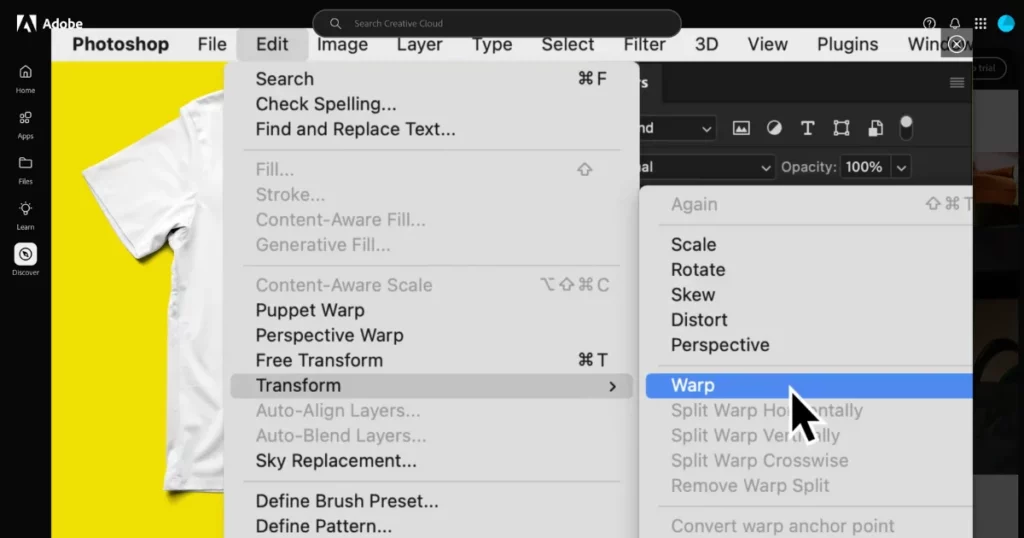
- Use Edit > Transform > Warp to fit the graphic to the shirt’s folds; adjust opacity for realism.
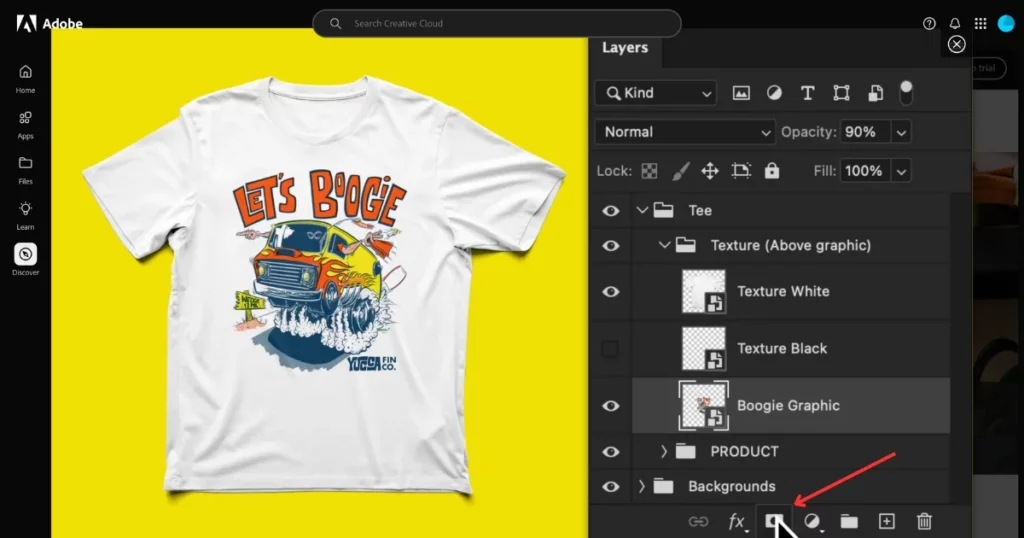
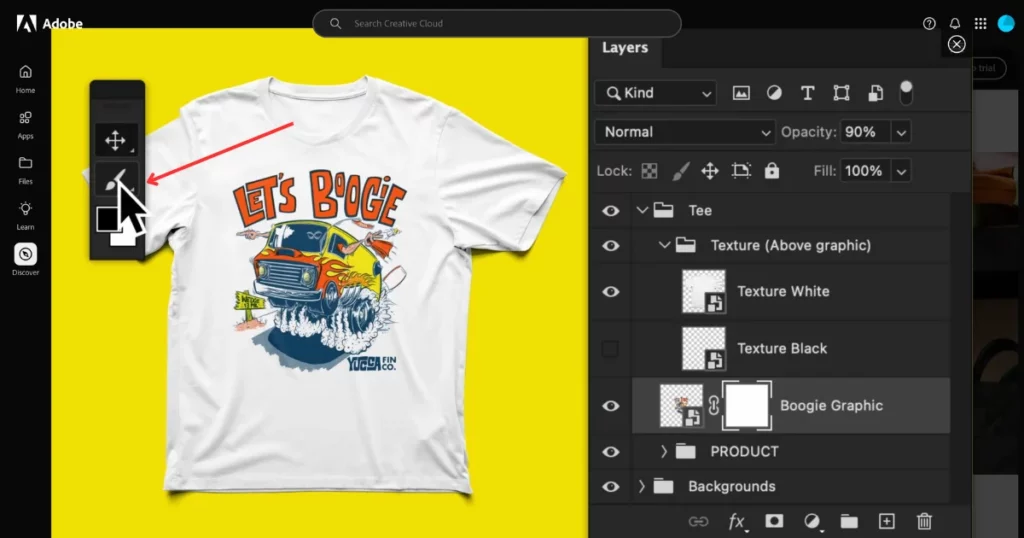
- Add a Layer Mask, select a soft round black brush, and brush along the shirt’s movement for a realistic lighting effect.
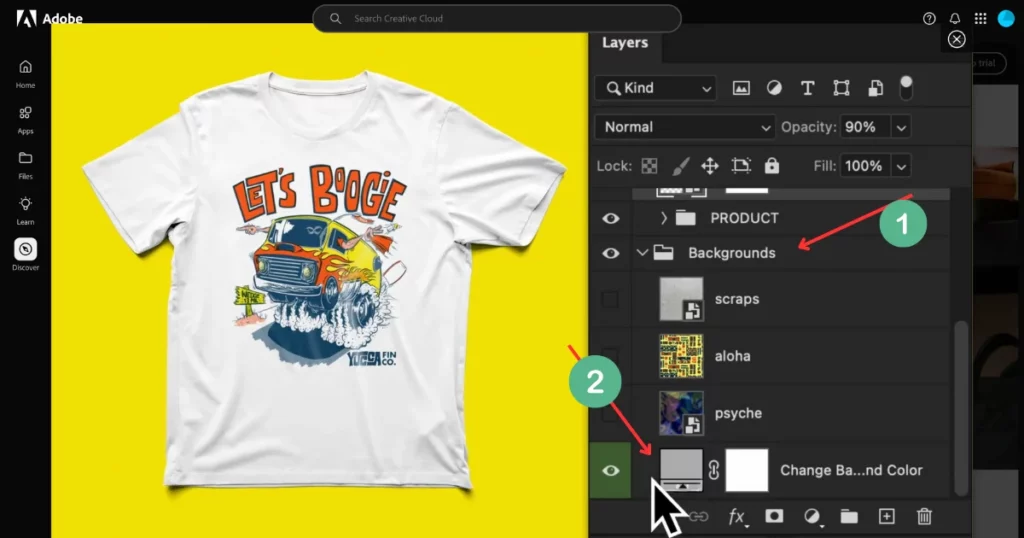
- Swap backgrounds by double-clicking the color swatch in the Backgrounds layer group or toggling other background layers.
How to Make T-Shirt Mockups in Photoshop – Step-by-step Guide
Here is a step-by-step guide to show you how to make t shirt mockup in Photoshop.
Step 1: Import a Graphic
To start, import your graphic into the project. Go to File > Place Embedded to add your own graphic. Alternatively, click the small box next to the Boogie Graphic layer to use the graphic in the practice file.
Step 2: Convert to Smart Object
Right-click on the graphic layer you just added. Choose Convert to Smart Object. This allows you to make adjustments, like warping, in the next step.
Step 3: Fit the Graphic to the Fabric
Go to Edit > Transform > Warp. Drag the handles to shape the graphic, so it matches the folds and movement of the t-shirt. Adjust the Opacity of the graphic layer to blend it seamlessly with the fabric’s texture, making it look realistic.
Step 4: Add a Layer Mask for Realistic Lighting
Click the Layer Mask icon at the bottom of the Layers panel to add a mask to the graphic layer. Select the mask thumbnail.
Choose a soft round black brush with low opacity. Brush along the shirt’s movement to enhance the lighting effect and make it look more natural.
Step 5: Experiment with Backgrounds
In the Backgrounds layer group, double-click the color swatch to try out different colors. You can also experiment with different textures by turning other background layers on or off.
We have learned how to make t shirt mockup in Photoshop and go through a step-by-step process. Now look for a free mockup generator that can generate t-shirt mockups in seconds.
How to Make T-shirt Mockups Without Photoshop?
Mockey is one of the best mockup tools to create product mockups right now. To make T-shirt mockups using Mockey, follow these easy steps:
Step 1: Open Mockey.ai
- Launch Mockey.ai.
Step 2: Choose T-shirt Category
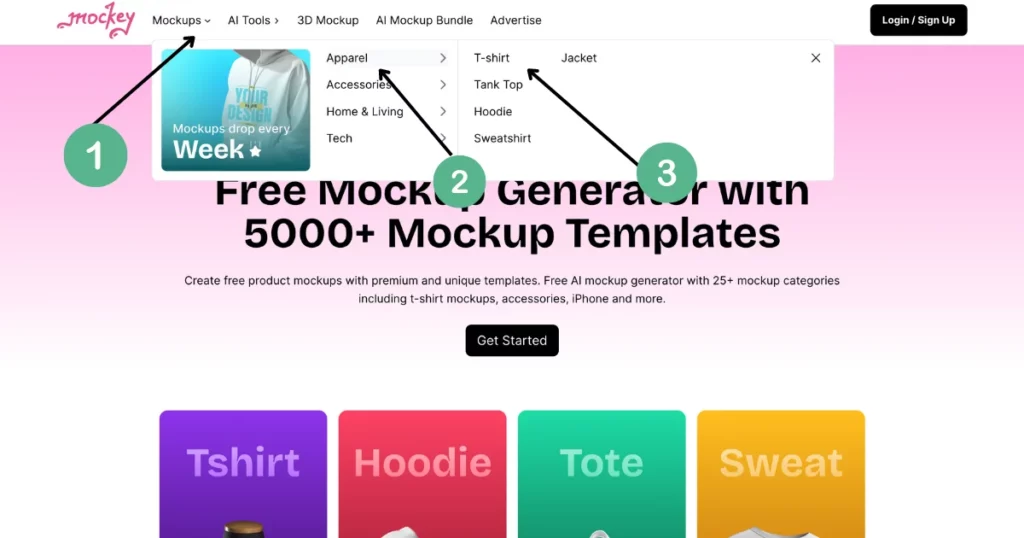
Click on “Apparel” in the top menu and select “T-shirt” to get to the design section.
Step 3: Upload Your Design
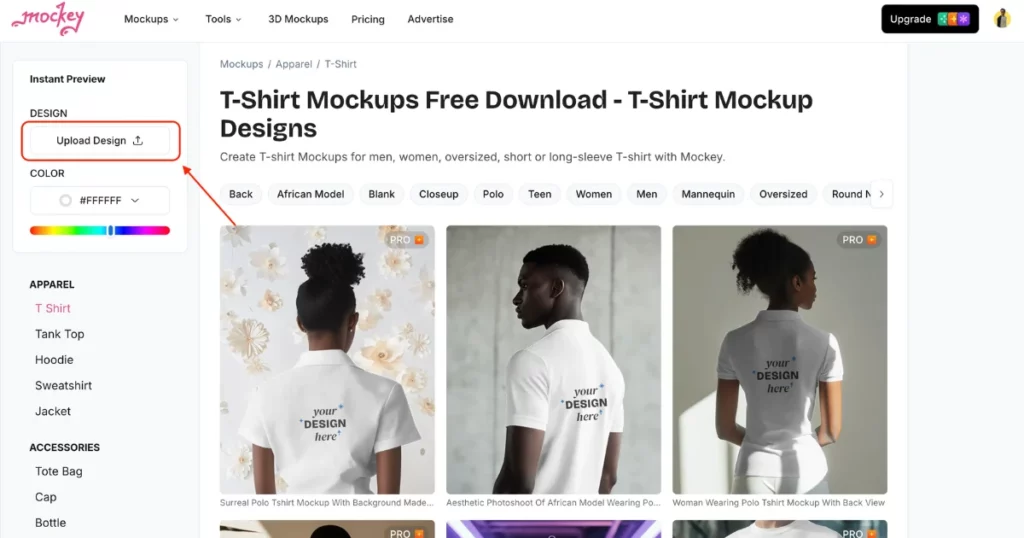
Click on “Upload Design” in the top left corner. Upload your design or logo in PNG or JPG format from your computer.
Step 4: Pick a Template
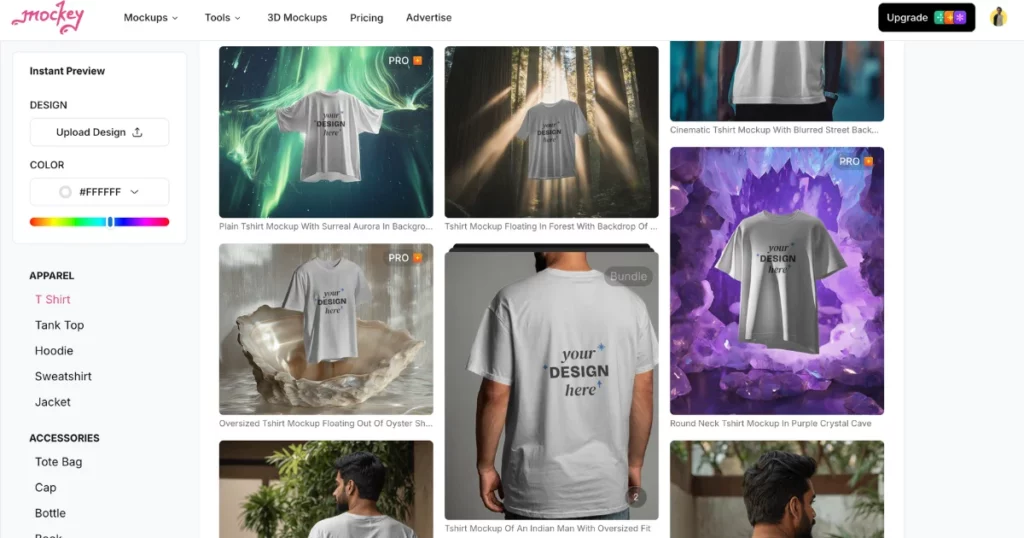
Browse through the available T-shirt templates and select the one that matches your vision.
Step 5: Customize Your Mockup
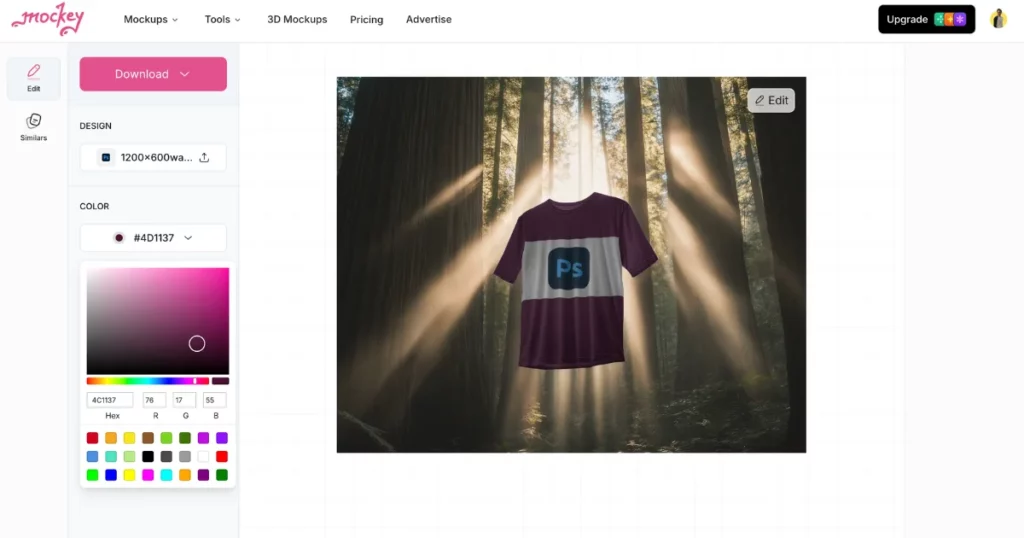
Now customize the T-shirt color, resize your design, and adjust the background.
Step 6: Download Your Mockup
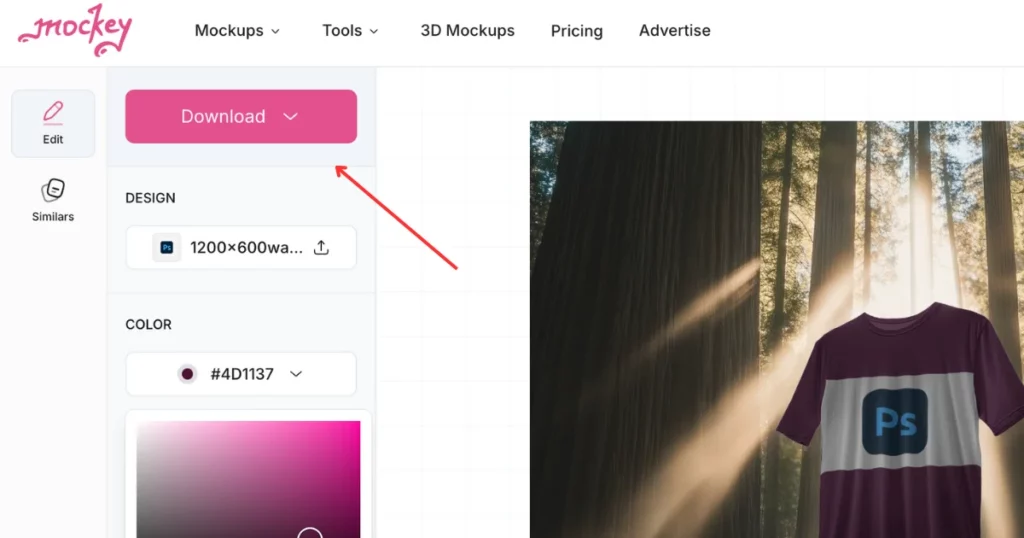
When you’re happy with your design, click “Download” to save it as a JPG or PNG file without a watermark.
T-shirt Mockup Designs to Download for Free
1. Back T shirt Mockups
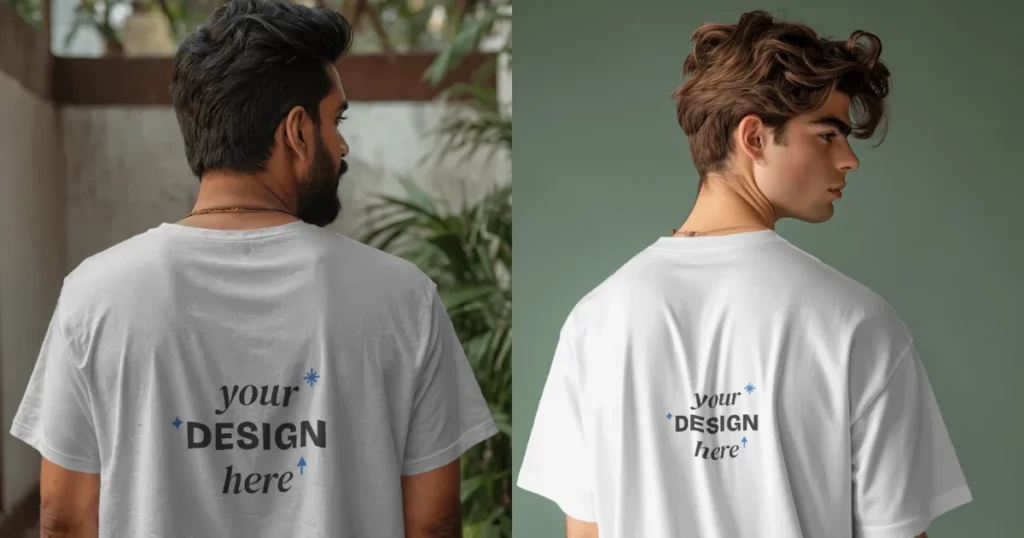
2. African T shirt Model Mockups

3. American Model T shirt Mockups

4. Polo T shirt Mockups

5. Oversized T shirt mockups
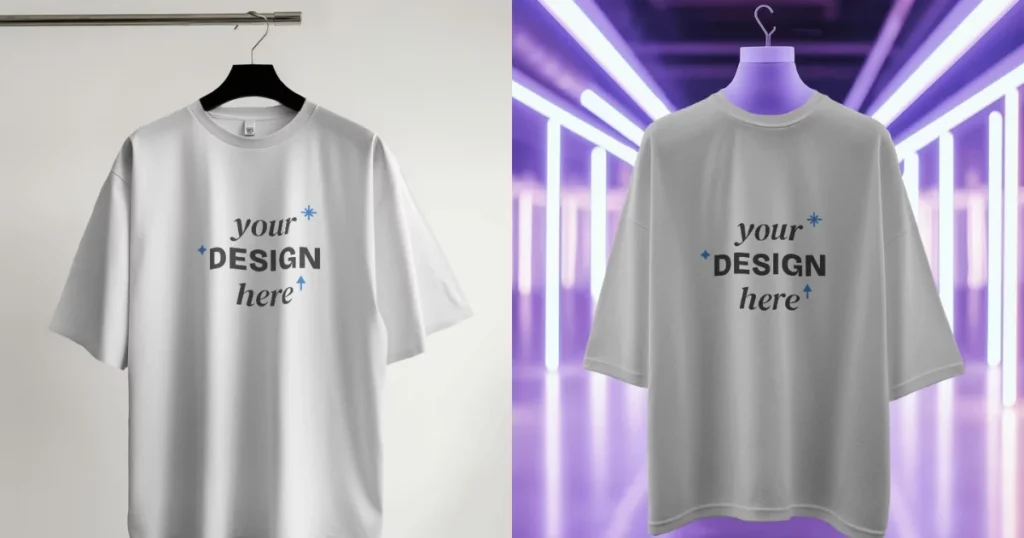
6. Round Neck T shirt Mockups
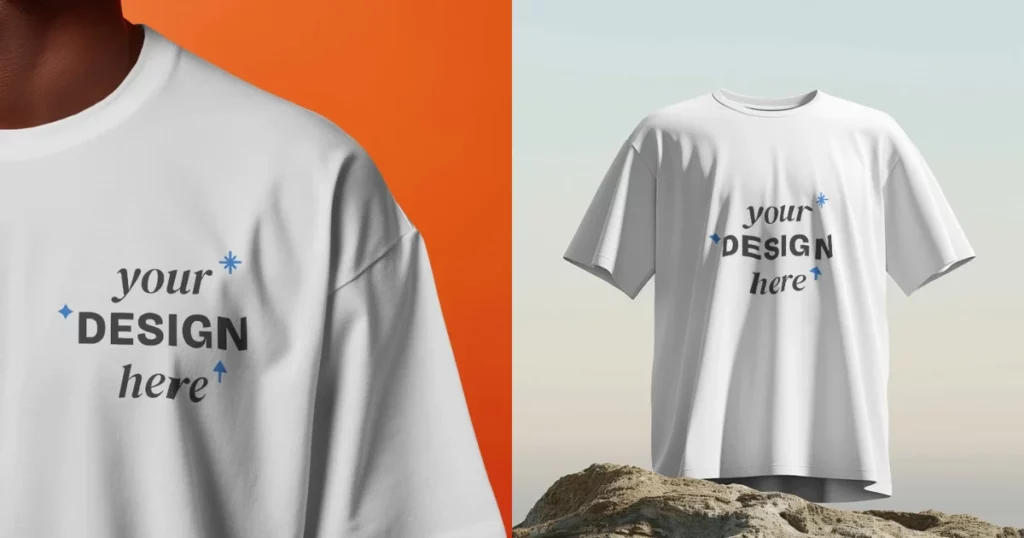
7. Long Sleeve T shirt Mockups
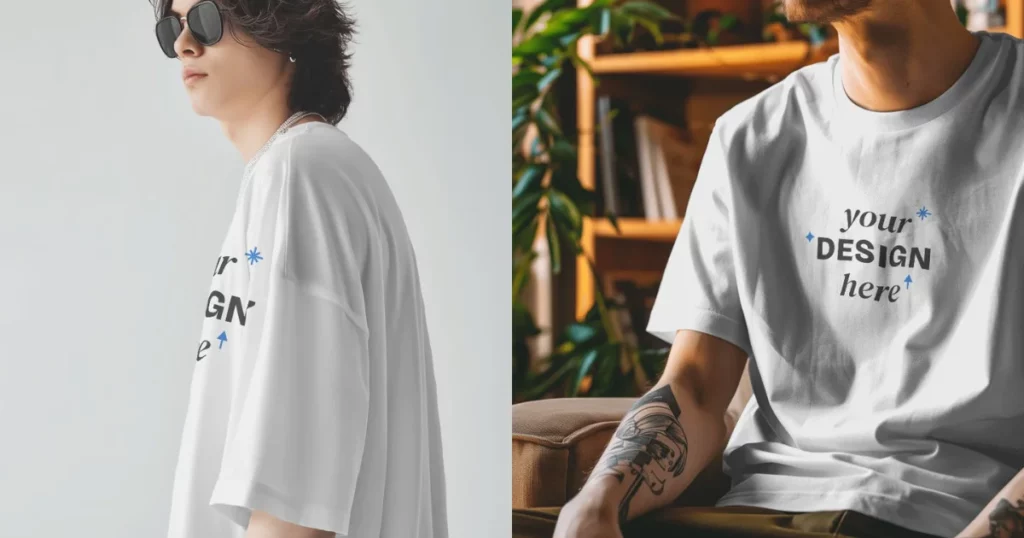
8. V Neck T shirt Mockups

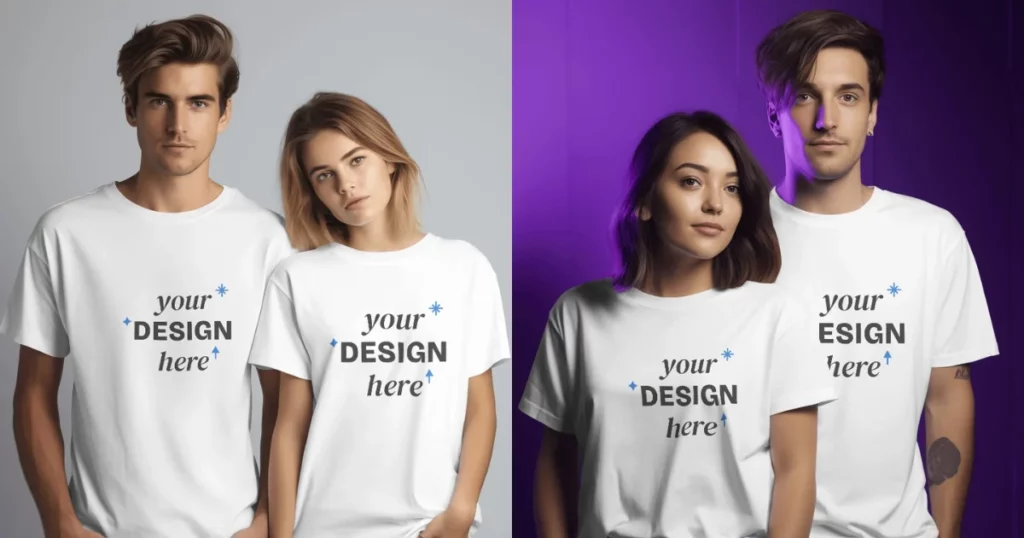
9. Couple T shirt Mockups
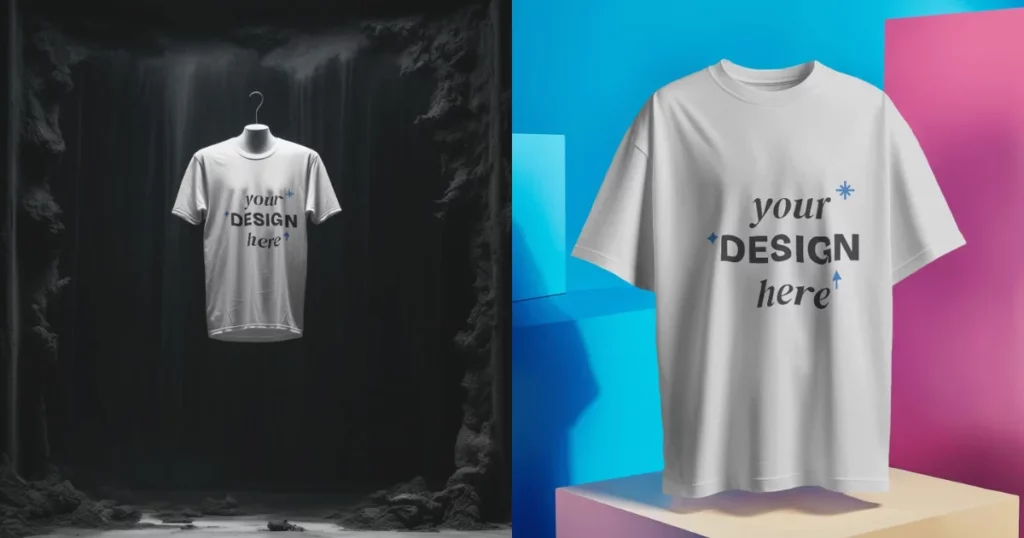
10. Mannequin T shirt Mockups
Conclusion
This article provides a guide on how to make t shirt mockup in Photoshop. By following it, you can create a t-shirt template to easily preview how your designs will look when printed.
Using Adobe Photoshop is a great way to create visuals that you can take to print shops to show how you like them to look.
It’s also useful if you’re selling a personalized T-shirt online and want to deliver a preview for customers so they can see what the T-shirt will look like before buying.
Also, you can use Mockey to create product mockups for user friendliness and unlimited free download mockups without any watermark.
FAQs
How to make a tshirt mock up in Photoshop?
To create T-shirt mockups in Photoshop, import a graphic and convert the layer to a Smart Object. Use Transform > Warp to fit the graphic to the shirt’s folds, adjusting opacity for realism. Add a Layer Mask and brush for realistic lighting effects. Finally, change backgrounds by adjusting the Background layer’s color or toggling other layers.
How do I make my own t-shirt mockup?
To make your own t-shirt mockup, visit Mockey and select Mockups. Choose Apparel, then T-shirt. Upload your design, customize the color, background, and size, and download your mockup for free without a watermark.
How do I create a custom mockup in Photoshop?
To create a custom mockup in Photoshop, open a background image. Draw a shape over the product area using the Shape tool. Convert this shape to a Smart Object, then insert and adjust your product image.
How do you make something look like it’s on a shirt Photoshop?
To mock up a design on a T-shirt in Photoshop, start by finding a plain T-shirt image. Place your design on top, then resize and position it as needed. Finally, set the design layer to “multiply” to blend it with the shirt’s texture, creating a realistic effect.
Related reading:
- 10 Best T Shirt Mockup Sites
- What is a Mockup? Its Types and How to Create for Free
- Wireframe vs Mockup vs Prototype
- How to Make a Frame Mockup in 3 Easy Steps
- How to Make a Mockup: Create Mockup Online Without Photoshop
- How to Make Book Mockups for Free
- 10 Best Mockup Websites for Stunning Design Templates

