Looking at how to record Google Meet for free on any device? You’re in the right place. Here’s the simplest way to do it.
Recording a Google Meet call has many benefits. You might want to save it to watch later, share it with absent colleagues, or use it for training purposes.
Plus, recorded screencasts can be handy for tutorials, demos, marketing, and blog content.
Recording Google Meet calls isn’t always an option due to various reasons like settings or account limitations.
However, there are solutions! This guide will help you how to record Google Meet calls on any device, no matter your situation.
Table of Contents
Can You Record Google Meet?
If you use Google Meet, you might want to record meetings. It could be to share what happened with colleagues who missed it or to keep notes for later.
We’ll show you some methods to record Google Meet:
- One using Google Meet itself and
- The other is with a free third-party app.
Let’s get started!
Google Meet Recording Requirements on Laptop and Phone
Not everyone can record on Google Meet. You need to meet two requirements:
- Your team must be using specific Google Workspace editions or have a Google One subscription with a minimum of 2 TB or more.
- You must be the host, or co-host, or permitted by the administration to record.
How to Record Google Meet on Laptop – Premium Users
Before you start recording, ensure you’re recording to the cloud. For recording locally, there won’t be a “Record Meeting” button.
- Launch the app and join or start a meeting.
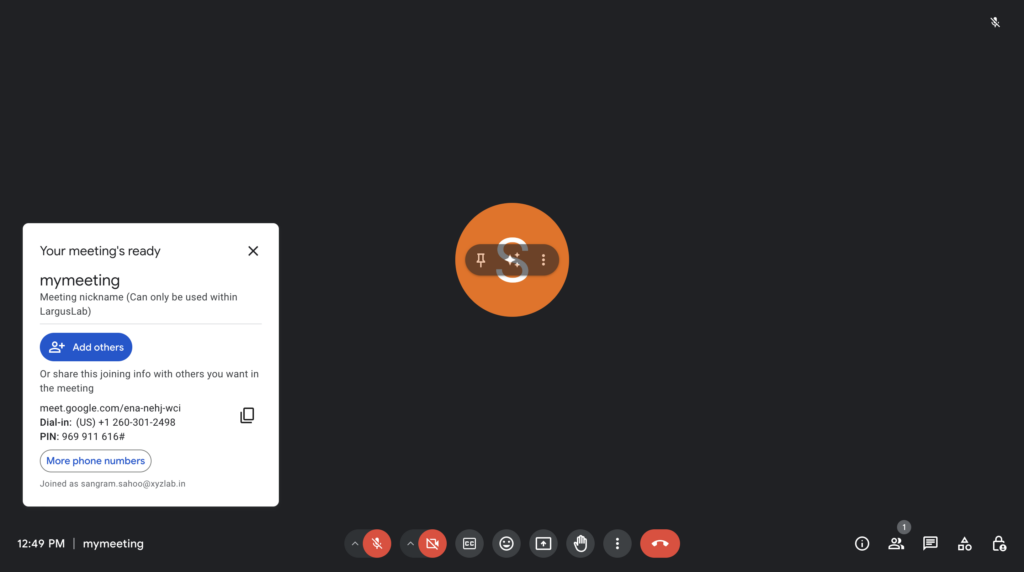
- Look for the Activities icon and click it to find the recording feature.
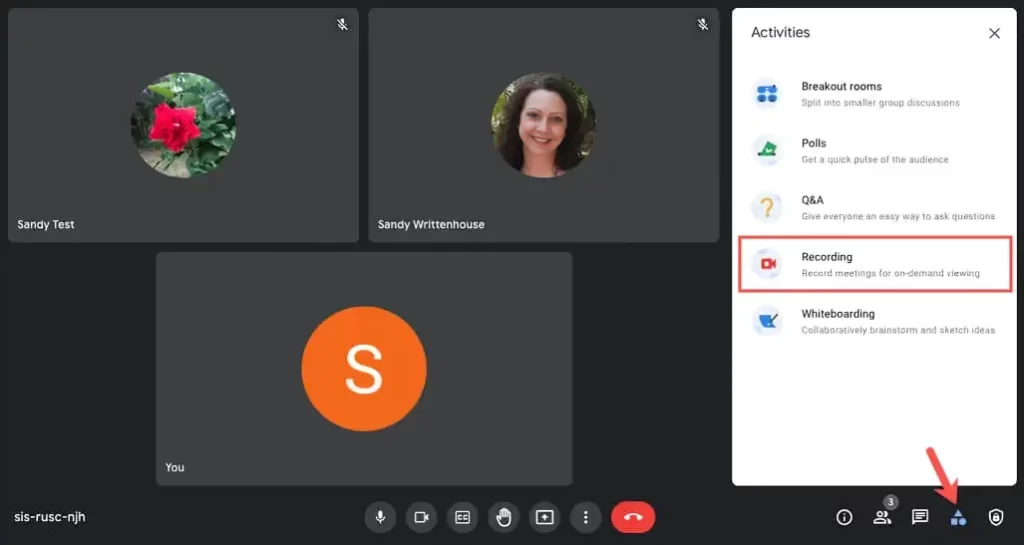
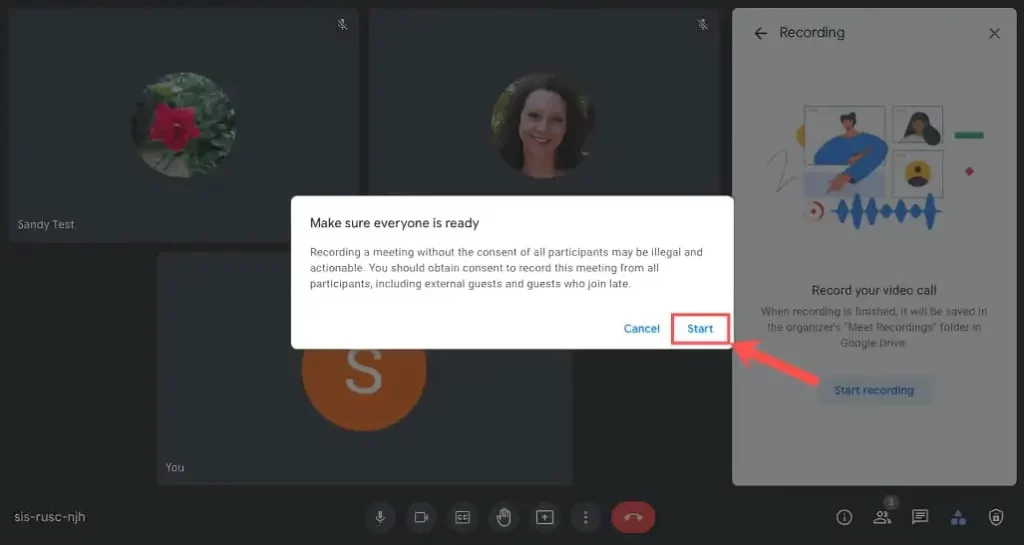
- Hit “Start recording” to begin. Everyone will know when the recording starts. It captures the speaker, shared screen content, and chats for up to 8 hours.
- When you’re done, go to the Recording tab and click “Stop recording” to finish.
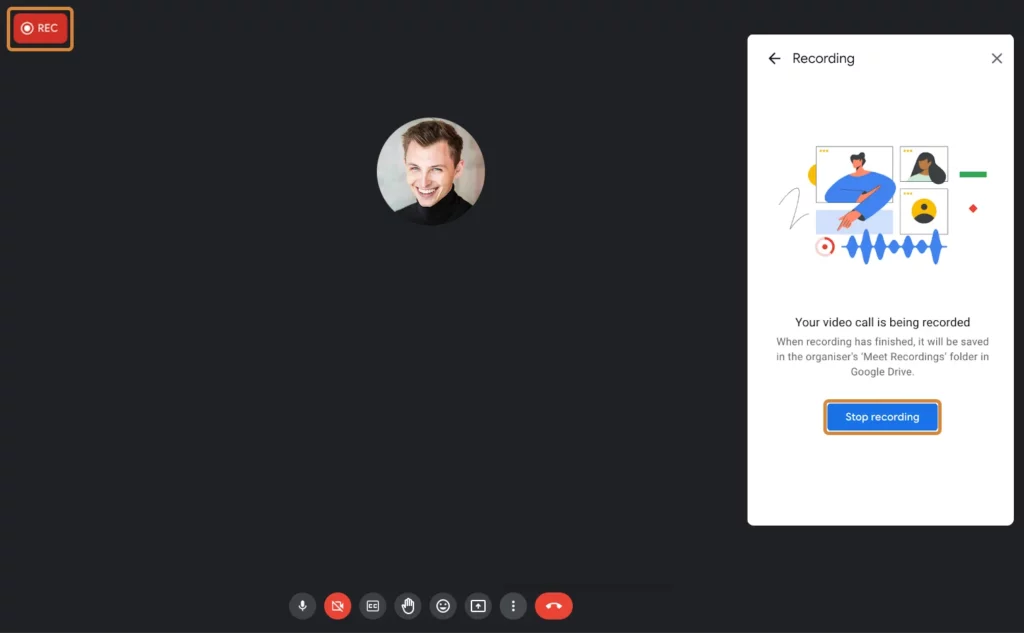
The recording of Google Meet will be saved to the organizer’s Google Drive in the Meet Recordings Folder. Organizers and participants of the meeting will also receive a mail with the link to the recording.
How to Record Google Meet on Laptop – Free Users
Record Google Meet for free with FlexClip Screen Recorder. No limitations, just start recording.
What Sets It Apart:
- Free & user-friendly
- Online functionality
- Captures meetings as MP4
- Includes powerful, free video editing
- No watermarks or registration required
- No additional downloads are necessary
- Ensures security
How to Use Flexclip for Google Meet Recording
To use Flexclip:
- To record your screen, click “Record Now”.
- Choose “System Audio” and click the red recording button.
- Share your Chrome Tab and audio to start recording.
- End your recording by clicking “Stop recording”.
- You can edit or download your recording in FlexClip Screen Recorder.
Learn to Edit Your Google Meet Recordings With Flexclip
To edit recording in Flexclip:
- Import: Add your recording to FlexClip.
- Trim: Cut your recording using the scissor icon.
- Enhance: Customize with annotations, filters, speed adjustments, and more.
- Export: Preview and save in 480p, 720p, or 1080p resolution.
How to Record Google Meet on Phone – Free Users
You can’t record a Google Meet on your phone, but you can use its screen recording tool instead.
- Open the Google Meet app on the phone and join the meeting using the link or code provided.
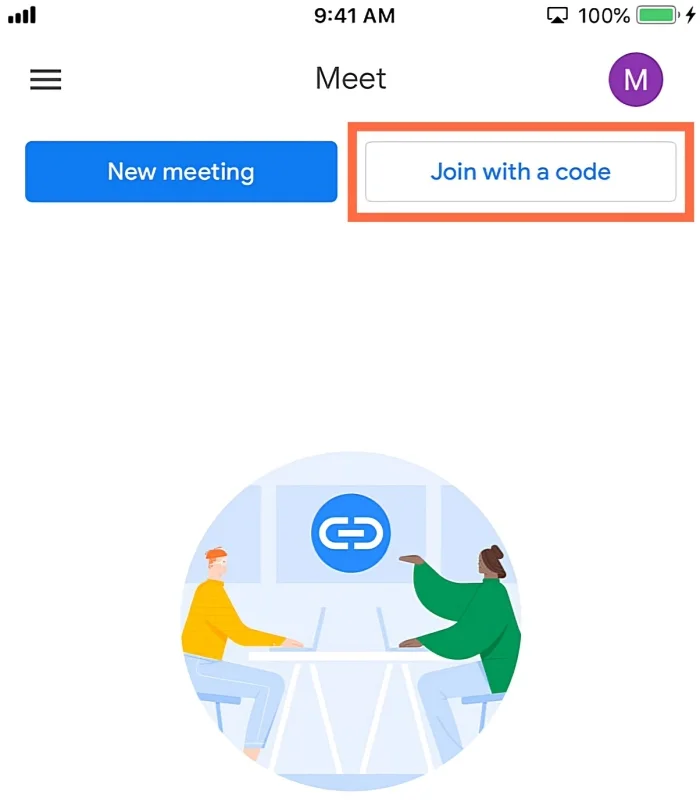
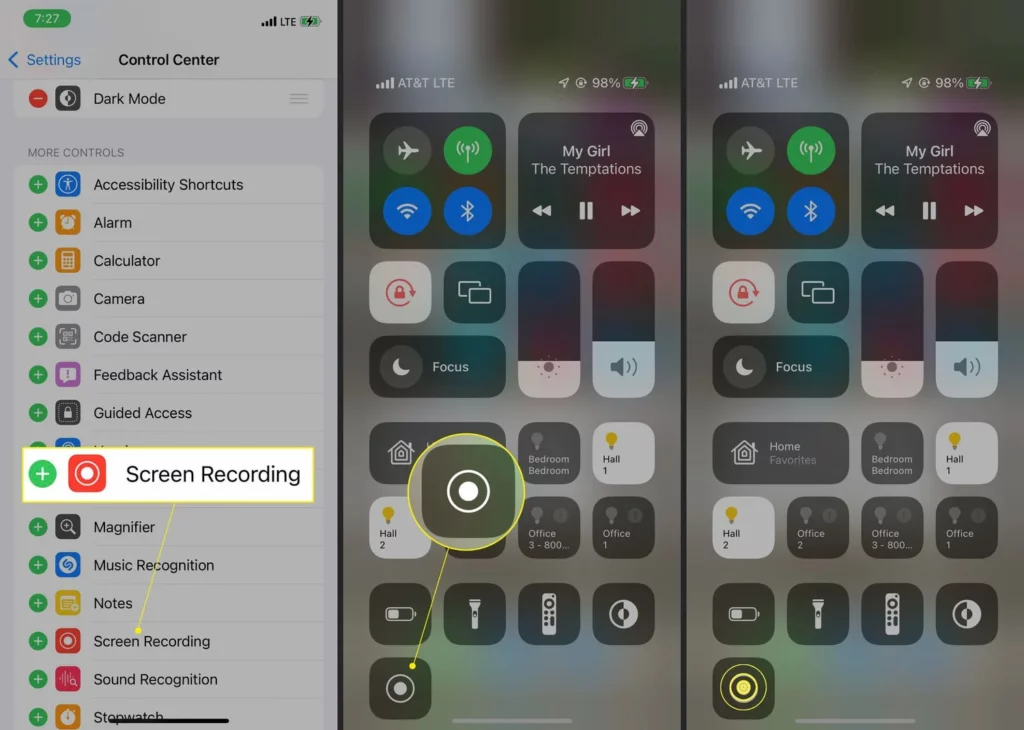
- To start recording your screen: On Android, swipe down from the top to open Quick Menu, then hit the screen recording button. On the iPhone, swipe down to open the Control Center and click the gray Screen Recording button.
- Choose “Media and Mic” on your Android to record your screen with sound.
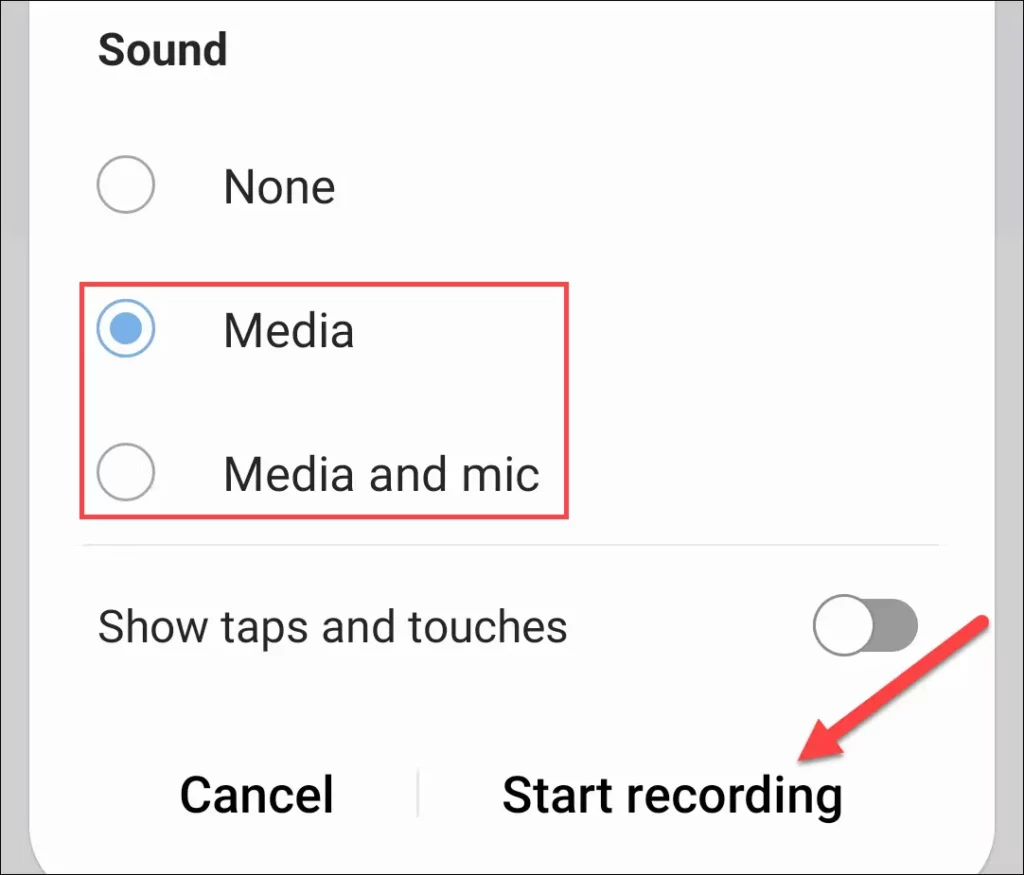
- To record on Android, tap Start Recording. On the iPhone, exit the Control Center to start screen recording. You’ll see a red bar at the top when recording.
- After the meeting, stop recording on your Android by tapping “Stop.” On an iPhone, swipe down and hit the red Record button or tap the red status bar, then hit “Stop.” Find your recordings in your phone’s gallery or Photos app to edit or share.
How to Record Google Meet Without Permission?
To record Google Meet without permission:
- Open the Vmaker Mac app and select “Screen” mode to record your screen.
- Set the recording area to “Current Tab” mode for Google Meet with system audio.
- Choose recording resolution, up to 4K HD.
- Select audio source: system or external microphone.
- Enable tab audio in Preferences for system audio recording.
- Click “Start Recording” to begin recording your meeting.
- Stop recording by clicking the red icon or dock button.
- Edit your recording using Vmaker’s built-in editor.
- Download and share your meetings in 4K resolution with a link.
How Do I Record Google Meet if There Is No Record Button?
To record a Google Meet, make sure your Workspace account meets Google’s rules and you have permission.
It’s wise to get everyone’s permission on the call and tell them how you’ll use the recording.
You can let them know why you’re recording, like for training or keeping records. If your Workspace account can’t record by Google’s rules, there are other options.
Here’s a simpler guide to record a Google Meet meeting without the record button:
- Pick a screen recorder: Use Xbox Game Bar on Windows, QuickTime on Mac, or download one from your phone’s app store.
- Set up recording: Adjust audio and video settings on your device.
- Join the Google Meet: Open it in your browser or app and enter the meeting.
- Start recording: Hit the record button on Windows or Mac, or swipe to start on your phone. Stop when the meeting ends.
How Do I Change My Recording Settings on Google Meet?
You can’t change much in Google Meet’s recording menu, but you can adjust video and audio settings for better quality. Nobody wants to sit through an eight-hour video of your blurry face looking confused or silent, sounding like WALL-E.
1. Video and Audio Setting
Make sure your audio and video settings are set up correctly.
- Click on the three dots at the bottom-right, then choose Settings to check your input devices. You might be surprised how many cameras and microphones your system has listed!
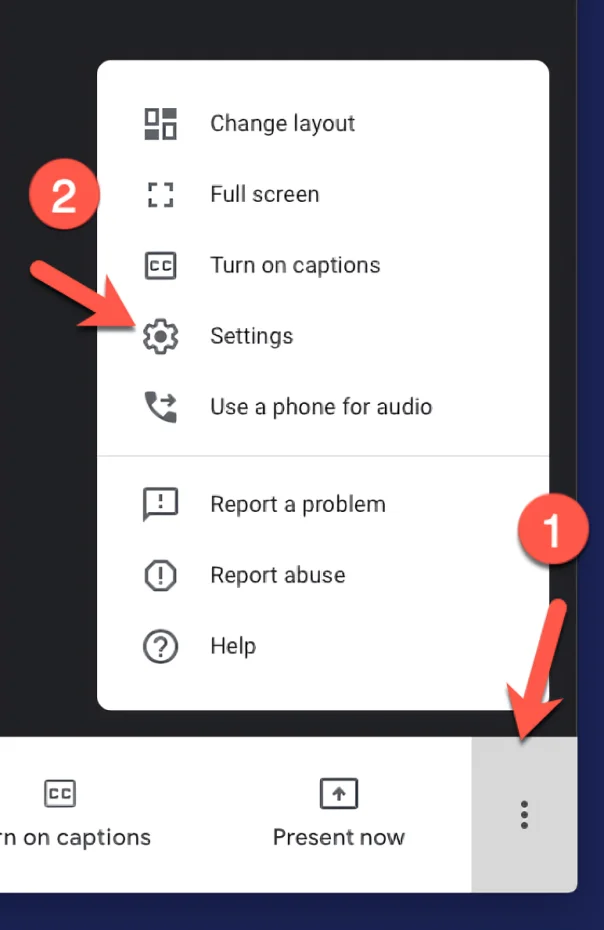
- Go to the Audio settings where you can choose your microphone, turn on Noise Cancellation Push to talk and pick your speaker.
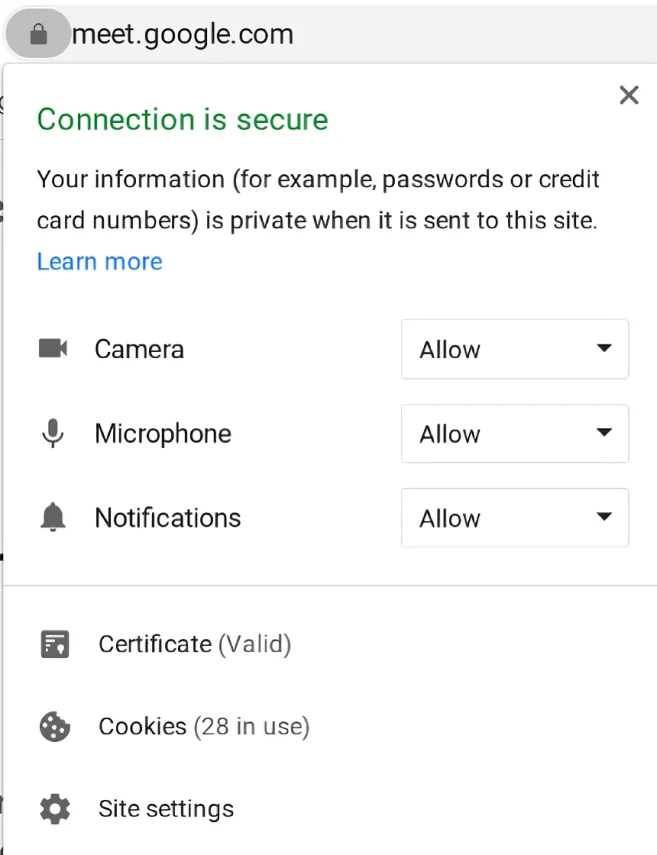
- Go to the Video section to choose your camera and adjust video quality settings.
Let’s chat about resolutions. If you’re not into gaming, never set up a new TV, or been out of the loop for the last couple of decades, resolution basically means how clear something looks. When it comes to videos, you’ll notice two resolutions in the Video settings.
Send resolution is how clear your camera’s video looks to others in the meeting. If you crank it up, others get a better-quality video of you.
Receive resolution is how clear the video of other people looks to you. If you bump it up, you get a better view of others in your meeting.
Just remember, higher resolution means better quality, but it also means bigger file sizes if you’re recording. If you’ve got plenty of space on your Drive, you’re good to go.
Why Is Recording a Meeting Important?
Recording meetings isn’t just about comfort—it’s about practicality too.
First off, it’s handy for reference. Let’s say you chat with a new client about a partnership. Having that meeting recorded gives everyone involved a clear reference point, preventing misunderstandings.
Secondly, recordings are great for training and presentations. You can record yourself going through topics for your team, and creating useful materials.
Lastly, in HR, recording interviews helps decision-makers review candidates thoroughly. It’s a failsafe against any selective memory mishaps.
Best Recording Software for Google Meets
To record your screen, your device likely has a built-in tool. But if you want to do more than just record, like improving audio or video quality, you’ll need special software. There are lots of options out there, but here are our favorites.
1. Camtasia
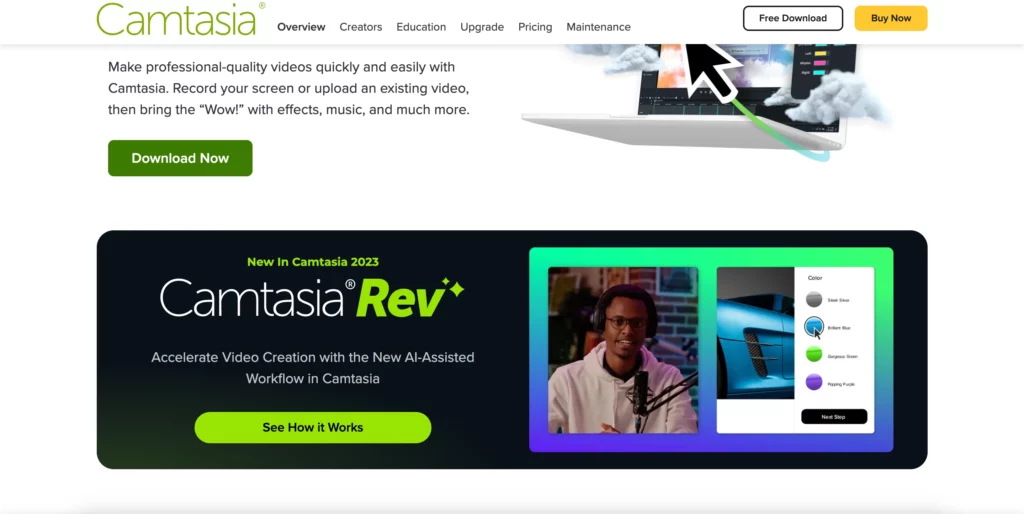
Camtasia is great for recording Google Meet calls and making polished explainer videos and webinars. It offers screen and audio recording, editing tools, transitions, and over 1000 royalty-free assets.
You can then upload your creations to YouTube or Vimeo. Pros: robust editing, fast rendering. Cons: pricey and lacks a mobile app.
2. Zappy
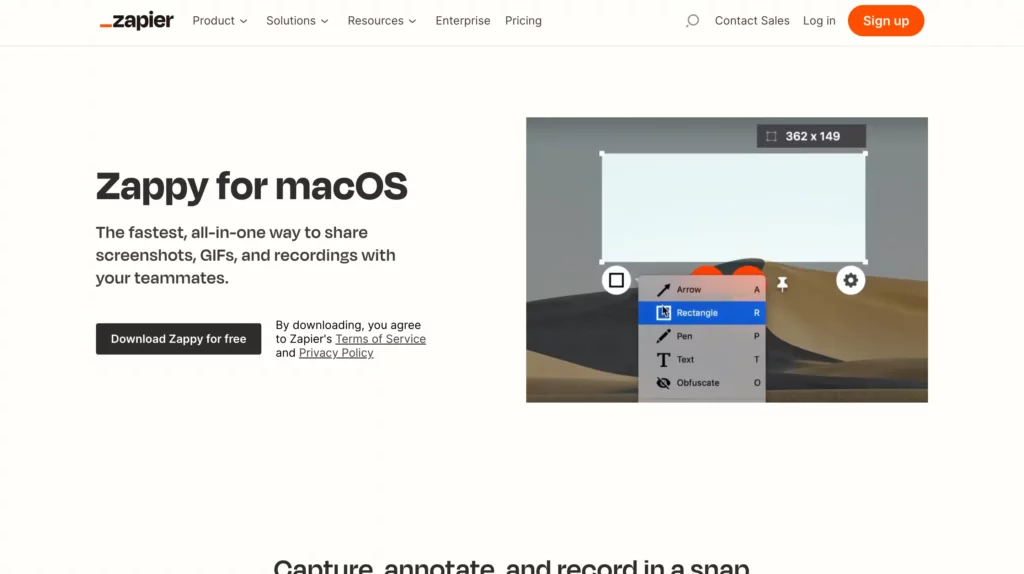
Zappy is great for recording Google Meeting calls hassle-free. It captures your screen activity without any editing features. You can add basic annotations like text, boxes, or arrows. The recordings are saved locally or in the cloud for paid users. It’s free and easy to use, but only works on MacOS and lacks editing options.
Bottom Line
Some folks might not like being recorded or recording others, and that’s understandable.
Always let everyone know before you start recording. It’s about being polite and giving people the option to participate.
Turning your Google Meet recordings into useful stuff, like HR tools or training material, can be quite a project in itself.
However, we have covered how to record Google Meet on laptop and phone in a step-by-step guide.
You can also explore free alternatives to Google Meet that offer free recording options.
FAQs on How to Record Google Meet
Where do Google Meet recordings go?
Where are Google Meet recordings saved? My Drive contains a folder called Meet Recordings for the organizer. The recording link is emailed to the organizer and the person who started it. An event link is added as well. Other windows or notifications are not recorded.
Why can’t I record a Google Meet?
Make sure your admin has enabled recording in the Google Admin console. Use Meet on a computer, as recording isn’t available on other devices. You can’t record if you’re only presenting from a laptop while already in a conference room.
Can I record Google Meet for free?
Yes, you can record your Google Meet, but only if you have a Google Workspace account with the necessary permissions from your administrator.
Is there any app to record Google Meet?
Camtasia and Zappy make it easy to record Google Meet meetings without limits on participants or time.
How to record Google Meet shortcut key?
Press Windows + Alt + R to start or stop recording a Google Meet video call.
