Learn how to create custom stickers step-by-step using simple tools, materials, and mockup ideas to design, print, and sell high-quality stickers easily.
We went deep into research to understand how people make custom stickers. The surprising part is that you don’t need to buy a machine.
From real experiences, we understood that people wasted money on the wrong paper and struggled with Cricut. Then it often led to color mismatches, slightly off cuts, and stickers peeling after just one wash.
The best part is, once you understand the process, it’s not that difficult. This guide will help you learn how to create custom stickers, what works, what fails, and where beginners go wrong.
Table of Contents
How to Create Custom Stickers (7-step Guide)
In seven steps, we will clearly explain how to create custom stickers.
Step 1: Start with a Design
The first step is to create art. Use easy tools to accomplish this.
Most people suggest using tools like Procreate if you’re on an iPad, Canva if you want something simple, Krita or GIMP for free options, and Photoshop if you already know how to use it.
The common advice is to keep your designs clean because tiny details usually don’t print properly. Always use high-resolution (at least 300 DPI) and begin with simple shapes before moving on to more detailed illustrations.
Use Sticker Maker to Preview Your Design
Once your design is ready, the next step is to make it look like a real sticker. Many beginners create a design, but don’t check how it will look after cutting.
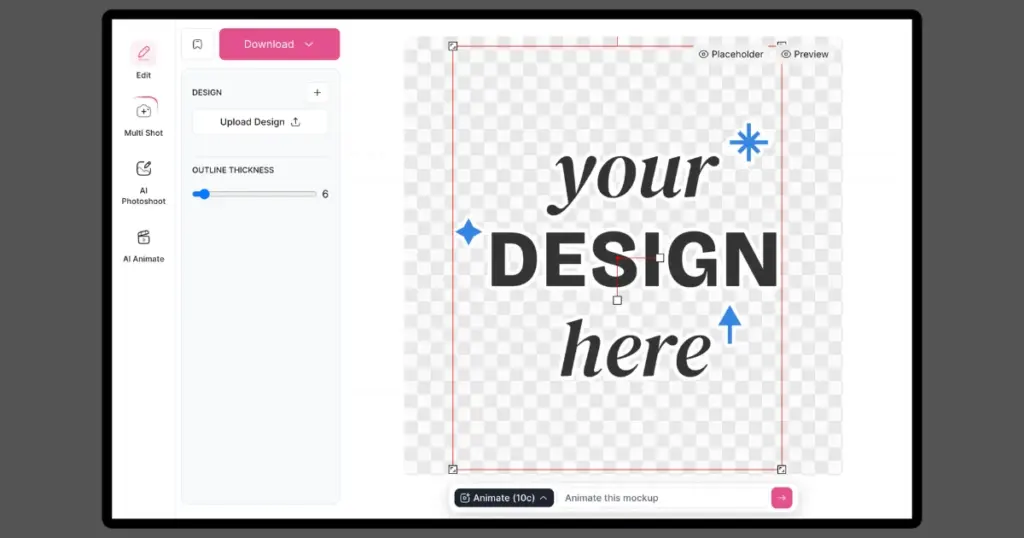
To fix this, you can use tools like Sticker Maker from Mockey. It helps you add a white outline, adjust thickness, and preview your design as a sticker.
Step 2: Choosing the Right Sticker Material
This is where most beginners go wrong. Experienced users say cheap paper can curl, tear, and ruin your results. You mainly have two options:
Paper Stickers
Paper stickers are low-cost, easy to print, and good for practice, but they are not waterproof.
Vinyl Stickers
Vinyl stickers, on the other hand, last longer, resist water, and look more professional, though they cost a bit more.
Step 3: Printing – Home vs Outsourcing
In step three, we will discuss the difference between printing at home and outsourcing.
A. Print at Home
Most people use a simple setup, such as an inkjet printer (Epson is quite popular), along with vinyl sticker sheets and 300 DPI settings for prints.
B. Use Sticker Printing Services
Another option is to use sticker printing services that people often recommend, like StickerApp, Vograce, and Vinyl Disorder.
Our advice is to start by doing everything yourself at home, and once you begin making sales, then think about outsourcing.
Step 4: Cutting
Cutting is where most people get stuck. If you cut by hand using scissors or a craft knife, it’s cheap but slow.
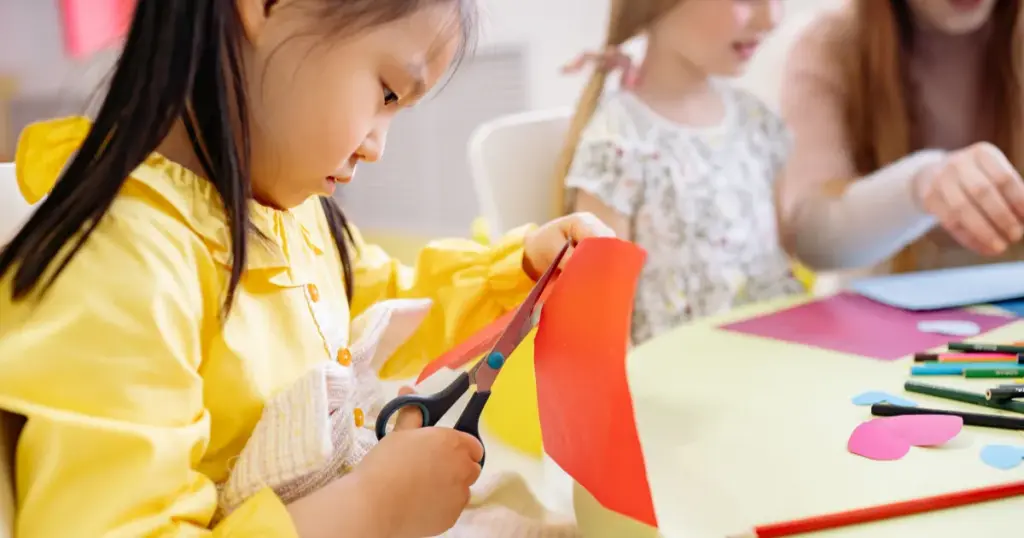
The edges are not always clean, especially when you’re making many stickers.
Many people on Reddit suggest using machines like Cricut Maker, Cricut Explore, or Silhouette Cameo.
Step 5: Lamination
If you want your stickers to last longer, add laminations. You can use cold lamination sheets or self-adhesive laminate; both are easy to apply.
Step 6: Test Before You Sell
Don’t rush to sell your first batch. First, test your stickers yourself. Put them on bottles, laptops, or anywhere you’d normally use them. Check how they handle water and see if they start peeling after a few days.
Create Mockups
Before you start selling, give people a real preview of your design. Use Mockey, a mockup generator with ready-made sticker templates.
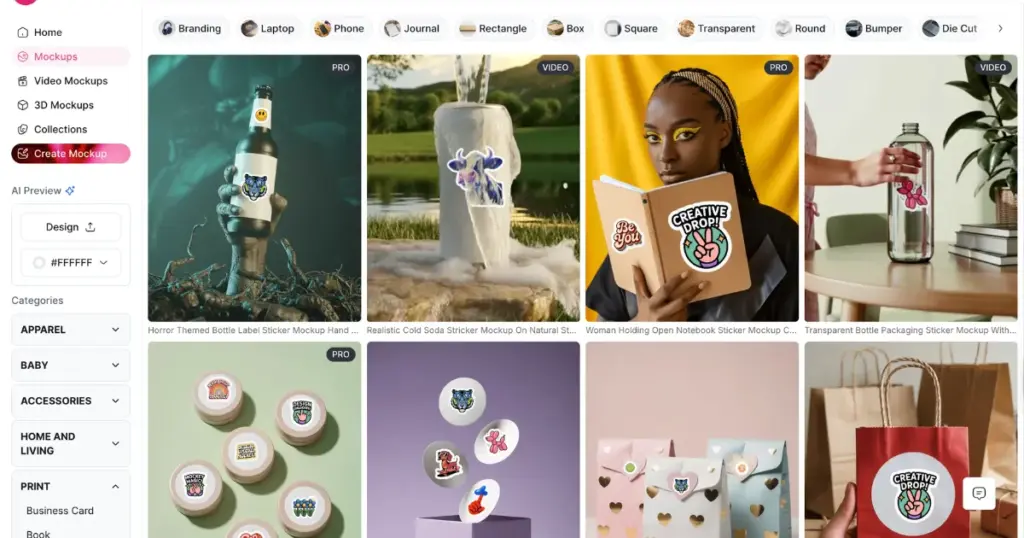
Whether you want to create bumper sticker mockups, laptop sticker mockups, or circle sticker mockups, you can do it with the free plan.
After choosing a template, you can upload your design and place it anywhere using the “Place Anywhere” feature. People use this feature to create all-over print mockups.
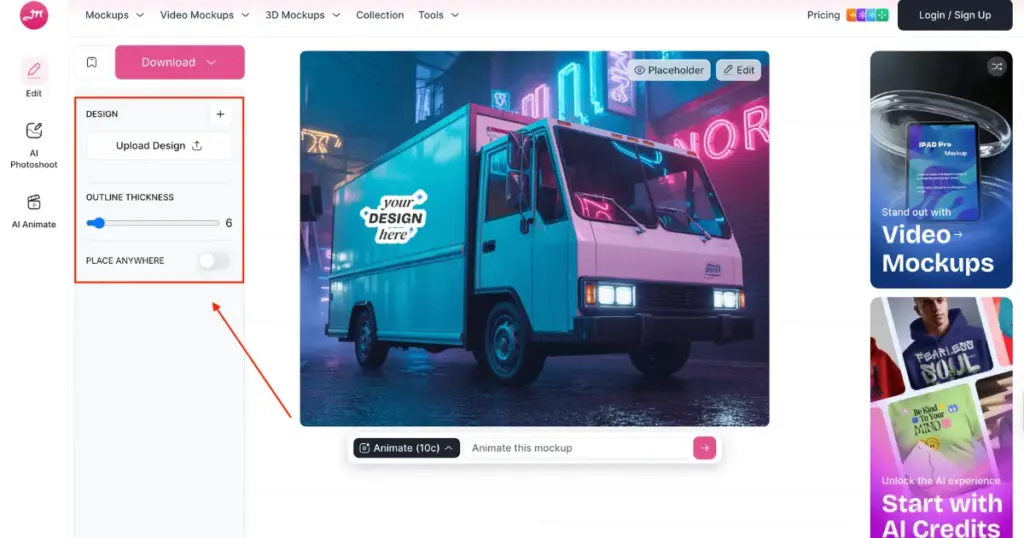
You can also adjust the outline thickness with Mockey.
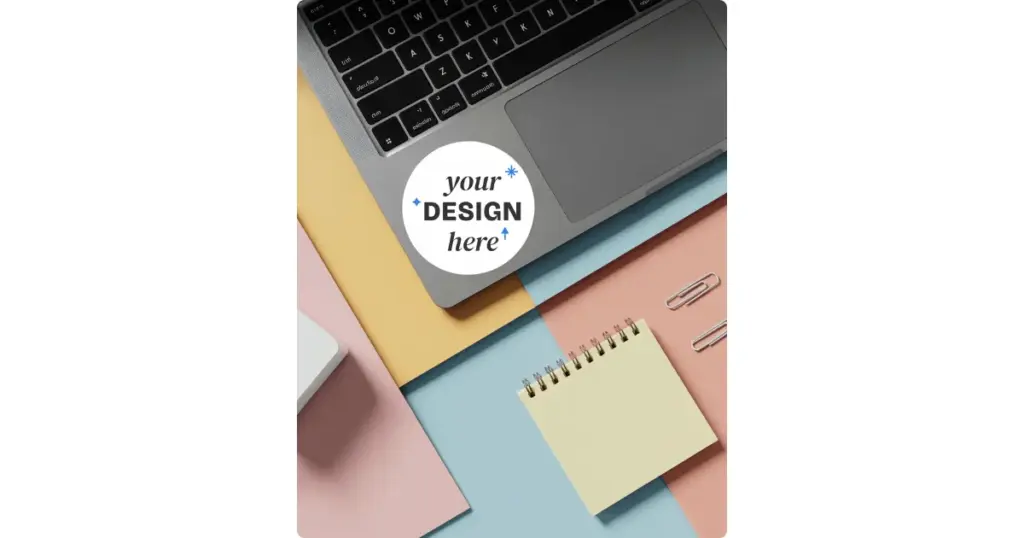
Some of the Best Sticker Mockup Templates to Choose from
Mockey has some ready-made sticker templates that we would like to show you.
1. A sticker on a laptop is placed on a table with a notepad and office items nearby.
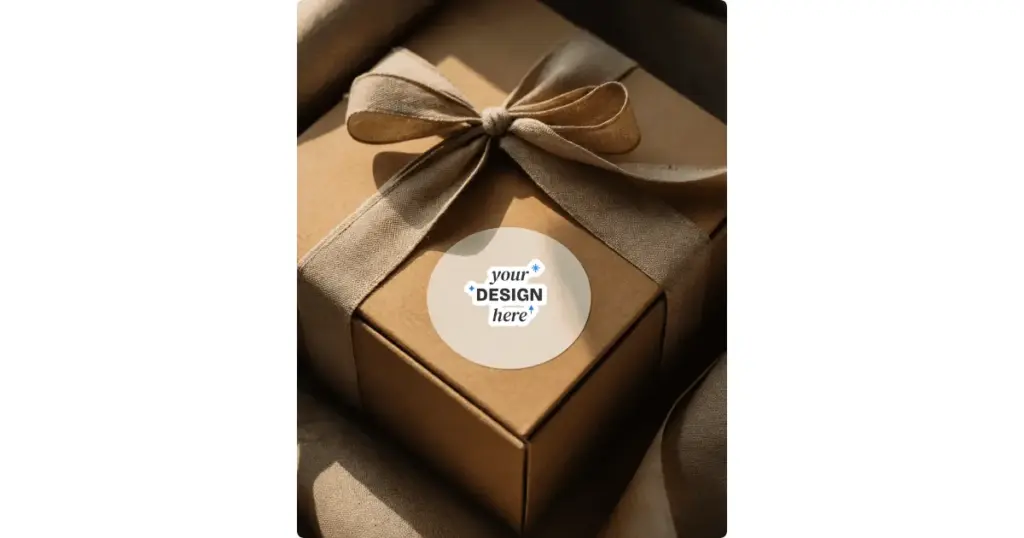
2. A round sticker placed on a gift box tied with a ribbon.
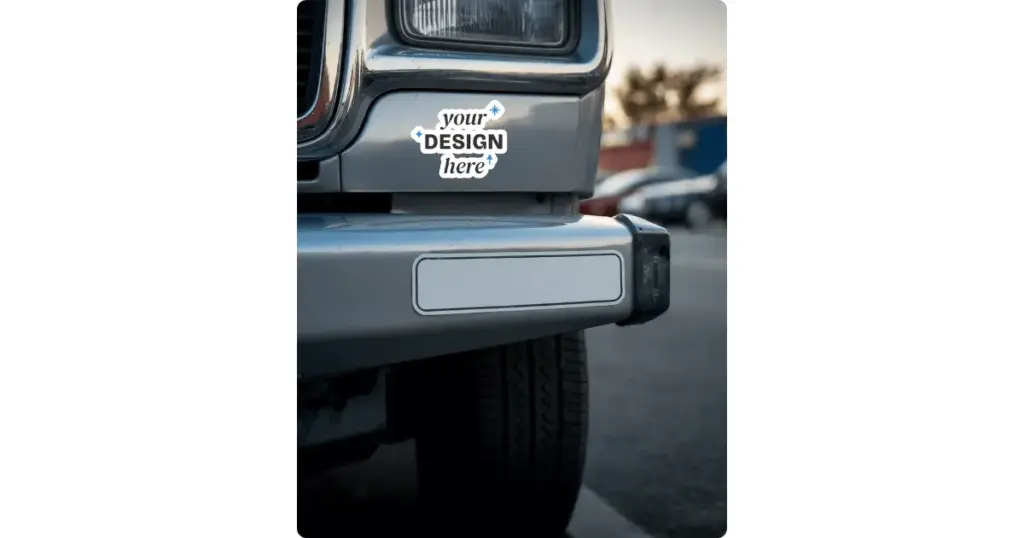
3. A sticker is placed on the front bumper of a car on the street.
Most beginners face the same problems: colors start fading, edges come off, or the vinyl doesn’t stick well. It’s better to fix all of this before you try selling. Adding lamination also makes a big difference. It can turn a basic sticker into something that actually feels good enough to sell.
Step 7: Selling or Scaling
Once your sticker quality looks good, you can start selling in different ways. You can list them on Etsy, sell through your own website, or take orders directly on Instagram through DMs.
Another option is to use the best print-on-demand site, create custom sticker designs for customers, or sell sticker bundles instead of single pieces. Bundles sell better than individual designs.
Conclusion
Now you understand how to create custom stickers. Your first prints won’t come out right, the cuts won’t be organized, and you’ll waste some materials. That’s normal.
But once you get the hang of it, it turns into a skill and can even become a business. If you’re confused and just want to start, keep it simple. To create custom stickers, design using Canva or Procreate, print your design on vinyl sticker paper at 300 DPI, cut it by hand, and add lamination later if needed.
FAQs
How to create custom stickers in WhatsApp?
To create custom stickers in WhatsApp, go to someone’s chat, open the Stickers option (the square icon with a folded corner), then tap Stickers again. Tap Create to choose a photo from your gallery or click a new one. On the preview screen, pick a preset style. You can add emojis, type text, or draw on the sticker using the available tools. Tap the X to cancel. When your sticker is ready, tap the send icon to share it.
How to create stickers from photos?
You can turn a photo into a sticker on your phone by just long-pressing the subject in your gallery, or by using built-in options in WhatsApp and Instagram. These tools automatically remove the background and let you add borders or save it as a sticker.
What are some good sticker design ideas?
Funny quotes, cute characters, relatable text, and niche jokes are some of the best sticker design ideas.
How do we make homemade stickers?
Use sticker paper to make homemade stickers. Print your design on it, cut it by hand or with a machine like Cricut, and if you want it to last longer, you can laminate it to make it waterproof.
If you’re on a low budget, print on normal paper, add tape on top to give it some shine and slight water resistance, and stick glue or double-sided tape on the back.
For better quality, some go for the vinyl option. They use printable vinyl sheets, print with an inkjet printer, and then add a lamination sheet to protect the design.