This guide will show you how to create a bottle mockup in Photoshop. This mockup is useful if you want to show off a wine bottle with your own label—even if the real bottle hasn’t been made yet!
With the Smart Object feature, you can easily update the label whenever possible!
In a hurry? Try our bottle Mockup Generator! It’s super easy—just upload your design, and you can customize the bottle with one click!
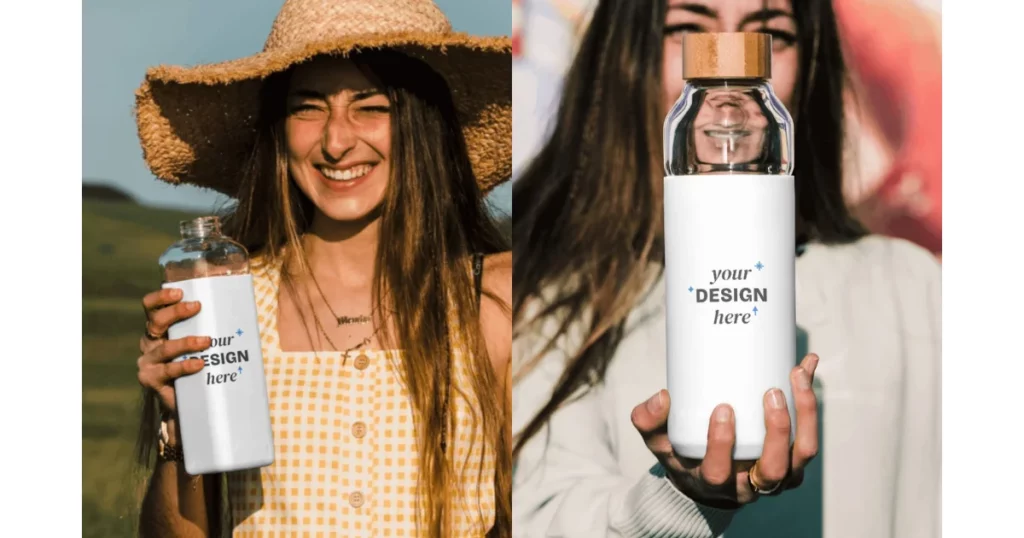
Table of Contents
A Quick Guide on How to Create a Bottle Mockup in Photoshop
Here is a quick tutorial on how to create a bottle mockup in Photoshop.
- Measure label dimensions with the Line tool and delete lines.
- Use the Rectangle tool for the label shape, set dimensions, fill color, and no stroke.
- Convert to Smart Object; rotate, reduce opacity to 30%.
- Warp for fit; reset opacity to 100%.
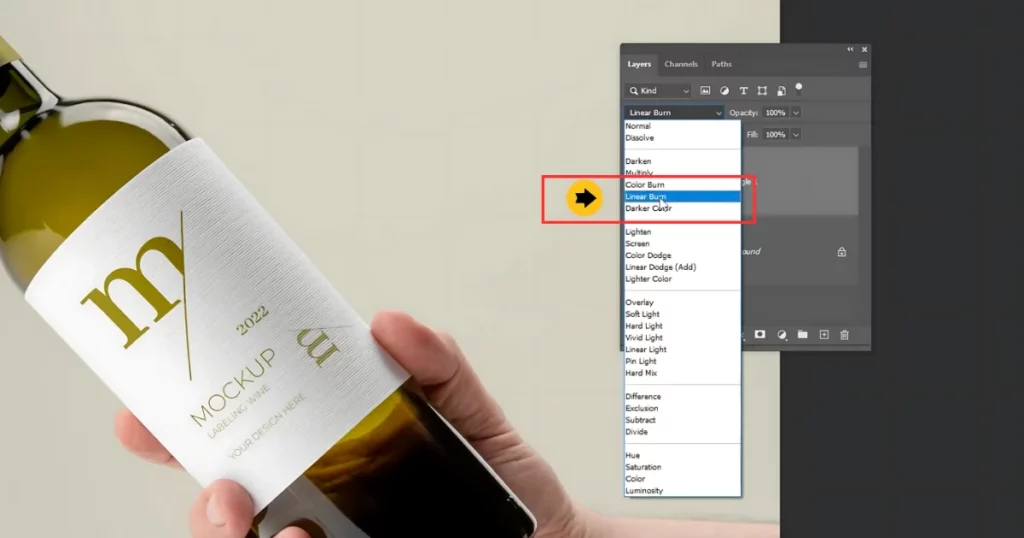
- Insert design in smart object, save, and set Linear Burn blending.
- Apply Gaussian Blur (1 px) to blend.
Step-by-step Guide
Let us show you how to create a bottle mockup in Photoshop step-by-step.
Step 1: Measure the Bottle Dimensions
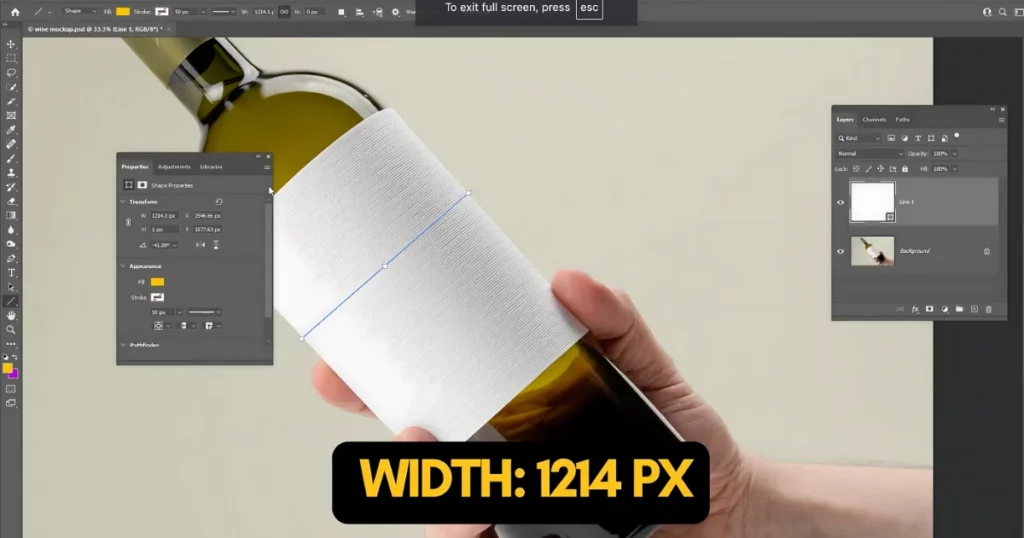
Choose the “Line” tool.
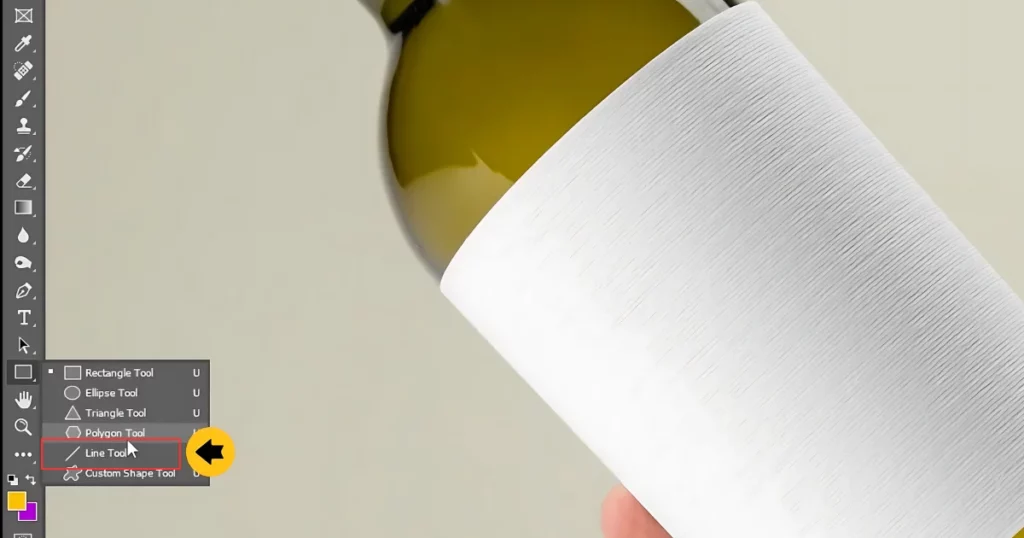
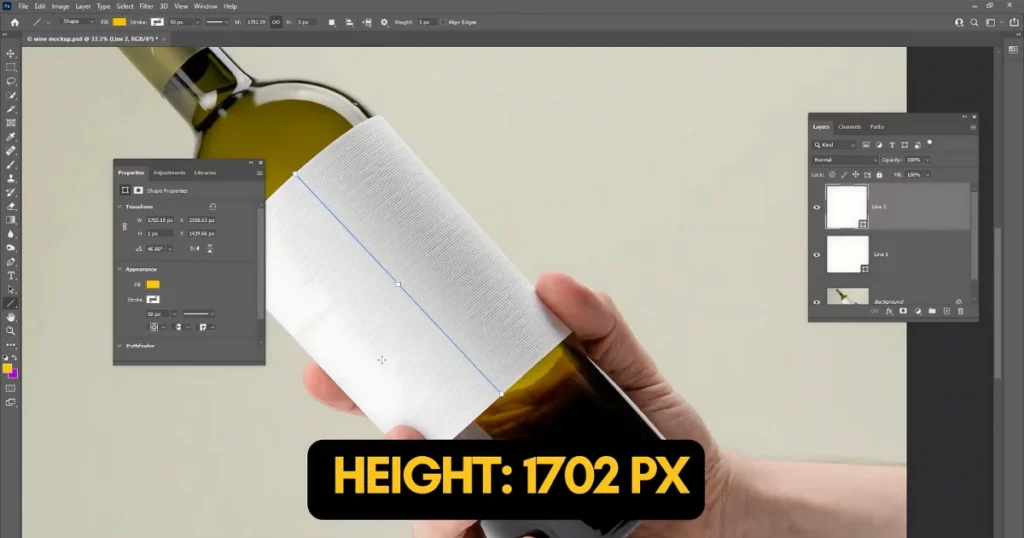
The label’s width and height should be measured first.
Width = 1214 px.
Height = 1702 px.
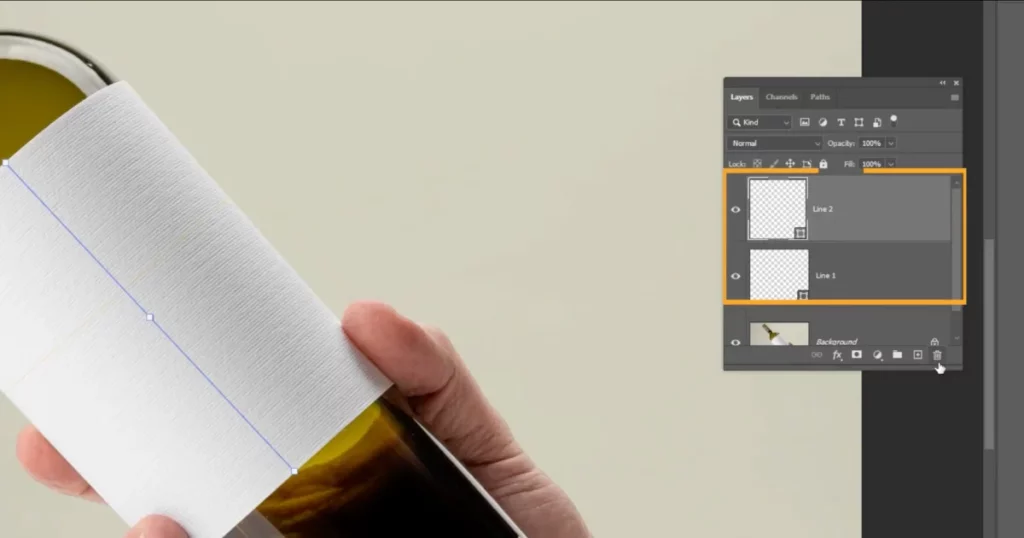
Delete the line layers.
Step 2: Create the Bottle Shape
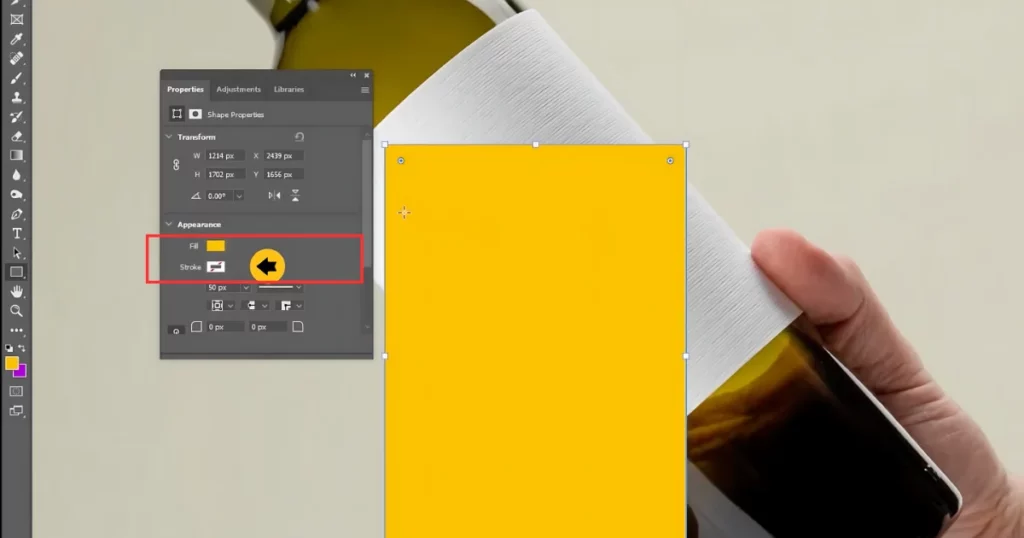
Now choose the “Rectangle” tool. Click anywhere.
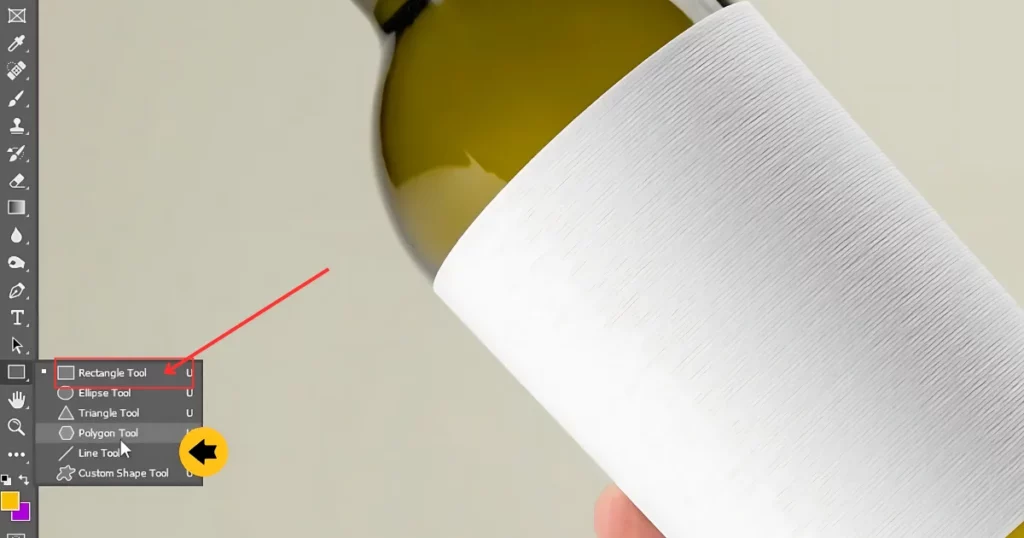
Write the width and height that we have just measured. Choose a fill color with no stroke color.
Step 3: Convert to Smart Object
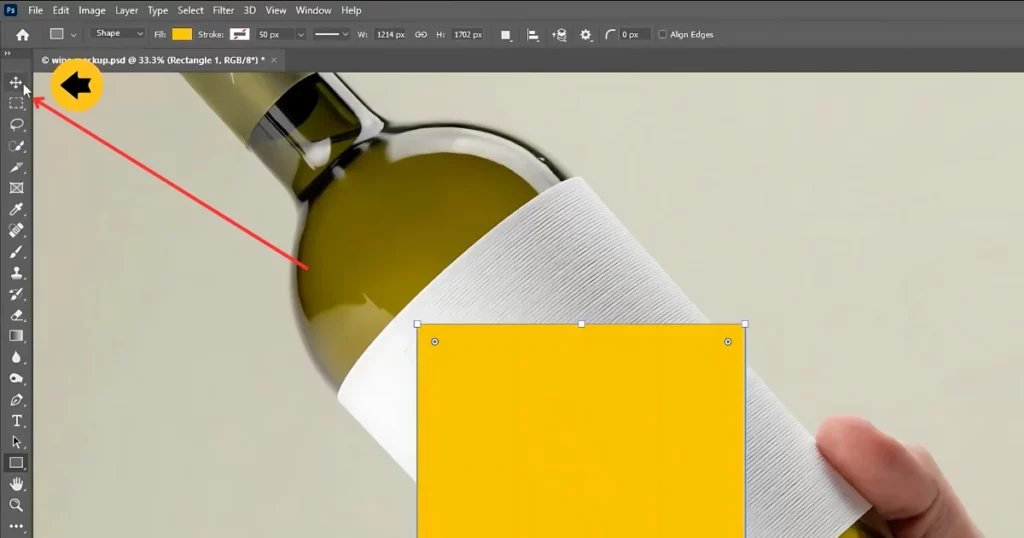
Now choose the “Move” tool.
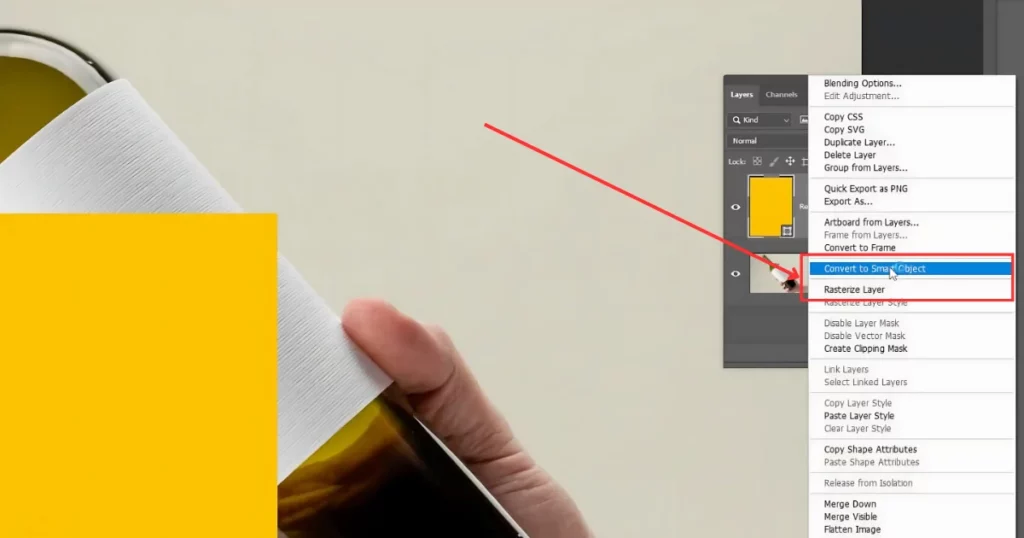
Right-click and choose “Convert to Smart Object“.
Step 4: Transform and Adjust
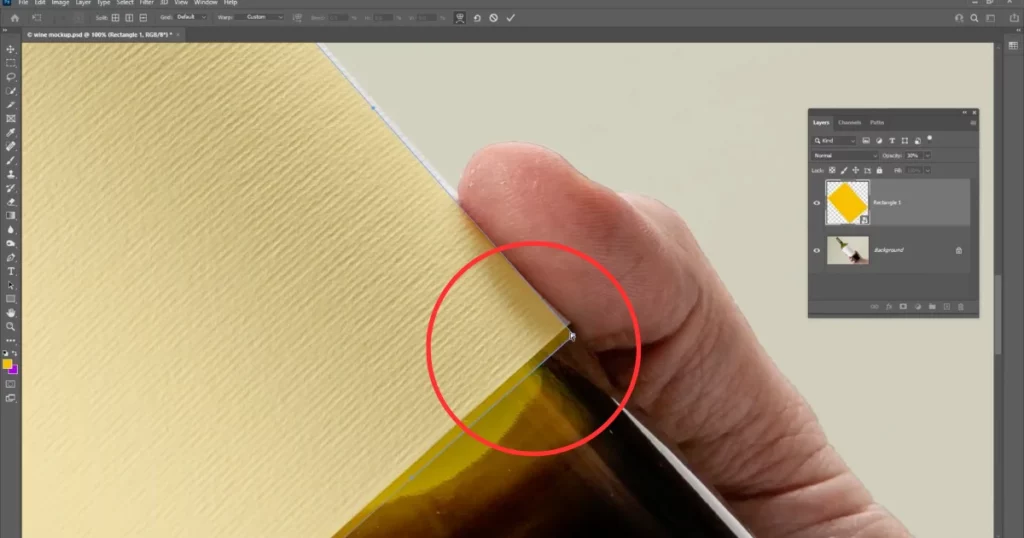
Press “Ctrl T“, rotate it, and reduce the opacity temporarily to 30%.
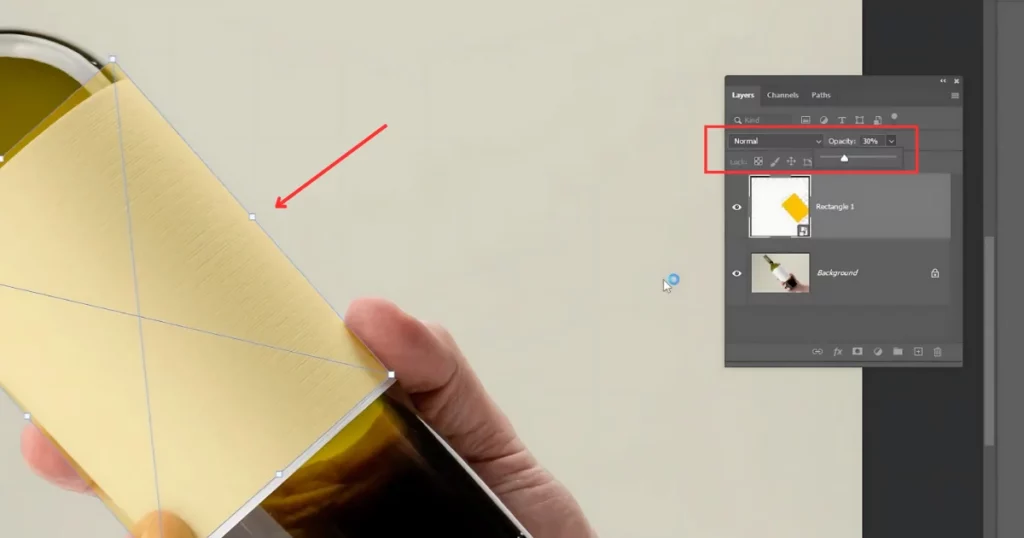
Right-click and choose “Warp“. Zoom in and adjust it accordingly.
Step 5: Add Grip and Finalize Opacity
We can add a grip to adjust it better.
Set back the opacity to 100%.
Step 6: Place Your Design
Double-click on Smart Object. Place your design and then press Save. Press Ctrl S to Save it.
Step 7: Set Blending mode
Change the blending mode to “Linear Burn“.
Step 8: Blur for Finishing Touch
If you have a background in your label then you will have to create a mask to hide this finger. You can pick Gaussian blurs under “Filter > Blur“. Press “OK” after setting the radius to “1“.
That’s it. You have learned how to create a bottle mockup in Photoshop. Imagine a free mockup generator with trendy templates that lets you download unlimited bottle mockups with no watermark.
Best Free Mockup Generator to Create Bottle Mockups
Yes, Mockey is the best mockup website, empowering you to add designs and customize your mockups—even if you have zero design experience.
Here is how to make a bottle mockup using Mockey AI:
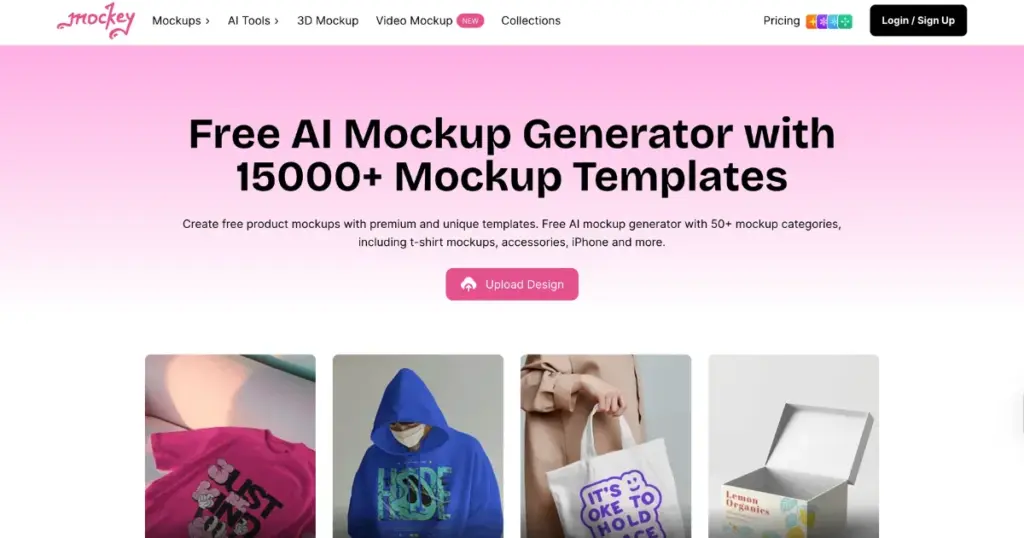
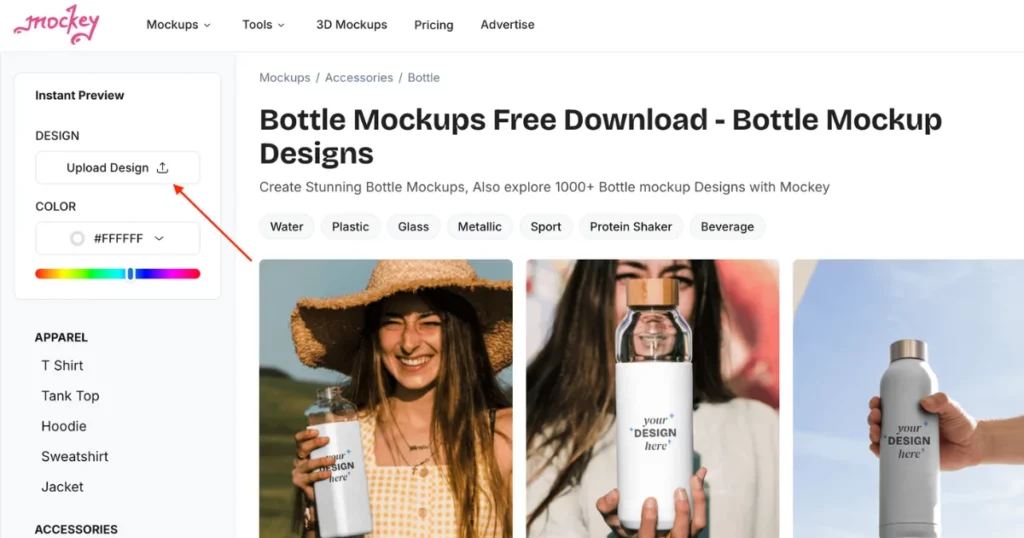
1. Go to the Mockey.ai website, where you’ll find an easy-to-use homepage. You have to sign up to create bottle mockups.
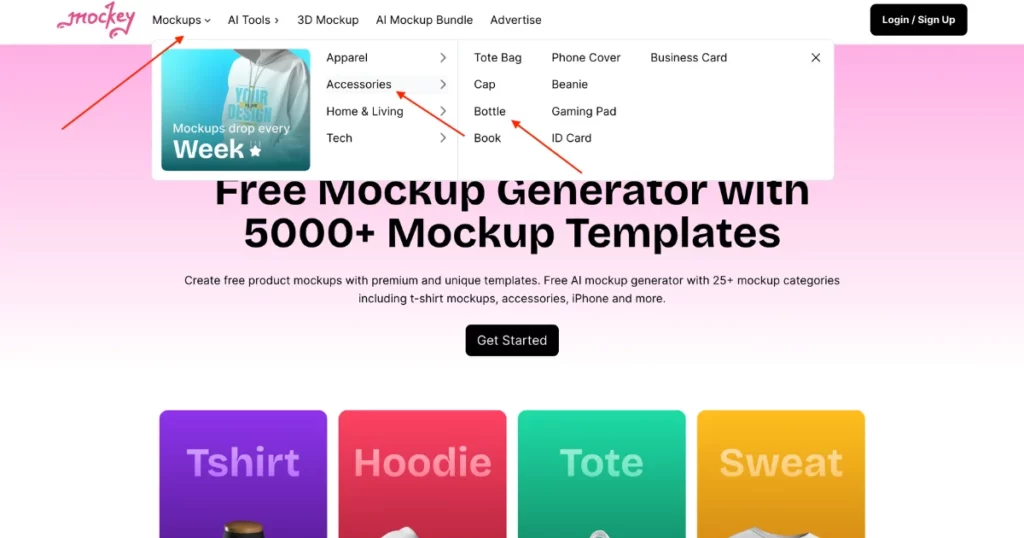
2. Once on the homepage, follow this path in the menu: Mockups > Packaging > Bottle.
3. In the top-left, click “Upload Design” to add your logo, text, or any other designs.
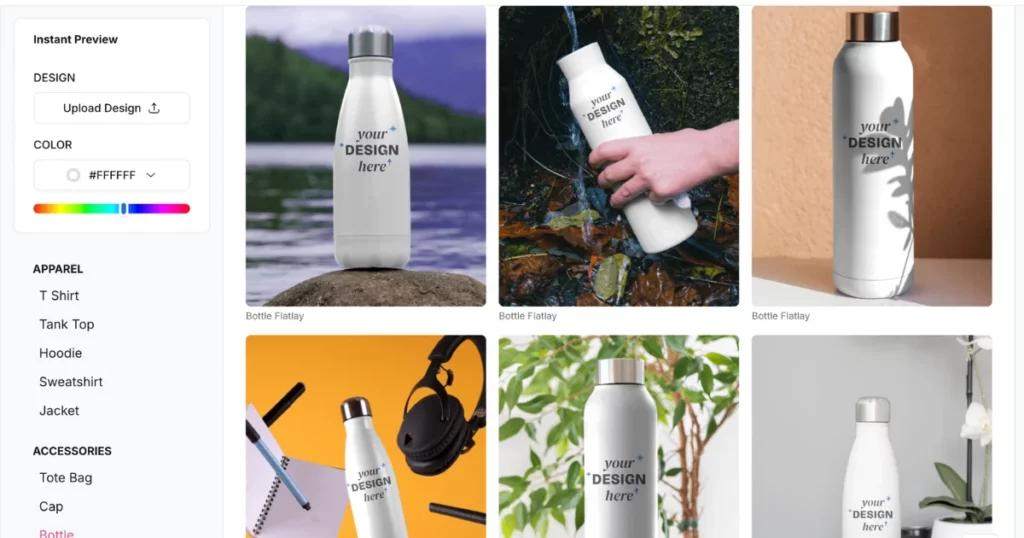
4. Choose a bottle style from the options shown, each with a different background.
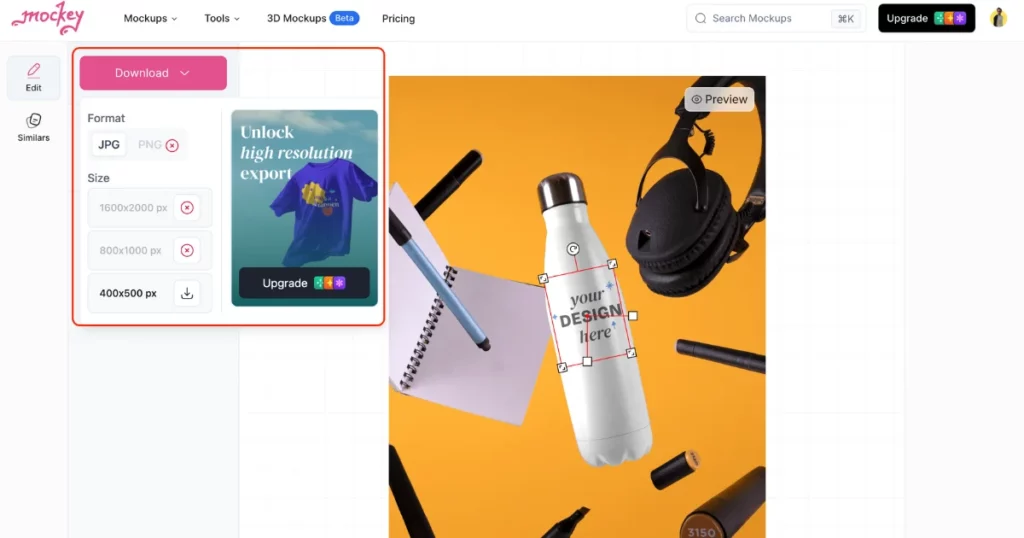
5. Make any changes you want to your logo, including resizing.
6. When you’re happy with your mockup, click “Download” to save it. JPG downloads (400 x 500 px) are free. For higher-quality PNG files (1600 x 2000 px and 800 x 1000 px), you’ll need a premium plan.
Conclusion
To conclude, we have covered how to create a bottle mockup in Photoshop.
With Adobe Photoshop, anyone can create designs for different items, like bottles, boxes, or other products. You can make these designs look more real by placing them into a mockup, which shows how they’d look in real life.
Using Photoshop has a lot of perks. The Creative Cloud Library lets you add branding details from other designs to keep everything looking consistent.
Plus, Photoshop’s tools let you layer your designs onto existing photos or use Adobe Stock images, so your designs look high-quality and realistic.
But don’t forget to use the best mockup generator Mockey AI. Sign up there and start creating.
FAQs
How to create a bottle label mockup?
To create a bottle label mockup, first, open Photoshop and start a new document. Then, use the Rectangle Tool to draw the shape of the label. After that, convert the shape to a Smart Object and lower its opacity slightly. Next, use the Transform and Warp tools to adjust the label so it fits the bottle’s shape. Finally, open the Smart Object, insert your design, and save it.
How can I place an image on a bottle in Photoshop?
To place an image on a bottle in Photoshop, first, open the bottle picture. Drag your logo to the bottle image and position it above the bottle. To make the logo fit the curve of the bottle, press Ctrl + T to resize it, right-click, select Warp, and choose Arch. By doing so, the logo will be adjusted to match the shape of the bottle. Finally, duplicate the logo layer, turn it into black and white, and change the blending mode to Linear Light to add realistic highlights and shadows.
How do you mockup packaging in Photoshop?
To create a packaging mockup in Photoshop, first, open Photoshop and start a new file with the size set to 3000×3000 pixels and 300 DPI. Then, import your packaging image by selecting Place Embedded. Use the Object Selection Tool to pick the object, and create a layer mask. After that, add your design, resize it, and adjust it to fit the packaging. Finally, tweak the colors and textures to make it look realistic, and save your mockup.
Related reading:
