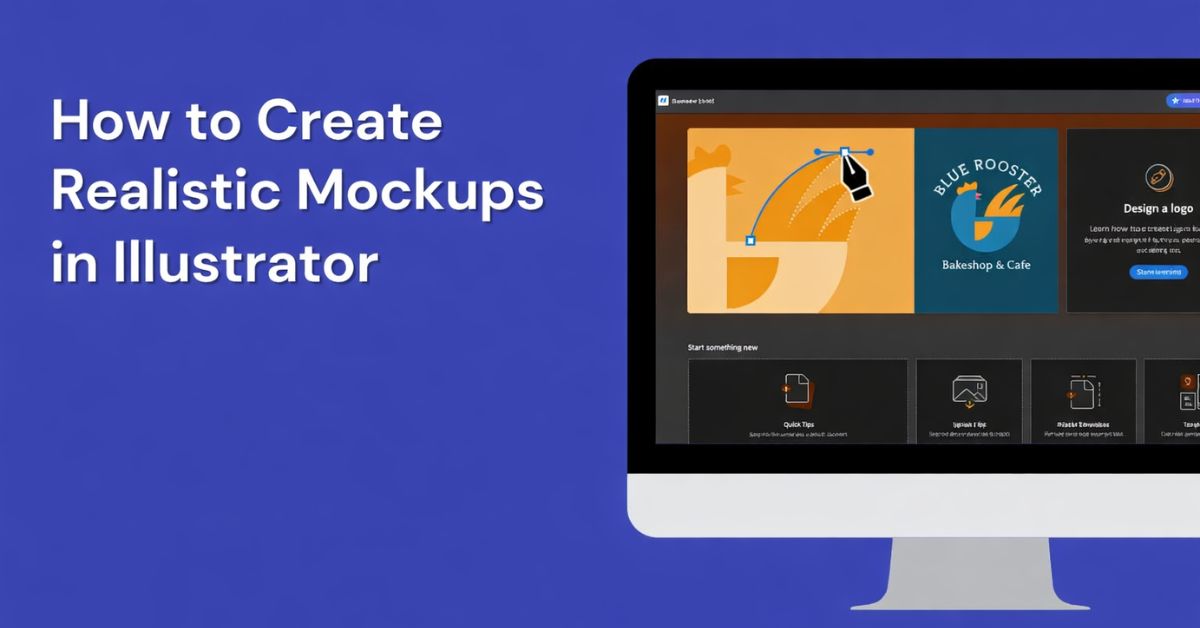
Learn how to create realistic mockups in Illustrator with this step-by-step guide.
Mockup makes it simple to design top-notch mockups by applying artwork to items such as product packaging, t-shirts, and mugs.
However, looking to create product mockups instantly? Try Mockey AI’s free mockup generator to design and customize stunning mockups in just minutes.
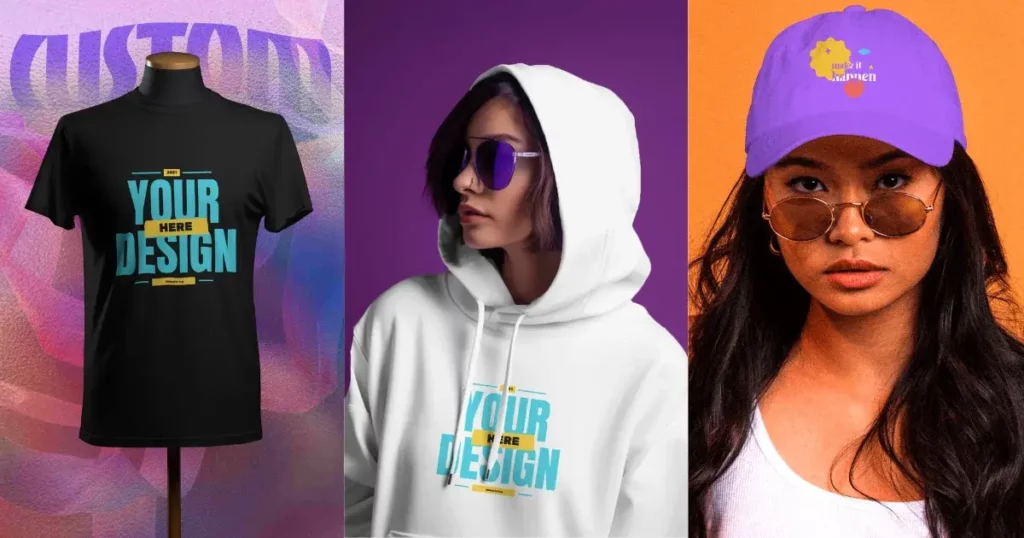
Table of Contents
How to Create Realistic Mockups in Illustrator – Step-By-Step
We recently discovered how to create realistic mockups in Illustrator Beta, and we’re excited to show you how it works. Let’s dive right in!
Step 1: Install Adobe Illustrator Beta
Install Adobe Illustrator beta.
Step 2: Prepare Your Designs
Start with two designs. Drag and drop a blank image.
Next, pick your design and move it over the picture.
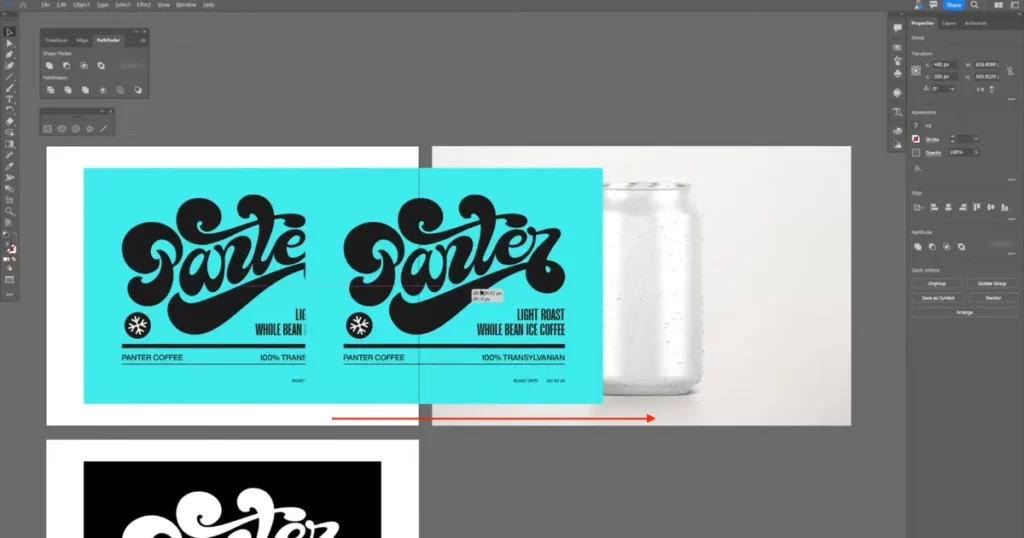
Scale the design to fit the mockup properly.

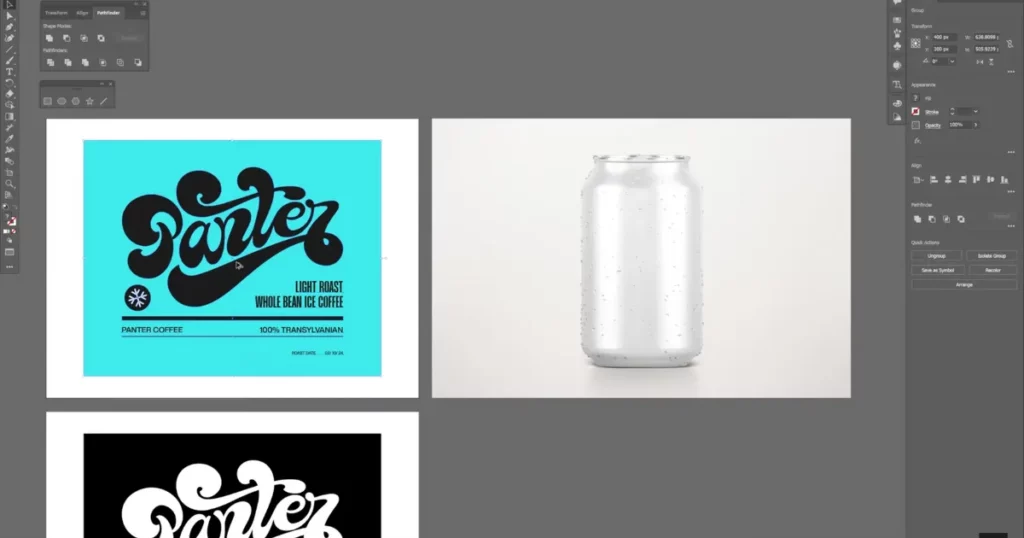
Step 3: Apply the Mockup
Your design and image are now ready. Go to Object > Mockup > Make.
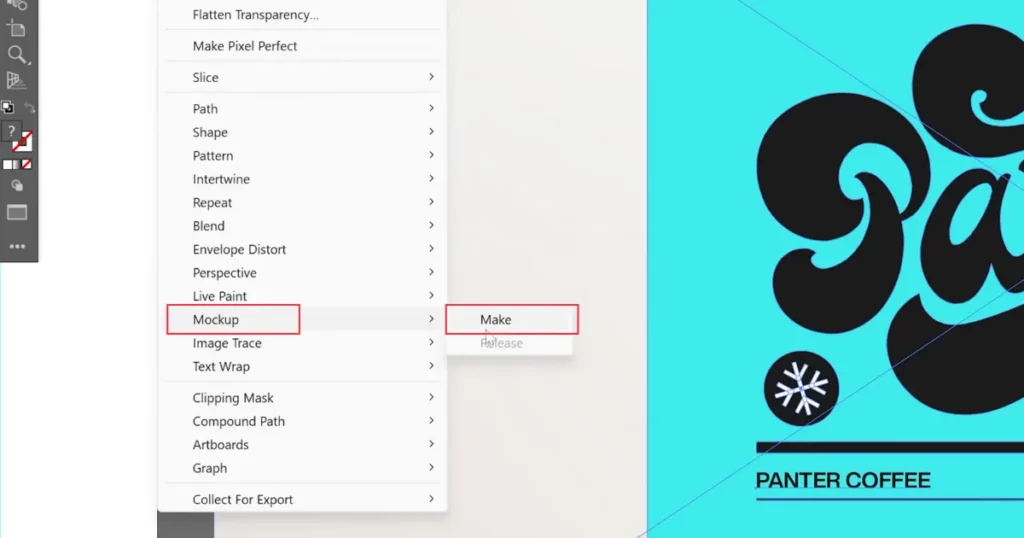
The design will automatically wrap around the mockup image like it’s printed on the object.
Step 4: Adjust the Design’s Transparency
Once applied, you might notice the original design still shows in the image. This happens because the design is flat without shading. To fix it, double-click the design, go to the Opacity settings, and change it from Normal to Multiply.

This will make the design transparent and blend better with the mockup.
Step 5: Adjust the Design’s Position
If you want to reposition the design, double-click it again. The program will automatically adjust the design to match the form of the object—such as a cylinder—so it bends accordingly for a realistic effect.
Step 6: Add a Model to Your Mockup
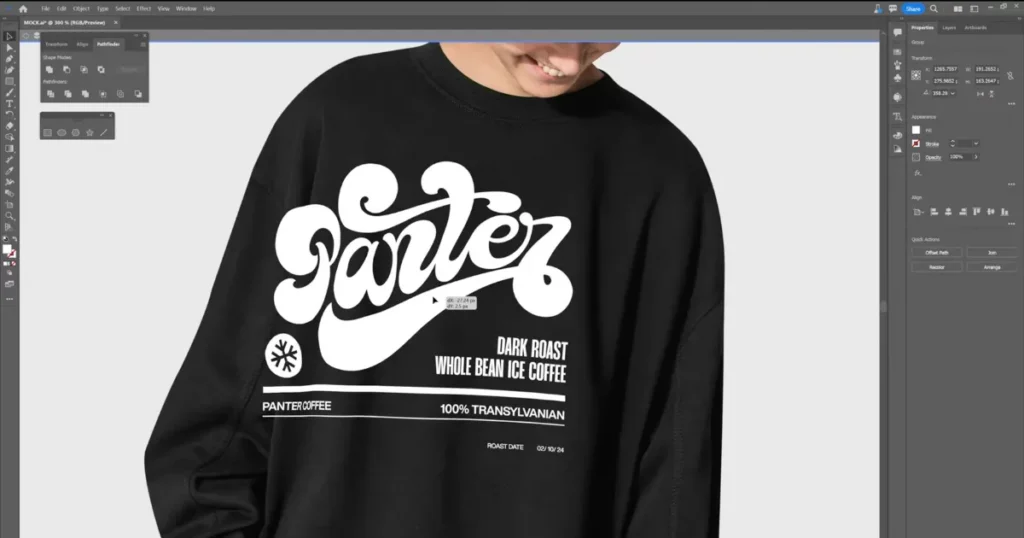
Now, drag and drop an image of a model wearing a black shirt.
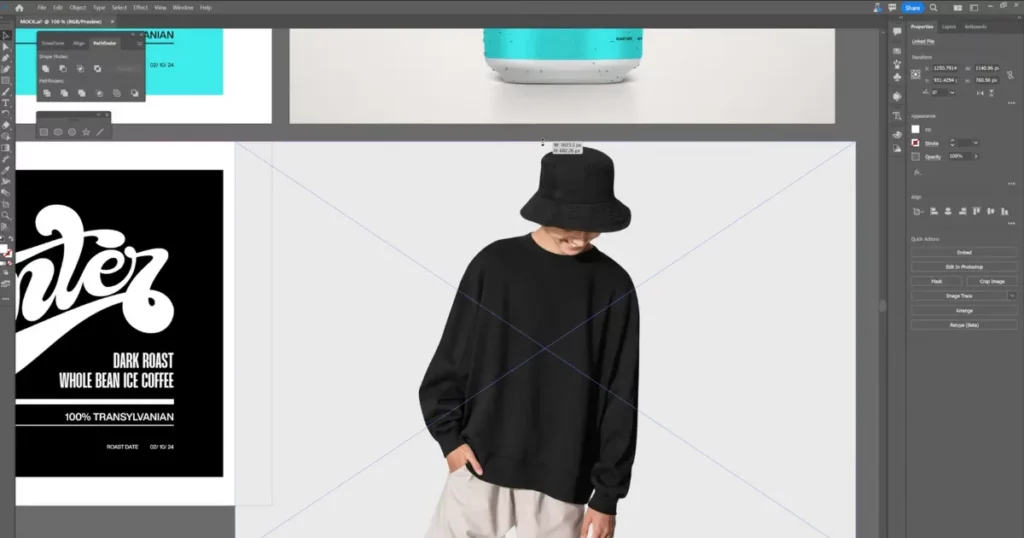
Select only the design (without the background), position it on the model, and scale it to fit.
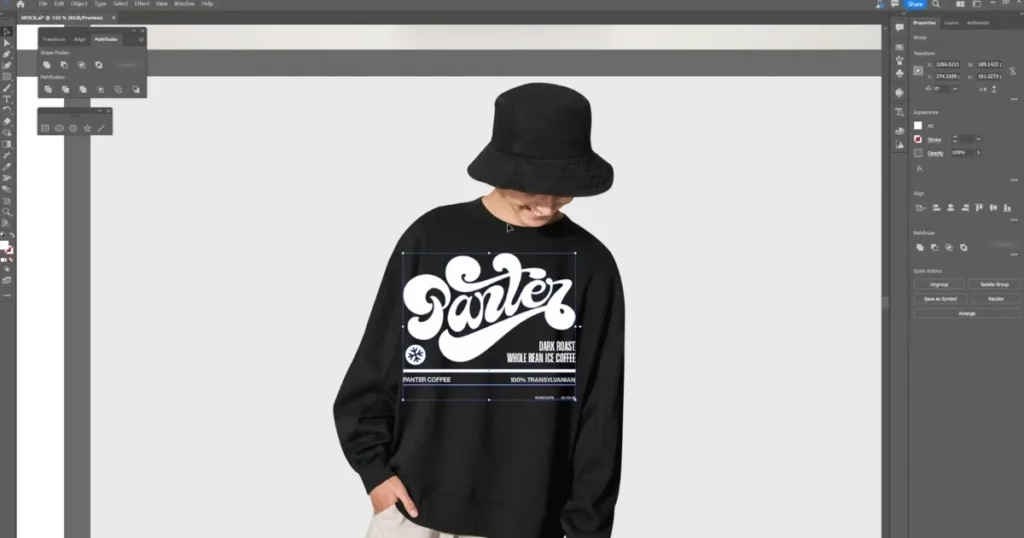
Step 7: Apply the Mockup to the Model
Select both the model and the design, then head to Object > Mockup > Make. The design will wrap around the shirt, and you may need to rotate it slightly to fit perfectly.
Step 8: Release the Design if Needed
Right-click and attempt to release the clipping mask if you must ungroup the design. If there’s no option, simply go to Object > Mockup > Release to remove the design from the mockup.
How to Create Realistic Mockups in Mockey AI?
Mockey AI stands out as the best mockup website for creating realistic mockups, offering an extensive collection of premium templates that you can easily customize.
Follow these steps to create stunning mockups with Mockey AI:
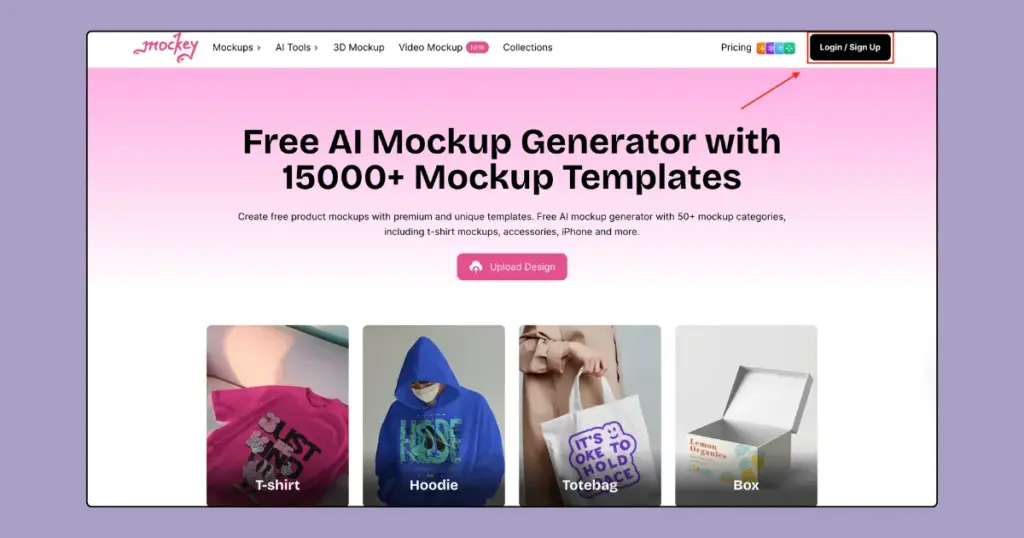
1. Head to Mockey.ai, and sign up there.
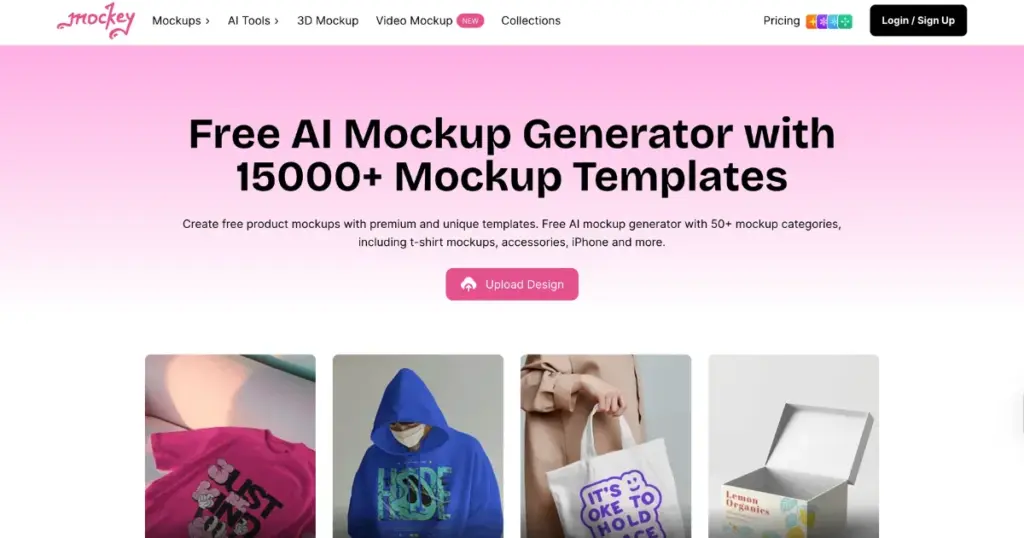
2. Click “Mockups” and Choose a template that fits your project, like t-shirts, packaging, or gadgets.
3. Click “Upload Design” and add your image.
4. Customize with color, background, or AI Photoshoot. Adjust angles and placement to make it look natural.
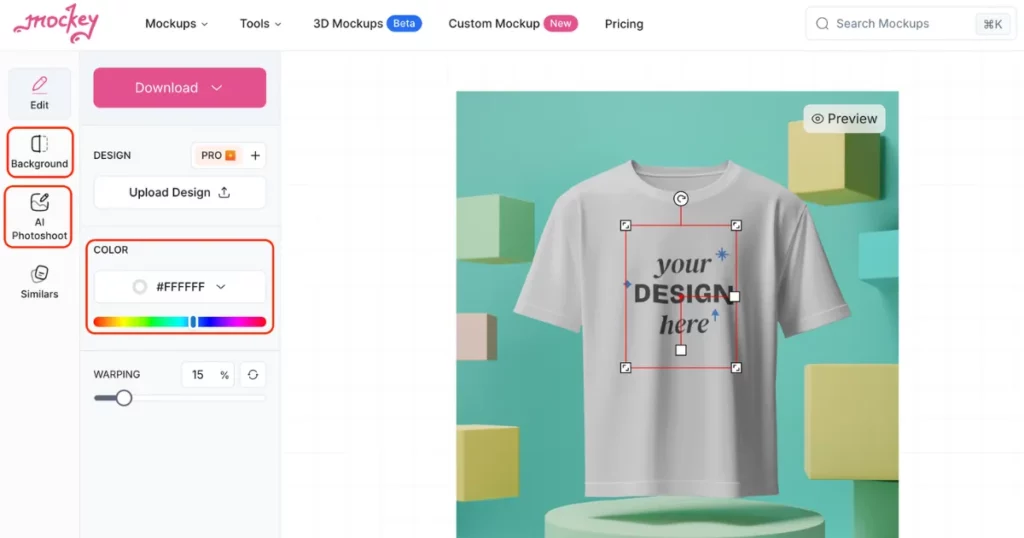
6. Click “Download” to save it as a JPEG file, watermark-free.
Conclusion
Here’s how to create realistic mockups in Illustrator. Experiment with various photos and graphics to refine your design skills—it’s quick, simple, and delivers impressive results that are perfect for showcasing.
Don’t forget to explore Mockey AI, a treasure trove of creative resources! From mockups, 3d mockups, AI tools and product photography, you’ll find endless inspiration. Plus, enjoy unlimited downloads of ready-to-use design assets to elevate your projects.
FAQs
How to create a mockup in Illustrator?
To create a mockup in Illustrator, start by installing the beta version. Drag a blank image, position your design, and use Object > Mock-Up > Make to wrap it. Adjust transparency by setting Opacity to Multiply. To separate designs, use Object > Mock-Up > Release.
How to Make a mockup look realistic?
For a realistic mockup, go to mockey.ai and select Mockups from the menu. Choose the product you wish to customize, upload your image, and personalize it with options like color, background, and an AI-powered photoshoot. Download your mockup free and without a watermark when you’re done.
How do I Make text look realistic in Illustrator?
To make text look realistic in Adobe Illustrator, start by picking a bold font to give it a thicker look. Add shadows and highlights next. Then, use 3D tools to make the text appear more three-dimensional. Finally, adjust the lighting and shadows to make it look even more lifelike.
How to generate a mockup using AI?
Sign up or log in to Mockey.ai to create a mockup. Pick a template from more than 27,000 choices, upload your design, and make any changes you want. Finally, you can export your mockup with no watermark.
Is Photoshop or Illustrator better for mockups?
Photoshop and Illustrator are used for creating mockups. Photoshop is great for editing photos and working with detailed images. It’s perfect for mockups that need complex designs. Illustrator, however, is best for making vector graphics that can be resized without losing quality. It also lets you work on multiple designs at once.
What app can I use to Make mockups?
You can use Mockey.ai to create mockups. It has more than 27,000+ templates and smart AI tools. You can easily upload your designs, change the templates to fit your needs and download high-quality mockups without any watermarks.
Does Adobe have free mockups?
Adobe gives free mockups on different platforms. You can find free images and vector designs on Adobe Stock by choosing the free filter. Also, Adobe Express has a mockup generator with more than 4,500 templates you can use.
Which version of Illustrator has a mockup?
Adobe Illustrator’s mockup feature is available in the beta version and version 28.0 or newer. This tool helps users combine their vector designs with real photos.
Related reading: