How to Create iPhone Mockup in Photoshop
This article will guide you on how to create iPhone mockup in Photoshop, along with a step-by-step walkthrough using the Mockey.ai mockup generator.
Mockey offers excellent free iPhone templates without watermarks, making it a great alternative to Photoshop.
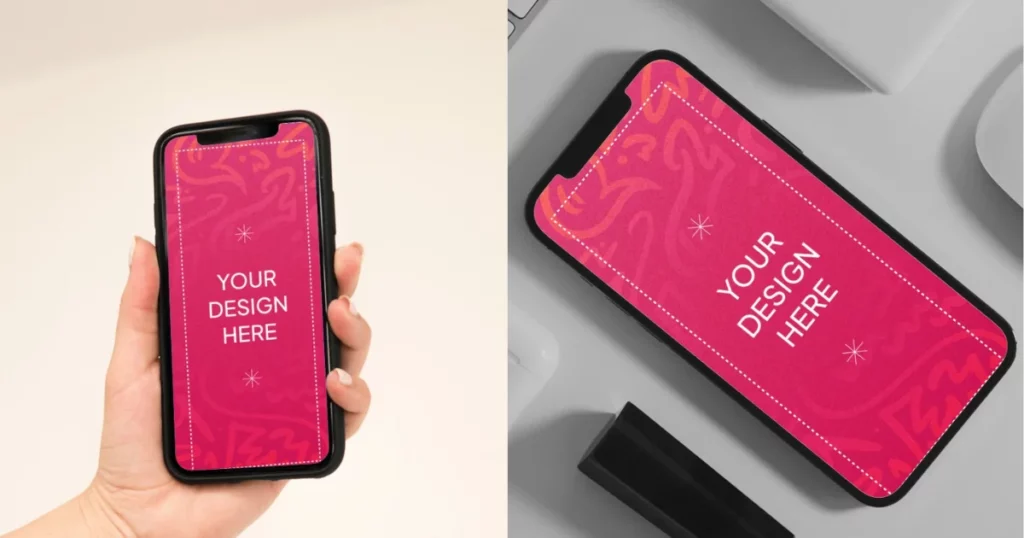
We’ll also cover how to customize your design to an iPhone mockup using Mockey.ai, which is easier to use than Photoshop.
Let’s get started!
Table of Contents
A Quick Guide on How to Create iPhone Mockup in Photoshop Using Mockey.ai
The following is a quick tutorial on how to create iPhone mockup in Photoshop using Mockey.ai.
- Open the Mockey.ai mockup generator, go to Mockups > Tech > iPhone, and download a free, watermark-free JPEG mockup.
- In Photoshop, use the Rectangle Tool to create a 375×812 box, with no stroke, and bright color fill. Center it, convert it to a Smart Object, and resize the canvas (Image > Canvas Size) by multiplying width and height by 3 for high-res scaling.
- Save the file, return to the main document, and resize using Free Transform (hold Shift + Alt/Option to scale).
- Use the Magic Wand Tool and Expand (1px at a time) to select the white, and soften edges with Feather Selection (1px).
- Refine using the Quick Selection Tool, then turn on the Smart Object, add a layer mask, and organize layers.
- Double-click the Smart Object thumbnail, insert your design, save, and close to update the iPhone mockup.
A Step-by-step Guide
This step-by-step tutorial shows you how to create iPhone mockup in Photoshop using Mockey.ai.
Step 1: Download the iPhone Mockup Template
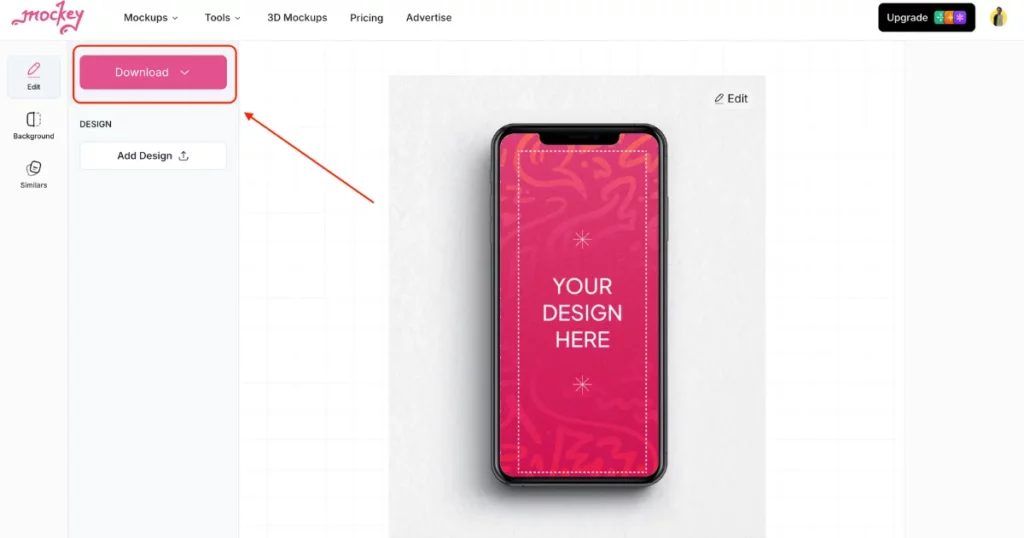
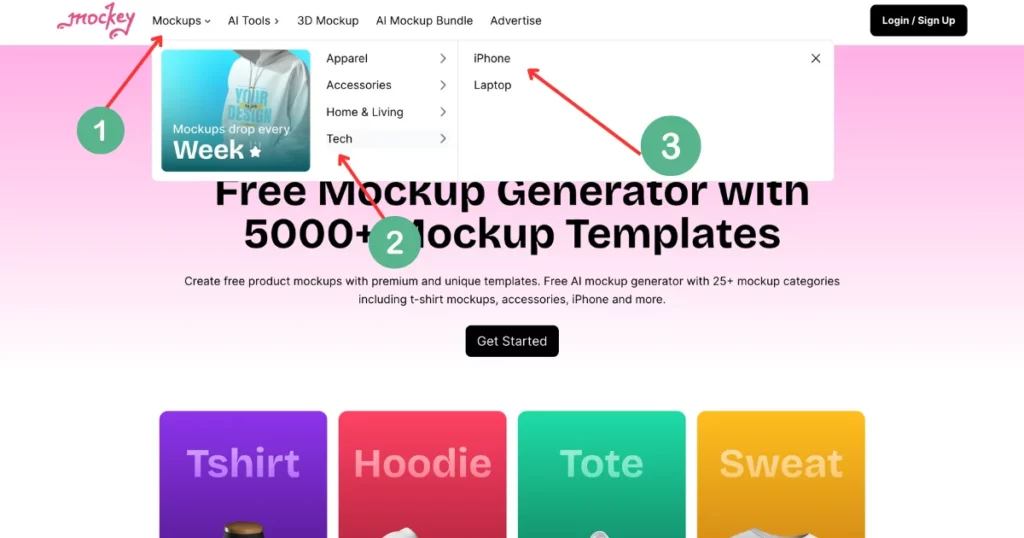
Open Mockey.ai (sign up there) and navigate to “Mockups” > “Tech” > “iPhone.” Choose a template and download the blank iPhone mockup in JPEG format, which is free and watermark-free.
Step 2: Set up the Base Shape
Open your JPEG file in Photoshop. Anywhere on the canvas, click the Rectangle Tool. Enter the dimensions for your design (e.g., 375×812 for an iPhone).
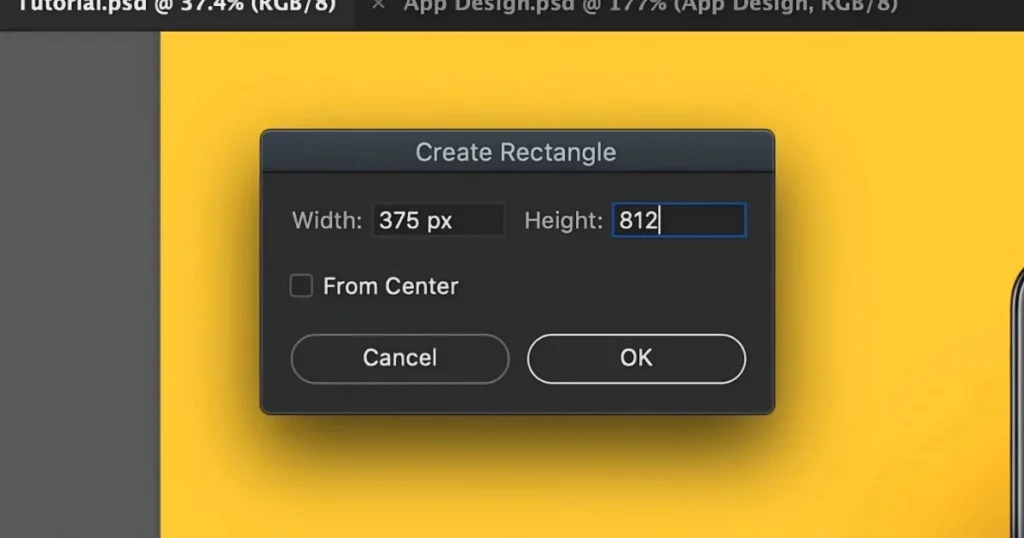
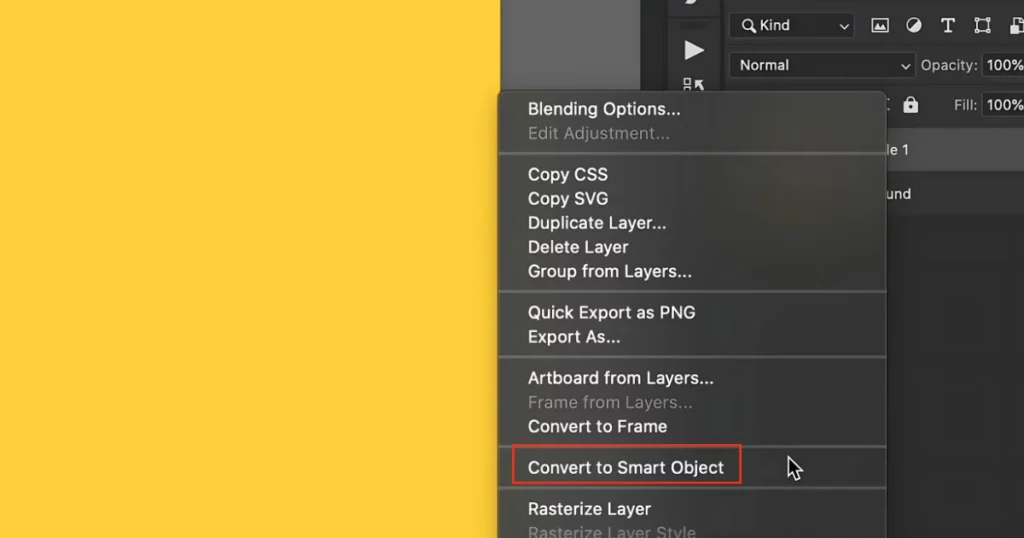
Set the stroke to “None” and fill the rectangle with a bright color (any color works). Move the rectangle to the center of the canvas. If it’s too small, right-click the rectangle layer and select “Convert to Smart Object.”
Step 3: Adjust the Smart Object Size
Double-click the Smart Object to open it. Go to Image > Canvas Size and set the width to “375 * 3” and the height to “812 * 3” (this multiplies the dimensions by 3).
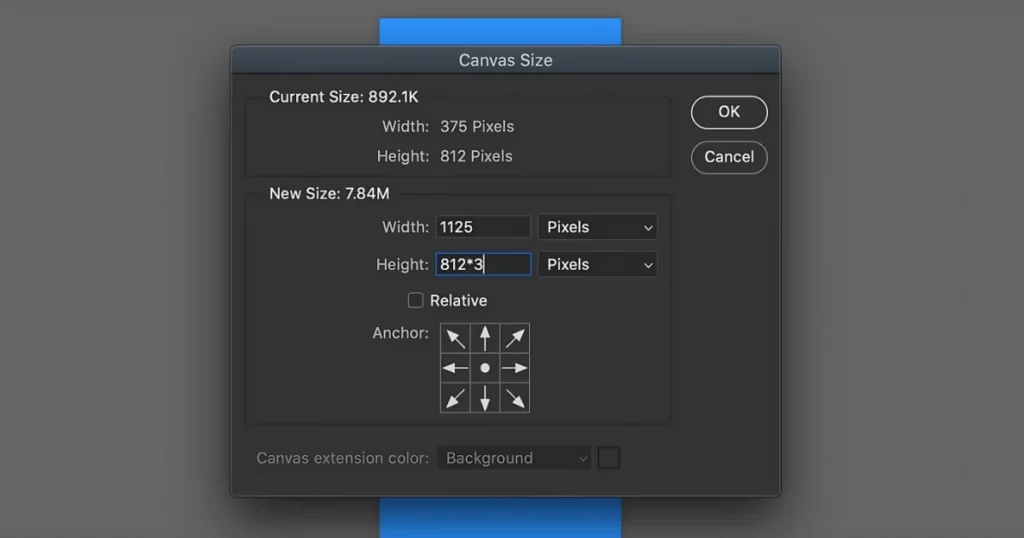
Scale the design proportionally for high-resolution quality, then save the Smart Object and return it to the main document.
Step 4: Resize and Position the Shape
Once you get back to the main document, you’ll see that the shape is larger. Go to Edit > Free Transform, hold Shift, and resize from a corner.
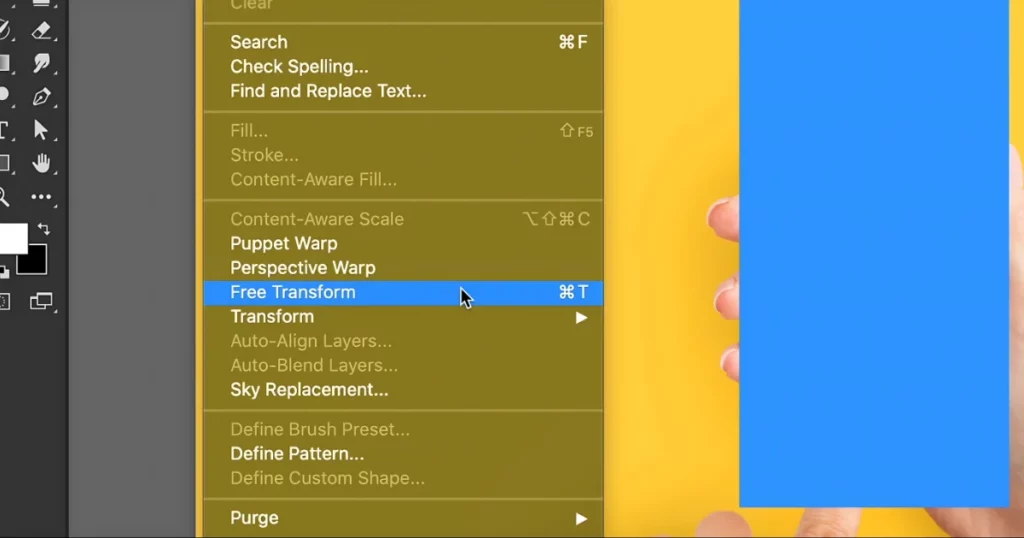
You can hold Alt/Option to scale from the center. Position the rectangle to cover the iPhone display.
Step 5: Refine the Selection
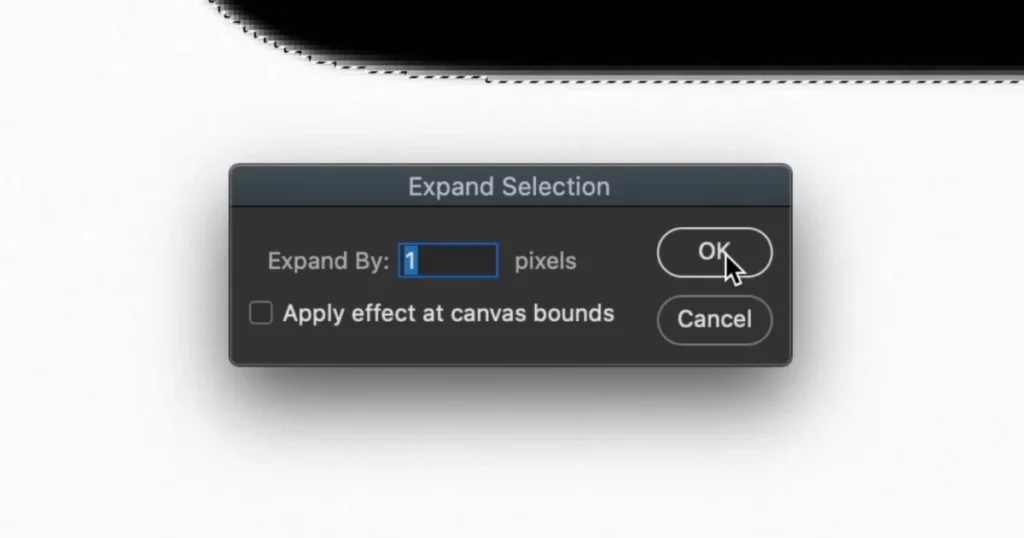
Hide the rectangle layer and select the background. Zoom in and use Photoshop’s selection tools: Object Selection, Quick Selection, or Magic Wand. Start with the Magic Wand Tool to select the area. If the selection isn’t perfect, go to Select > Modify > Expand and increase by 1 pixel at a time until the white is fully selected.
Step 6: Soften the Selection
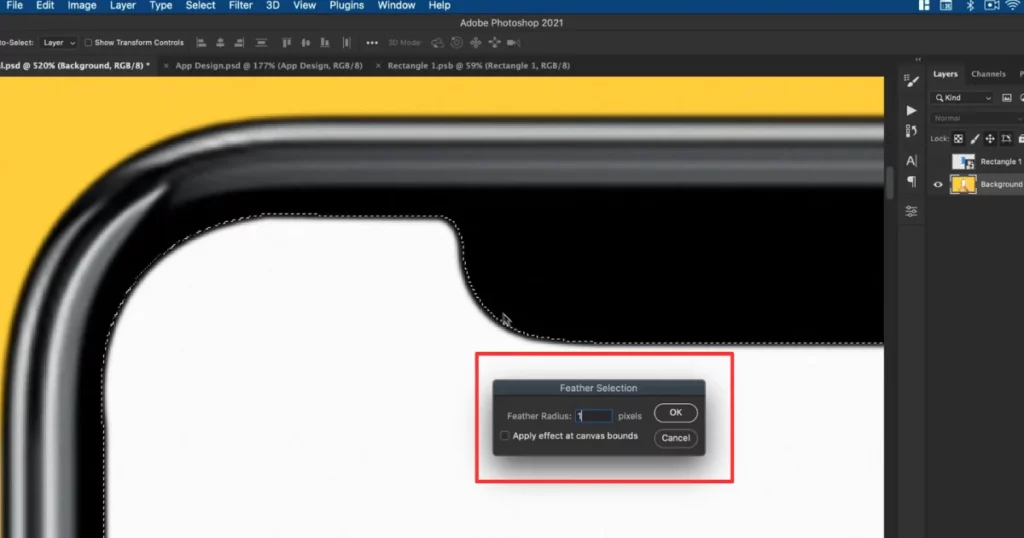
To avoid hard edges, go to Select > Modify > Feather and set it to “1” pixel for a softer, more natural look.
Step 7: Fine-Tune with Quick Selection Tool
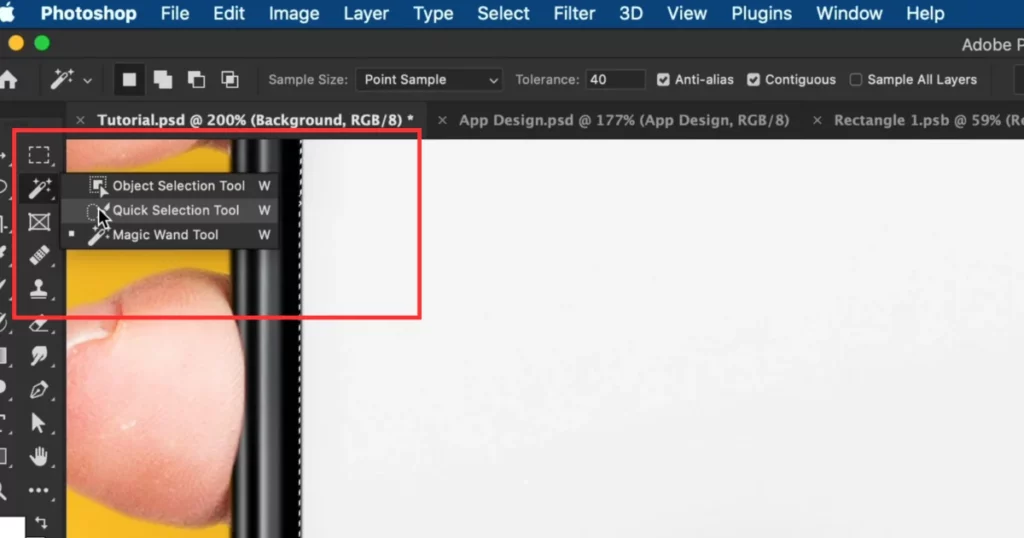
Use the Quick Selection Tool to further refine the edges, especially around detailed areas like fingers.
Step 8: Mask the Design
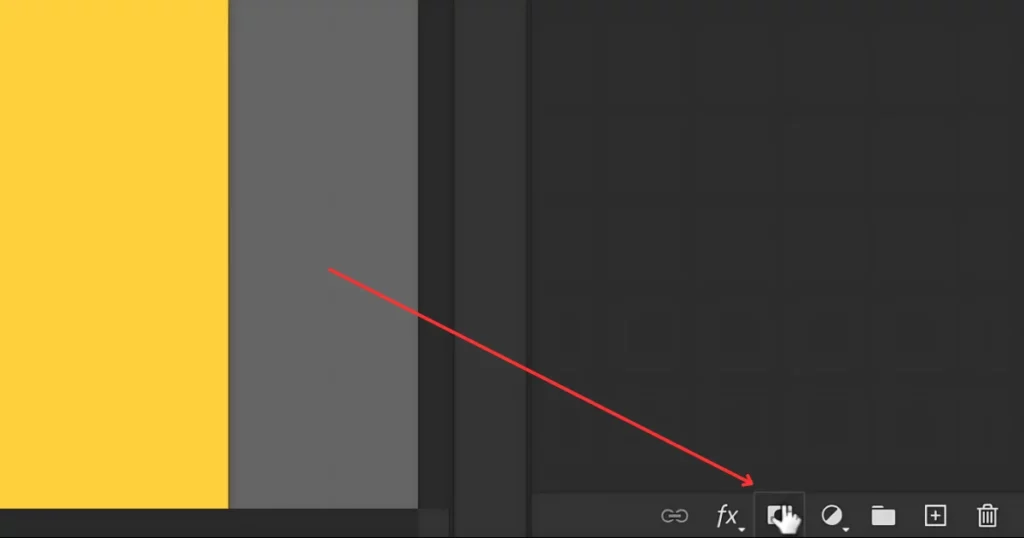
Turn the Smart Object layer back on. Layers panel > Add Layer Mask. Rename the layer for better organization.
Step 9: Add Your Design
Double-click the Smart Object thumbnail to open it. Bring your design (from Photoshop, XD, or Illustrator) into the Smart Object file. Resize the design to fit the canvas, save, and close the file.
Step 10: Finalize
Your design will now appear on the iPhone display. You can always return to the Smart Object, make changes, and save to update the main document.
Use Mockey.ai as an Alternative to Photoshop for Mockups
Make use of Mockey.ai instead of Photoshop for your mockup needs.
Step 1: Launch Mockey.ai
Open Mockey.ai and sign up there.
Step 2: Look for the Phone Category
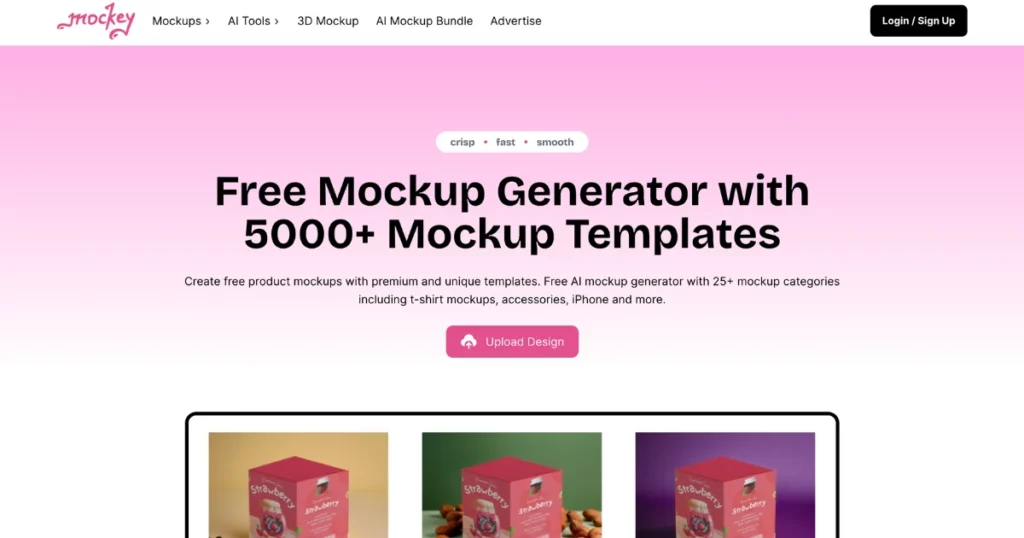
Tap “Mockups“, then “Tech“, and select the “iPhone mockup” category.
Step 3: Upload Design
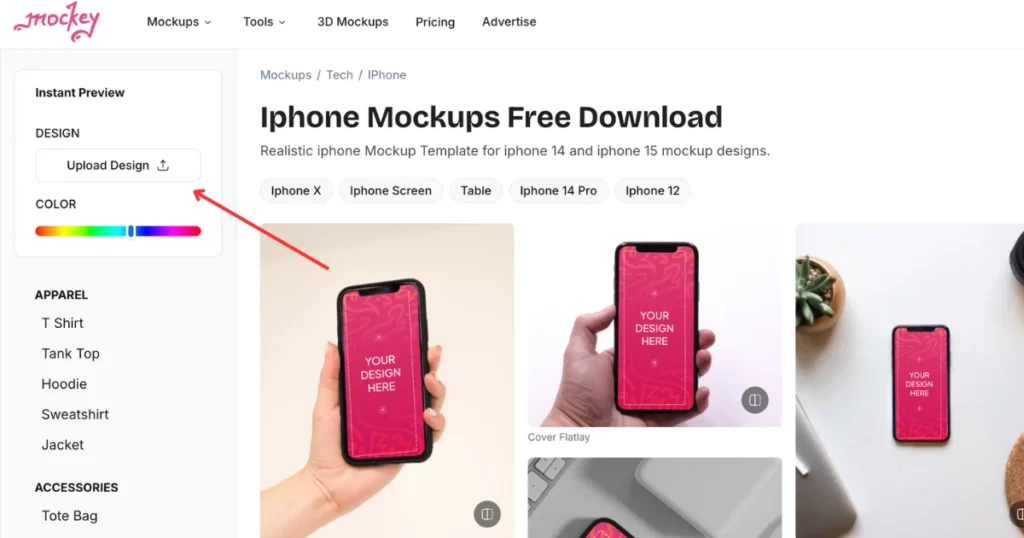
Add your design to customize for your mockup by clicking the “Upload Design” button.
Step 4: Customize
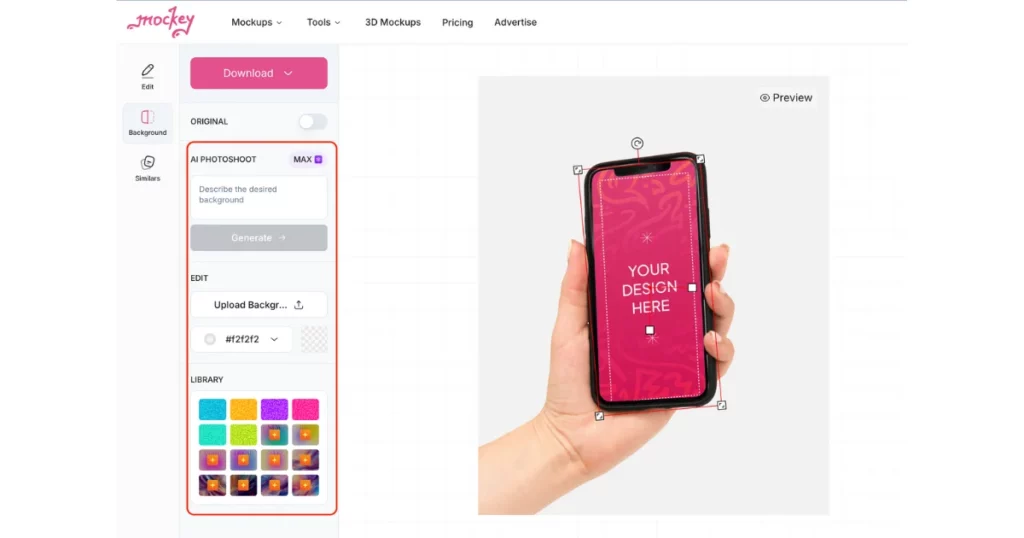
Choose from various customization options, including background changes. You can select from pre-made designs, upload your own background, or make it transparent. Mockey’s Creator plan, available at an affordable price, even lets you describe your ideal background—a unique feature not offered by other mockup websites.
Step 5: Download Your iPhone Mockup
After the customize, hit the “Download” button to save your iPhone mockup for free with no watermark in it.
Best iPhone Templates to Pick
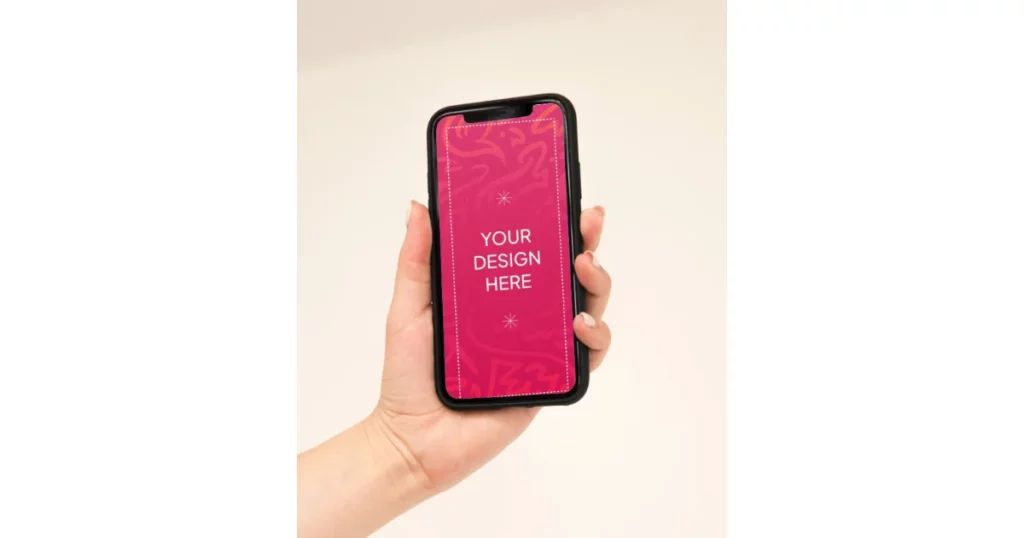
1. iPhone Mockup in Hand
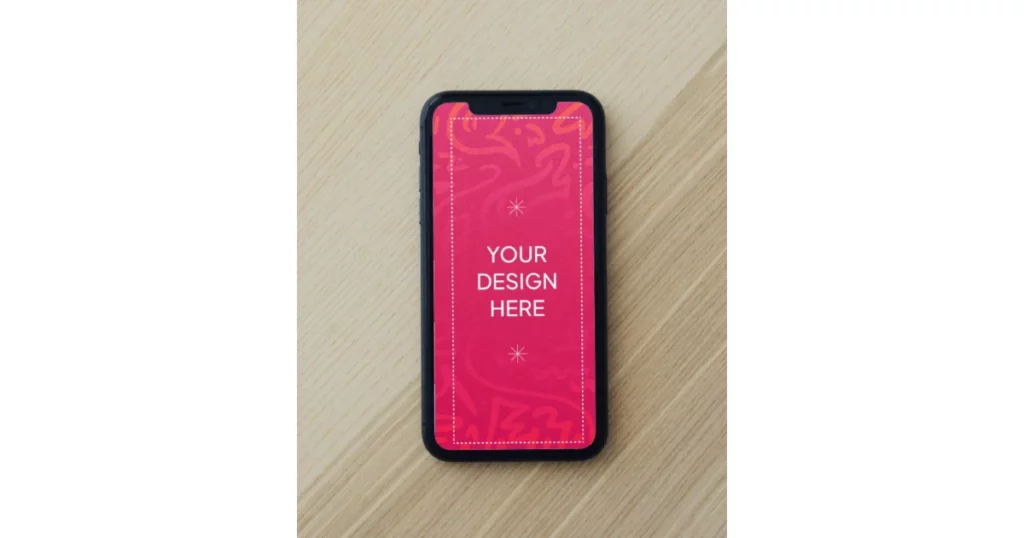
2. iphone Mockup in Wooden Surface
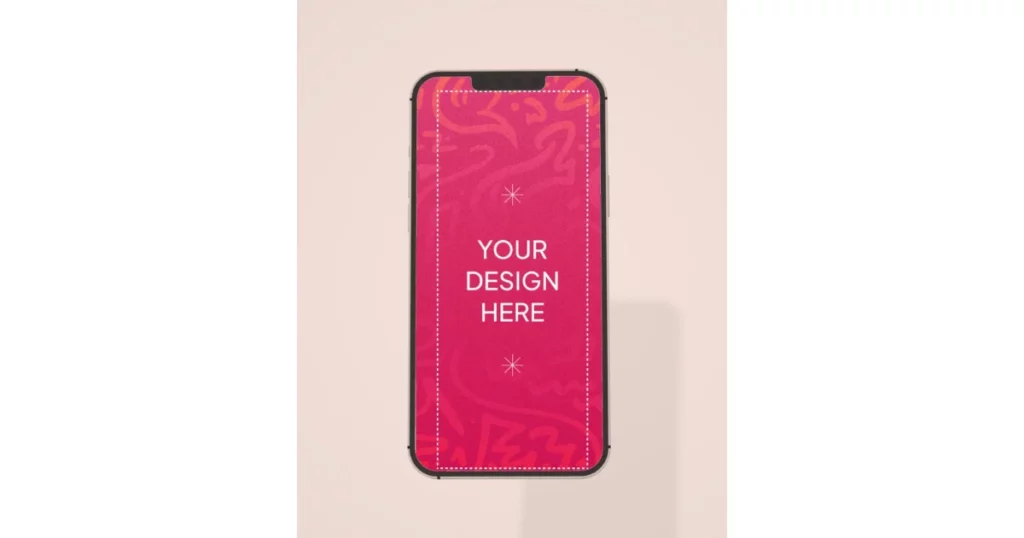
3. iPhone Mockup Color Background with a Shadow
To Conclude
In conclusion, we’ve provided a quick guide and step-by-step instructions on how to create iPhone mockup in Photoshop using Mockey.ai. We chose Mockey for its unlimited free mockup downloads and customization features.
If you’re still unsure how to create an iPhone mockup, visit the iPhone mockup generator page for more guidance.
FAQs
How to create an iPhone mockup?
To create an iPhone mockup, first, sign up on Mockey.ai and navigate to the iPhone mockup category under Mockups and Tech. Upload your design, customize the background, and then download your iPhone mockup for free without a watermark.
How to create a mockup phone in Photoshop?
To create a phone mockup in Photoshop, start by using the Rectangle Tool to draw a phone shape. Convert this shape to a Smart Object, then import and adjust your phone design within it before saving and exporting the mockup.
How to create a phone case mockup in Photoshop?
To create a phone case mockup in Photoshop, start by cutting out the phone image with the quick selection tool. Then, draw a rectangle for the case and convert it to a smart object. Finally, place your design, resize it, and save it.
Related reading:

Sangram Sahoo
I’m a content writer with 4 years of experience. I specialize in creating practical content around mockups, print-on-demand, apparel, and e-commerce design.