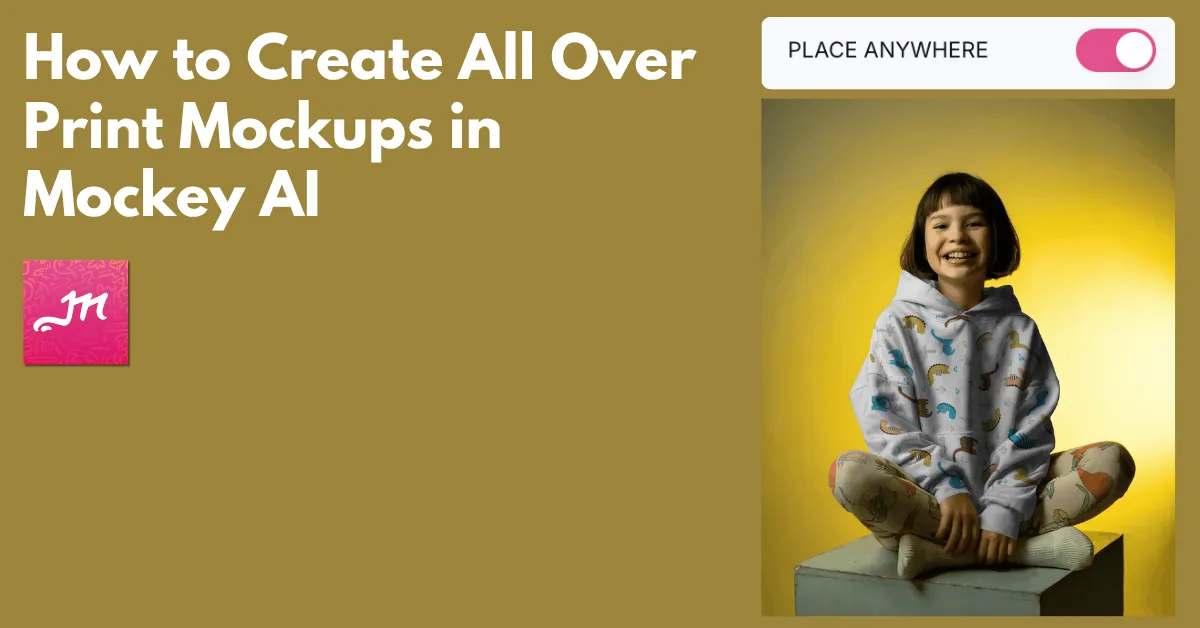
How to create all over print mockups? Use Mockey AI to access the Place Anywhere feature and drag the design to your preferred area.
You are offered a huge number of free mockup templates for t-shirts, tank tops, hoodies, pillows, and phone covers to upload your design. Drag to your preferred area of the garment using the Place Anywhere feature.
Let’s talk in detail about how to create all over print mockups step by step.
Table of Contents
What is an All Over Print Mockup?
All-Over-Print (AOP) is the latest trend in apparel. In this method, the design is applied to the entire surface of the product. Most AOP designs are created using sublimation. You can showcase the design to your customer before manufacturing it.
For that, you need a mockup generator like Mockey AI. In Mockey, this feature is available on the editor page of all mockup templates. You need to enable it, and then you can place your design anywhere you want.
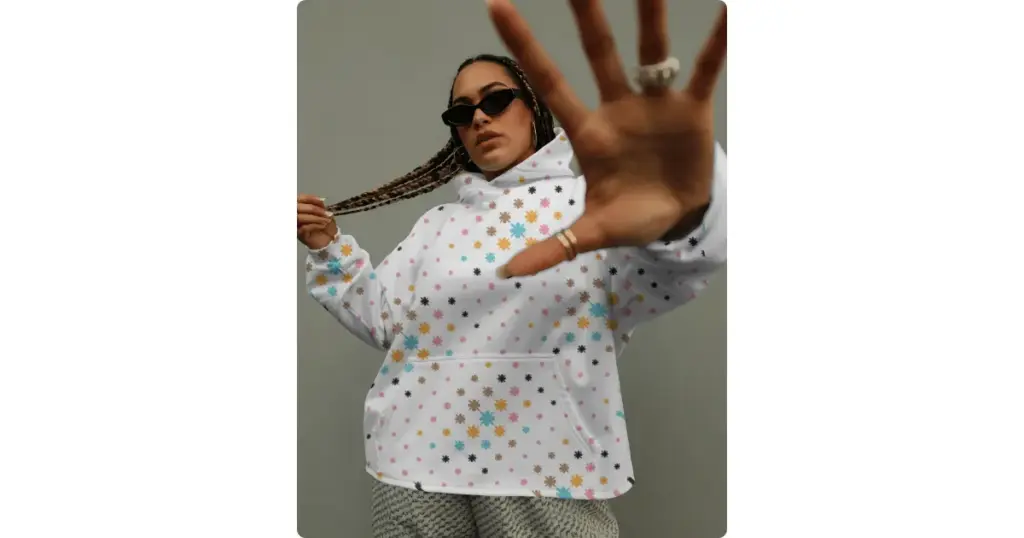
Your design does not sit flat. It wraps around sleeves, seams, and edges.
How to Create All Over Print Mockups (Step-by-step)
This step-by-step guide will help you create all over print mockups for your design.
Step 1: Create Your Design
People underestimate file size. You need to make sure your design is 300 DPI for all-over print.
It works best when the design is in patterns, repeats, or textures.
You can also go for center-focused designs with enough space around them. Even after cutting and stitching, your design still looks well-placed.
Step 2: Use the Right Mockup Generator
To create all over print mockups, we’ll use a free mockup generator called Mockey. It has recently launched a new feature called “Place Anywhere,” which will help in creating all-over prints.
It supports full wrap designs, offers a number of apparel templates with both front and back views, and displays fabric folds realistically.
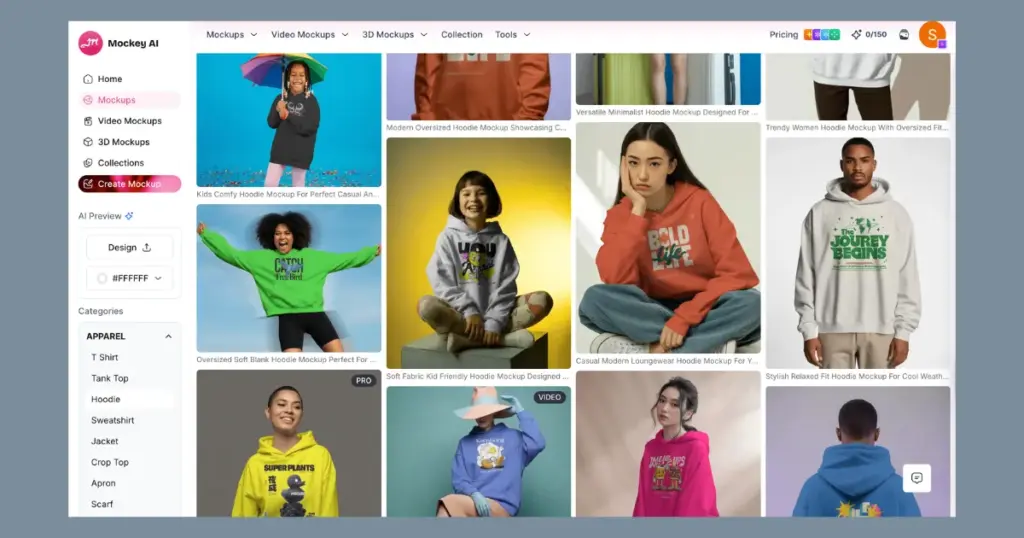
We’ll now use the Hoodie as an example. Create an account on Mockey and click on “Mockups.” In the Apparel section, select “Hoodie mockup” and pick one template from the wide range available.
Step 3: Upload and Align Your Design Properly
Now it’s time to add your design to the template, which you can do using the “Upload Design” button.
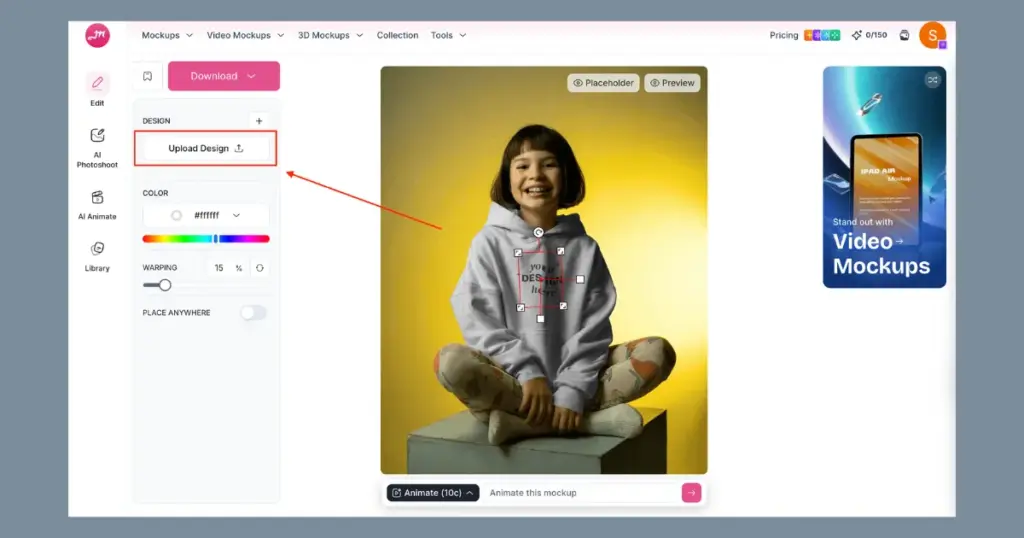
Enable the “Place Anywhere” feature for all-over print and start dragging your design. You’ll see that your design moves freely across the entire surface area.
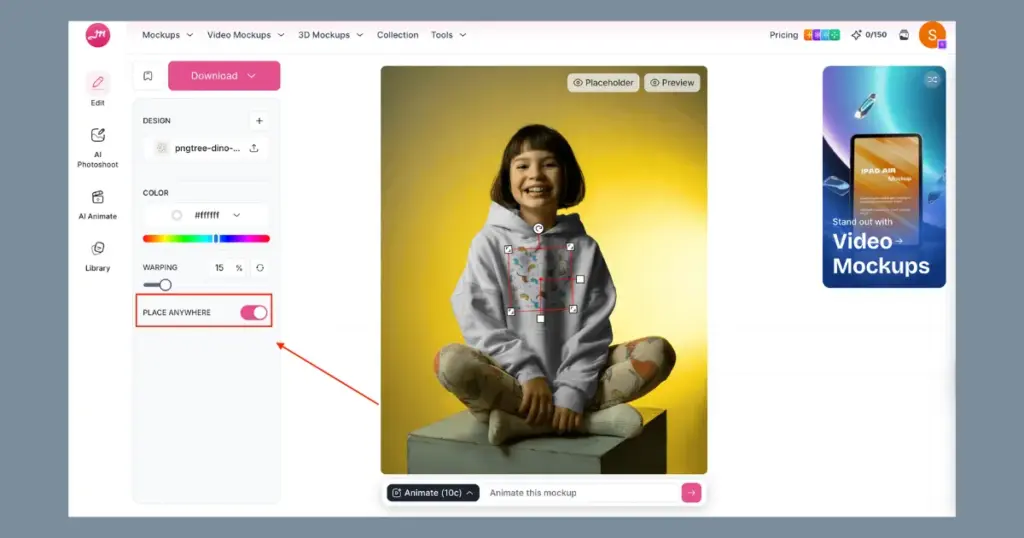
Adjust the scale carefully. If it’s too big, parts of the design get cut awkwardly. If it’s too small, it starts repeating strangely.
Look closely at the sleeves, the side seams, and the collar area. These are the spots where mistakes usually show first.
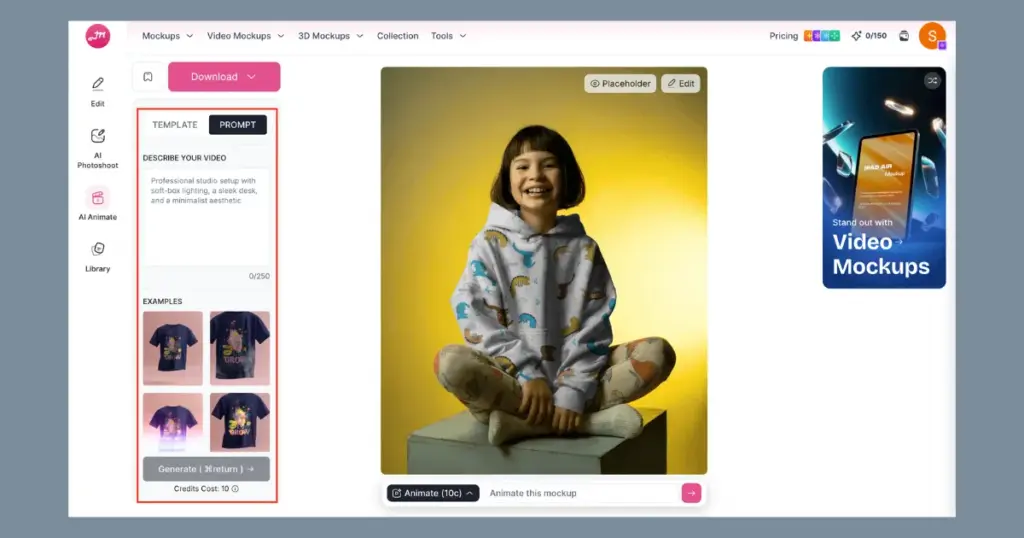
Step 4: Customize with Tools
After placing your design, you get many editing tools, like warping and the option to convert it into an animation. You just need to describe the scene in the prompt, and within seconds, the animation will be generated.
Step 5: Preview and Download
Before you hit download, pause and look at your mockup the way a buyer would. Click “Download” to save the all over print mockup as JPG or PNG.
Why Use Mockey AI for All Over Print Mockups?
Let’s talk about some reasons why you should use Mockey AI for all over print mockups.
Beginner-friendly
Mockey is built to be easy to use, so even a non-designer can use it. Whether uploading a pattern design or adjusting it on the garment, there’s no need for any design experience.
Access Using a Free plan
You don’t need to buy a paid plan to create all over print mockups. Start customizing with a free plan and download them as well.
Real-time Preview
Personalize your design and quickly see it using the preview feature. As you make changes, the preview updates in real time.
Strategies for All-Over Print Design
You’re probably searching for those hidden tips that can help you deliver better results. Here are a few underrated strategies:
Give Priority to High-Quality
Use high-quality designs. When your file is high resolution, many common printing issues simply don’t show up.
Adjust Bleed Area for Larger Sizes
If the sizes are above XL, ensure the bleed area is wide enough to handle the print properly. If you don’t adjust it, larger garments may show unwanted white spaces.
Preview Before Launching
There is no better friend than the preview button. To avoid any errors, always inspect the designs before proceeding to the next phase.
Avoid White Streaks in Print Gaps
The ink may not fully cover the armpit areas during sublimation printing, leaving behind visible white streaks. Choose lighter backgrounds to reduce this effect.
Conclusion
By now, you have an idea of how to create all over print mockups.
An all-over print is a great print-on-demand business idea, especially since it’s trending right now. Using Mockey to create these mockups is quick, even if you’re just starting out. The preview option makes it easy to catch small mistakes before finalizing.
FAQs
Do I need Photoshop to create all over print mockups?
You don’t need Photoshop for AOP mockups. With the Place Anywhere feature in Mockey, you can drag your design to any area and edit it easily using simple tools.
Why does my all-over print mockup look weird at the seams?
AOP wraps around the entire garment. So when important parts of your design land on seams, they get distorted or cut off. Keep your key elements away from the edges. Use repeat patterns or textures that flow naturally across the fabric. And always check how your design looks on the sleeves and sides before finalising.
Why do my colors look dull in AOP mockups?
AOP mockups can look dull because sublimation printing lowers color vibrancy, and fabric textures make designs appear less sharp. To fix this, slightly increase the contrast in your design.