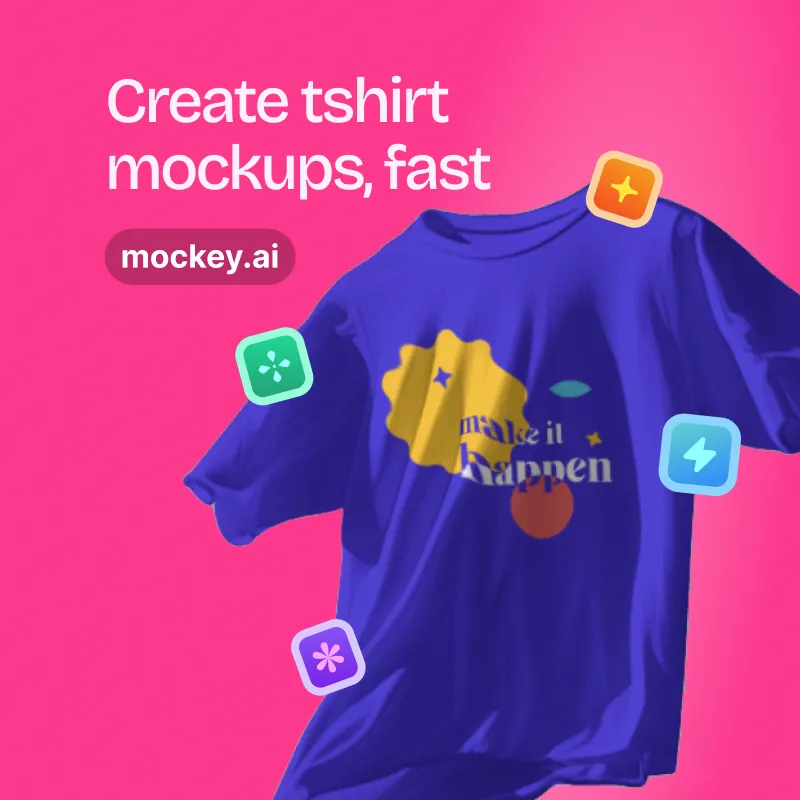
To showcase your clothing designs accurately and in the simplest form, mockup clothes are one of the steps you cannot skip. A Clothing Mockup gives you a realistic preview of how the design will look on the real garment so that you can work on details before producing them. Among many clothing mockup software tools, Mockey.ai remains the best tool, accessible with an intuitive interface as well as pre-designed templates, without the need to have strong design skills. Photoshop still needs to have a steep learning curve – Mockey minimizes the complexity with the drag and drop feature, and, therefore, it is open for beginners and professionals.
Table of Contents
What is Clothing Mockup and Why is it Important to Create Clothing Mockups?
A clothing mockup is the digital representation of apparel that would allow designers and businesses to see how their designs would come out on different types of garments before actual production. Mockups are made using specific, specialized software or online tools that help users place graphics, patterns, or logos onto blank clothing templates in the form of t-shirts, hoodies, or jackets. The method makes it possible for the designers to preview a very realistic representation of the finished product so that they can make necessary adjustments, ensuring that the artwork fits perfectly in line with the garment’s fit, style, and proportions.
Clothing mockups should always be made for designers as well as for the brands because of these, the associated risks of the production process are reduced. A visible outcome means that the expensive mistakes of the last stages of manufacturing would be avoided, and the design would assuredly be able to meet the quality standards that such businesses establish. Clothing mockup also enhances marketing efforts by providing professional and appealing visuals that can be used to showcase products online, in catalogs, or across social media platforms.
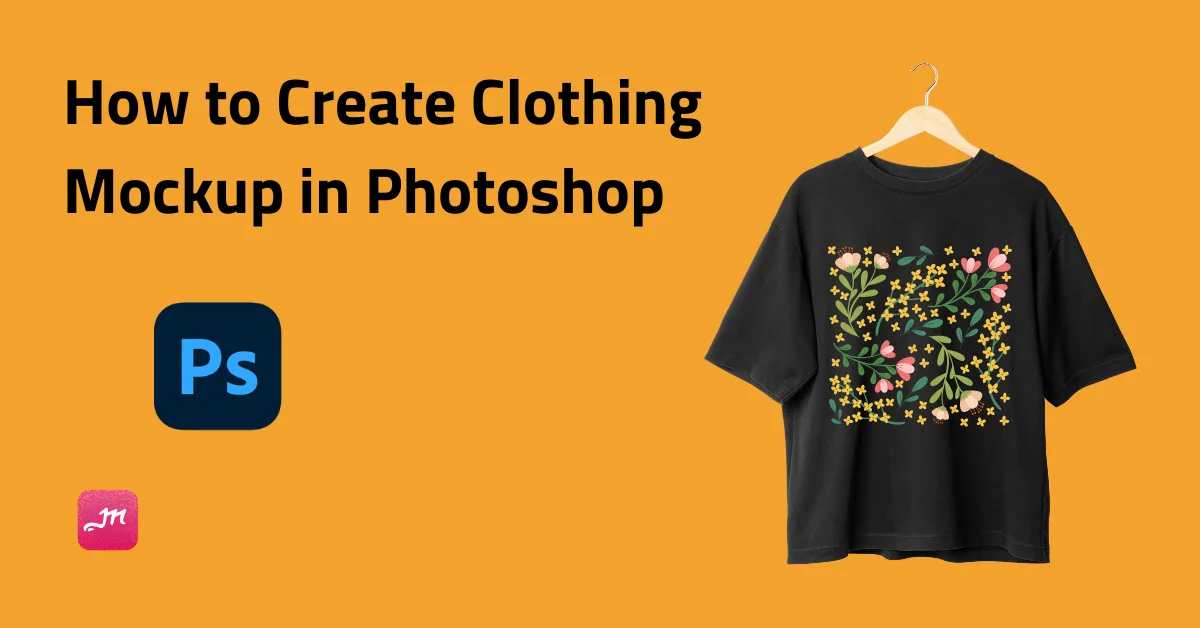
How to Create Clothing Mockups in Photoshop: A step-by-step guide
Before a clothing item hits the production line, mockups created in Photoshop mean you have a prior image of the created item. This means that you can have products ready for demonstration and build an audience of interested buyers. Here is a step-by-step guide of how to create mockups of clothing items in Photoshop in 10 steps that is aimed for designers, entrepreneurs, and any other fashion player.
Step 1: Set Up Your Photoshop Workspace
Log in or sign up to Adobe Photoshop, begin by opening New File in the File menu. Choose dimensions relevant to your project. For example: If your project demands t-shirt mockups, a 300 DPI canvas is suitable for them with high resolution.
Step 2: Import a Clothing Template
Save some time and get a pro look, for example, by starting from a ready clothing template. The web offers excellent templates for t-shirts, hoodies, or other apparel. Let’s start with importing your chosen template into Photoshop: drag the file into your workspace or use File > Place Embedded.
Make sure the template has several layers. This enables you to make changes depending on various parts in the mockup of clothing such as fabric, seams, and shadows.
Step 3: Change the Base Color of the Garment
Change the color of the garment at this point to your needs according to the requirements of the design.
Step 4: Adding Your Design to the Mockup
You can now attach your design to the clothing. First, open your design file, and then paste a copy of it into a clothing mockup paper. With the Ctrl+T for Windows or Command+T for Mac shortcut key, you make the design transform and fill the available clothing template.
Go to Layer > New Adjustment Layer > Hue/Saturation. Change the color of the clothes, leaving the texture and shading behind. Pull the Hue slider around to try different colors without affecting your organic looks in the fabric.
Step 5: Using Warp for Natural Application
Use the Warp Tool to make the design mesh smoothly into the weave of the fabric. Choose your design layer, go to Edit > Transform > Warp, and warp the grid points to the folds and curves of the clothing. In doing so, it makes the design blend more smoothly into those places where the fabric bends, creating a more realistic shape.
Step 6: Add Shadows and Highlights for Depth
Adding shadows and highlights will be beneficial to the mockup, as it will give a more realistic look. Through the Brush Tool, paint gentle shadows above the design where the fabric folds or tucks naturally and then multiply that layer and make sure to have low opacity in softer shadows.
Using the Brush Tool in white, adjust the blending mode to Overlay or Soft Light; that will give a very natural lighting effect of just exactly where the light hits the garment.
Step 7: Refine using Masks
Parts of the design may extend beyond the edge of the garment, or overlap onto unwanted areas, so it needs further refinement using Masks.
Select the design layer, and then click on the Layer Mask at the bottom of the Layers panel. Now you can use the Brush Tool with black as the foreground to cover over areas of the design that should not be viewed. This does not harm the image; you can always bring parts of the image back into view.
Step 8: Add Texture for Depth
Add some depth to your clothing mockup by giving it a fabric texture. Another important step adding more of that tactile, real-life feel to the structure.
Search the internet for a resolution, very high-resolution texture file that resembles fabric. Drag and drop that into your mockup file. Then set the blending mode in that texture layer to Overlay or Multiply and lower the opacity until it seamlessly integrates with the clothing. This is where your mockup will take on the look and feel of cotton or polyester or some other material you’re trying to replicate.
Step 9: Play with Many Variations
Once you have made your first mock-up, you can start with variations of the same style through the use of duplicate layers and changing up the colors, patterns, or designs.
Just right-click on the clothing layer and click Duplicate Layer. You can return to step three to change the color of the clothing, or simply change the shirt style to mix it all up. This is the best way to show several styles or color options of the same product.
Step 10: Output your final clothes mockup
When you’re ready, it’s time to export your mockup. Under the File menu, open Export > Export As., and choose the right file format. If you need a high-quality image to print or for web use, for example, PNG or JPEG might be a good choice along with the quality settings as needed.
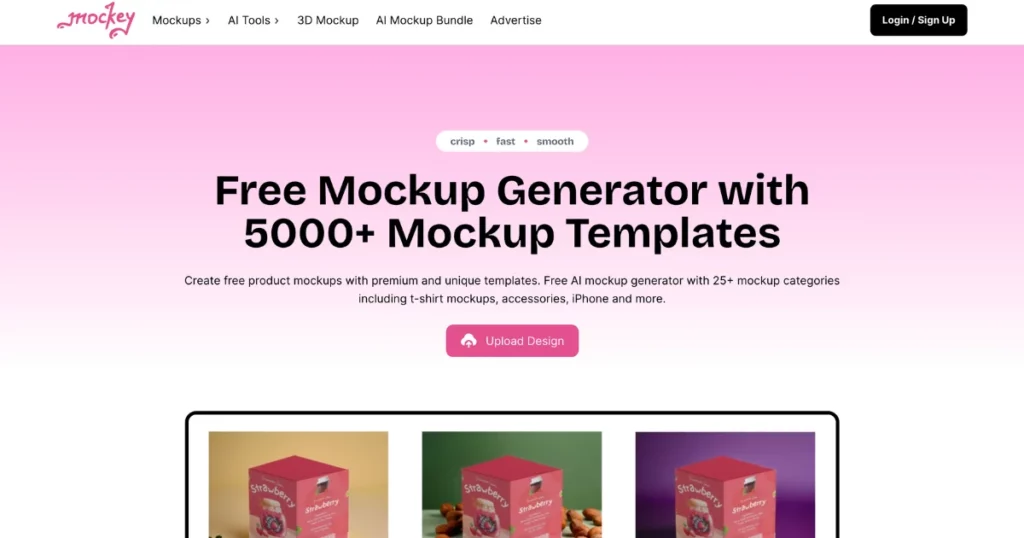
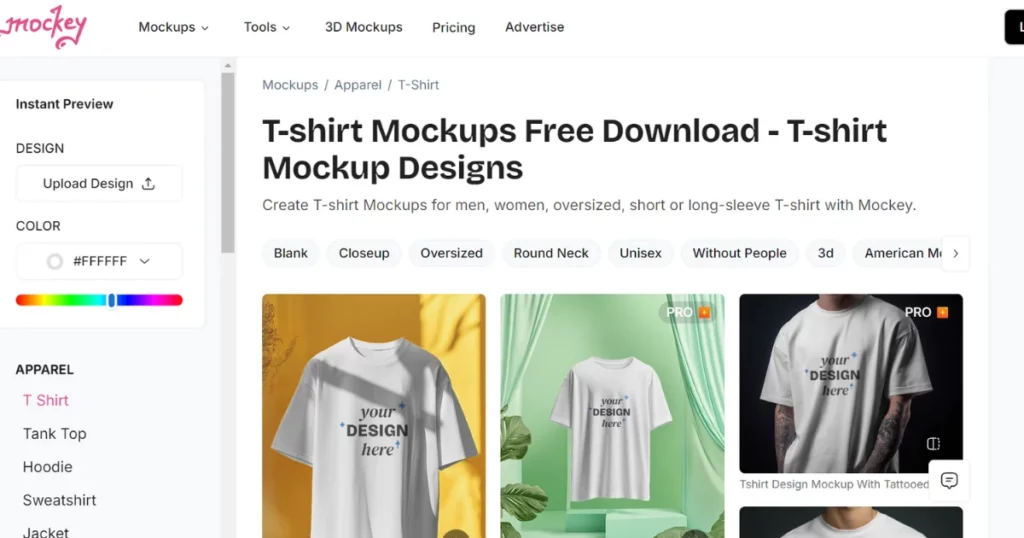
The Best Alternative to Photoshop For a Clothing Mockup
Mockey.ai is the best alternative to Photoshop for clothing mockups. Mockey simplifies the process with pre-designed templates, making it accessible to both beginners and professionals. It offers drag-and-drop functionality, allowing users to easily upload and apply their designs to various clothing items without the steep learning curve of Photoshop. Let’s dive into the tutorial on how to make T shirt mockup using Mockey.
Step 1: Log in to Mockey
Log in to your Mockey account or, if you’re a new user, sign up. Log in and then proceed to create a new mockup.
Step2: Choose a Template
Browse through Mockey’s library of T-shirt mockup templates and choose one that meets the needs of your design: crew neck, v-neck, hoodie and much more.
Step3: Upload your artwork
Click upload to import your design as an image, logo, or graphic file directly from your computer. Make sure that your design is in a suitable file format for the application – PNG or JPEG for example.
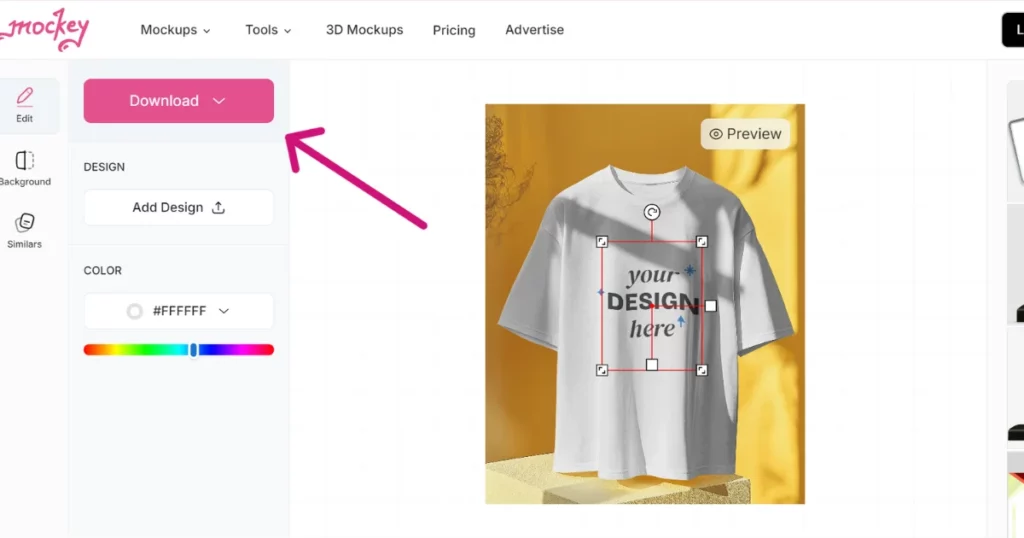
Step4: Adjust the design
Click and drag, and also resize and position your design on the T-shirt template. Using all the tools provided in editing will fine-tune exactly how you have placed your elements, and adjust any details such as color and size to an exact fit.
Step5: Mockup preview
Now that you’ve placed your design, you’ll be able to view a preview of how this T-shirt looks from different angles. Make any final adjustments so that your design looks exactly how you want.
Step6: Download and share
Once the mock-up is complete, the high-quality image in a preferred format can be downloaded. You can now use the mockup for marketing, online stores, or social media promotions.
Wrapping Up
Making clothing mockups is the process that guarantees that your designs look good and will be ready for production. Though Photoshop is the tool that has been used most, Mockey is obviously the best website for T-shirt mockups because of the ease and simplicity of its interface and efficiency. It comes along with pre-available templates and does not make things difficult for a user to use its interface for easy rapid creation of mock-ups for clothing designs. Whether it’s an experienced designer or even an experienced one, Mockey leads you through the easiest methods to design professional mockups minus the complexity that often goes along with full-fledged design software.
FAQs
How do you make an apparel mockup in Photoshop?
To create an apparel mockup in Photoshop, start by importing a clothing template, adjust the base color, and applying your design using the Warp tool to ensure it blends naturally with the fabric. Add shadows, highlights, and texture for a realistic finish, then refine the design using masks and export the final mockup.
Can I design clothes in Photoshop?
Yes, Photoshop allows you to design clothes by creating or editing apparel mockups. You can add your designs, adjust colors, and create realistic previews of your garments.
How to create a t-shirt mockup?
To create a t-shirt mockup, import a t-shirt template into Photoshop, apply your design, use the Warp tool for a natural fit, and enhance it with shadows and textures. Export the final version to showcase your design.
Is there a free mockup generator?
Yes, Mockey is a free mockup generator that simplifies the process of creating mockups. It provides pre-designed templates and drag-and-drop functionality, making it accessible to both beginners and professionals.
How to photoshop a logo on a shirt?
To Photoshop a logo on a shirt, import the shirt template, place your logo on it, and use the Warp tool to fit the logo naturally onto the fabric. Adjust shadows and highlights to blend the logo seamlessly with the shirt’s texture.
Related Articles: