Learn how to create mobile mockup in Photoshop with easy steps. Use smart objects, the pen tool, and masks to design and update your phone display.
To read in detail, scroll down. We’ll also share a Photoshop alternative where creating phone mockups is easier.
Table of Contents
How to Create Mobile Mockup in Photoshop?
Wish to understand how to create mobile mockup in Photoshop? Follow these easy steps.
Step 1: Create a Rectangle
Open Photoshop. On the left toolbar, choose the Rectangle Tool.
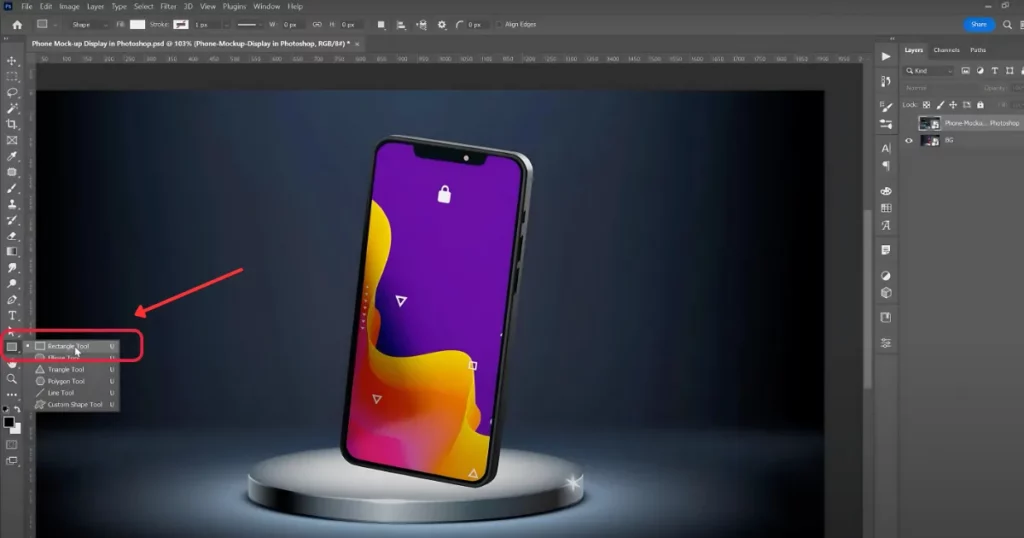
Draw a rectangle from one corner to another. This will be your phone screen.
Step 2: Convert to Smart Object
Right-click on the rectangle. Select Convert to Smart Object.
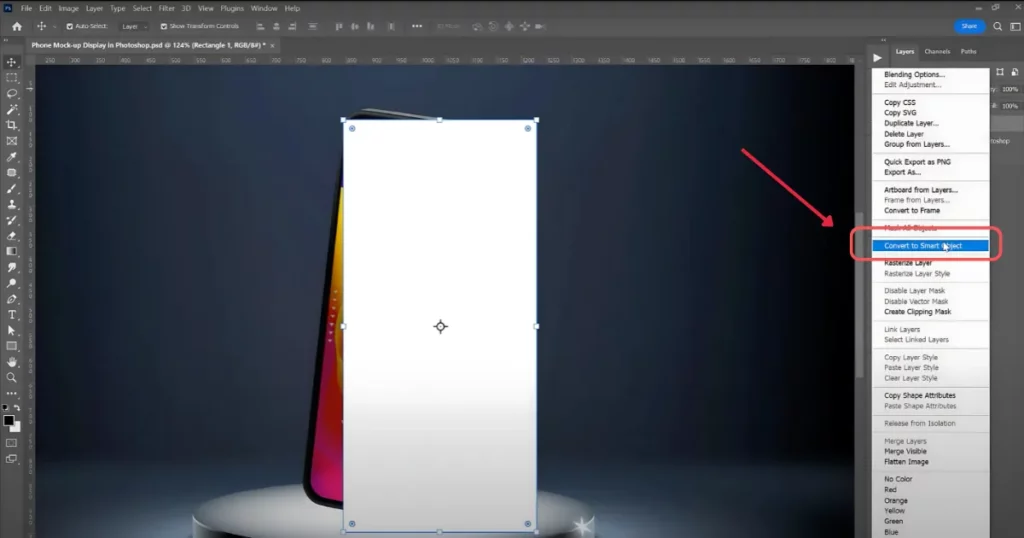
This lets you replace images later. Double-click and rename it to “Image” for easy access.
Step 3: Adjust the Smart Object
Lower the opacity of the smart object.
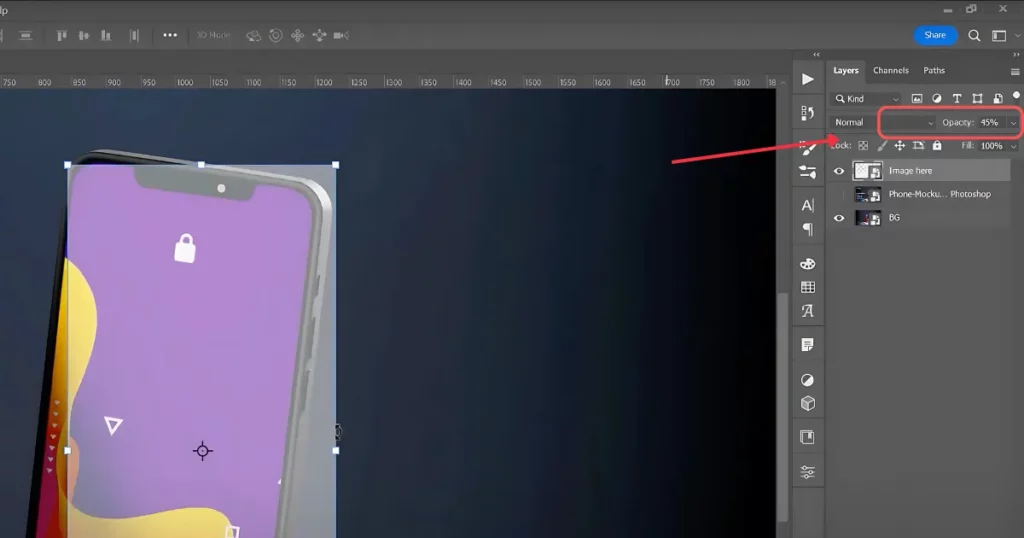
While scrolling, hold Alt to zoom. Press Ctrl (or Command) to move the object. Press and drag to align the corners. Set opacity back to 100%. To temporarily hide the layer, click the eye icon.
Step 4: Create a Selection with the Pen Tool
Click on the Image layer again. Pick the Pen Tool from the toolbar. Zoom in for better control. Draw around the screen by clicking and dragging.
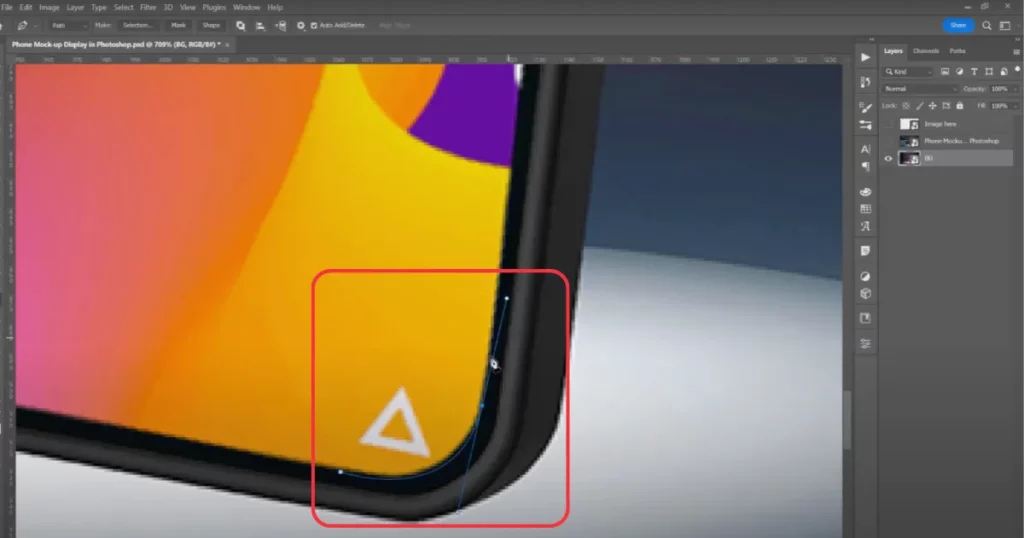
To adjust the curve, press Ctrl/Command and move the points. To change the direction of the line, press Alt/Option and click.
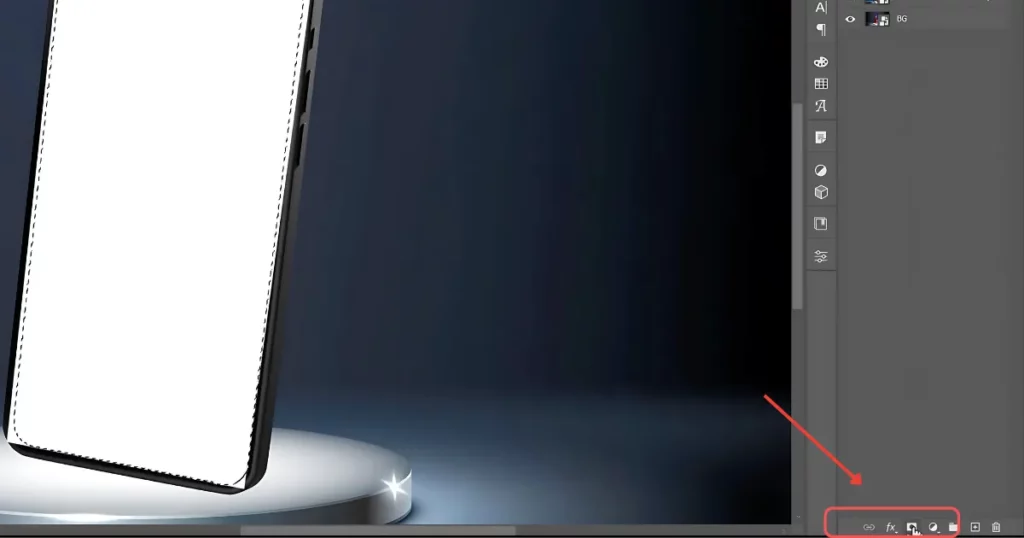
Step 5: Finalize the Selection
Once done, right-click inside the path and choose Make Selection.

Now select the Smart Object layer. Press the Mask icon while holding Shift. This will crop the image inside your selected screen area.
Step 6: Add Your Image
Double-click the Smart Object to open it. Go to File > Place Embedded, or drag a photo directly into the workspace. To adjust the image’s size proportionally, enter Ctrl+T or Command+T. Fit it inside the smart object. Press Ctrl+S / Command+S to save. You’ll notice that your picture is now shown on the phone screen.
Step 7: Refine the Edges
Click on the mask layer.
Choose the Lasso Tool (L). Go to Select > Select and Mask. Zoom in and adjust the sliders. Increase Smooth and Shift Edge for better results. Click OK after selecting Output to: Layer Mask.
Step 8: Replace the Image Anytime
Want to use another image? Just double-click the smart object again. Place the new image. Save it. Your phone display will update automatically.
And that’s it! You’ve made a phone mockup in Photoshop.
How to Create Mobile Mockup Using Mockey AI
Although we have explained in detail about how to make phone mockups, read this for a quick overview.
- Login/Sign up.
- Look for “Mockups”.
- Click “Tech”.
- Select “Phone”.
- Pick a model in Tags.
- Use a template.
- Press “Upload Design”.
- Customize it.
- Click “Download”.
- Select a format.
- Save the phone mockup after picking a size.
Conclusion
You’ve now learned how to create a mobile mockup in Photoshop. If you don’t have any budget issues, you can definitely generate mobile mockups on this platform. However, for all types of use cases, a mockup generator like Mockey AI is the best option. Here, you’ll not only find mobile mockups but also the best device mockups of various kinds.
FAQs
Where can I get and practice using the best templates or mobile mockups?
You can try Mockey AI’s phone mockup generator to use the best templates and download them in different formats.
Can I use Android mobile mockups in Mockey AI?
Yes, you can customize Android mobile models like Google Pixel, Samsung, and many more mockup templates. Just add your design, crop it, and download.
Can I change my mobile mockups’ background?
Whether you use Photoshop or an AI mockup generator, you can change the background. The best option is a mockup generator that offers customization features for templates, including background changes. You’ll get options to use your own background or apply a color gradient.
Can I use mockups for all types of mobile phones?
Yes, you can customize all types of mobile phone mockups on Mockey AI. But if you want to use an iPhone device, visit the iPhone mockups in the tech section.